All Recipes
 Beverages
 Breakfast
 Appetizers
 Dinner
 Sides
Sides
 Dessert
 Videos
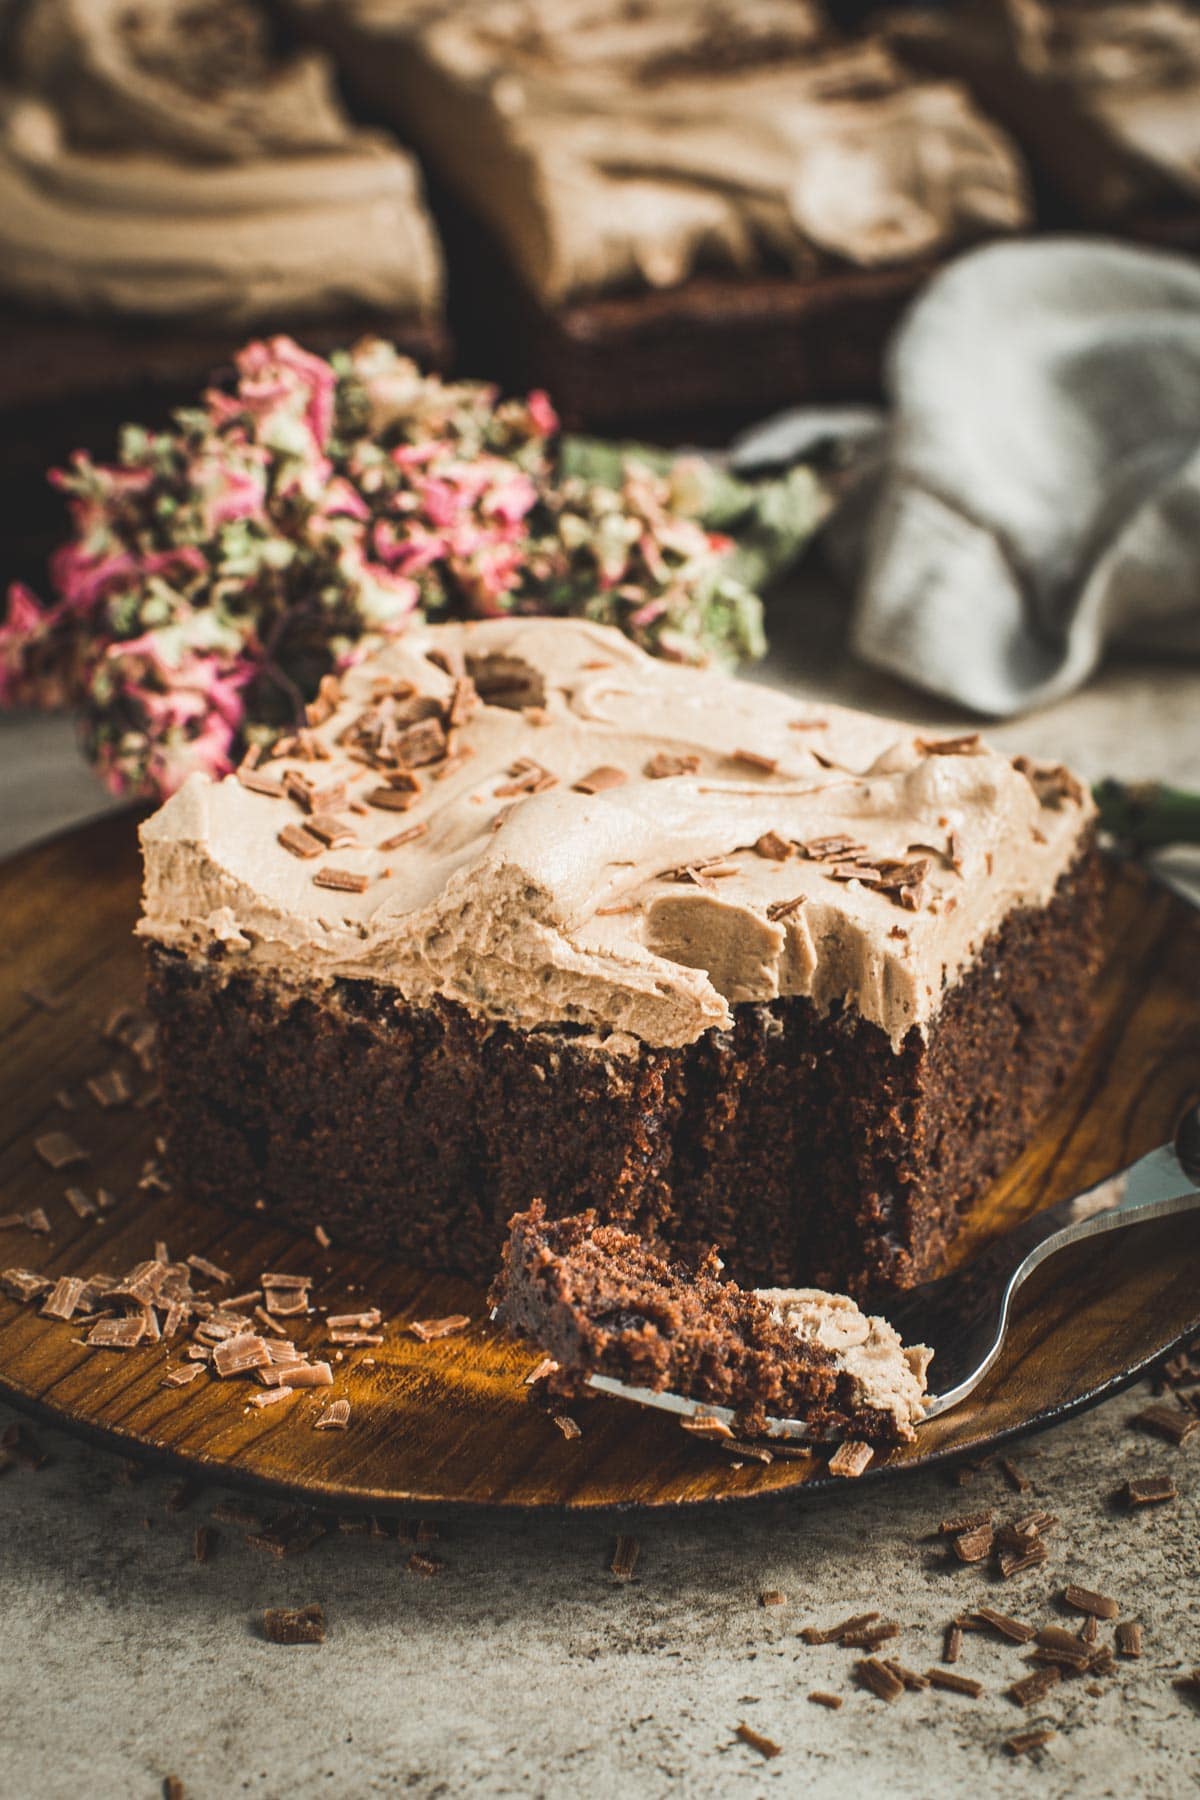
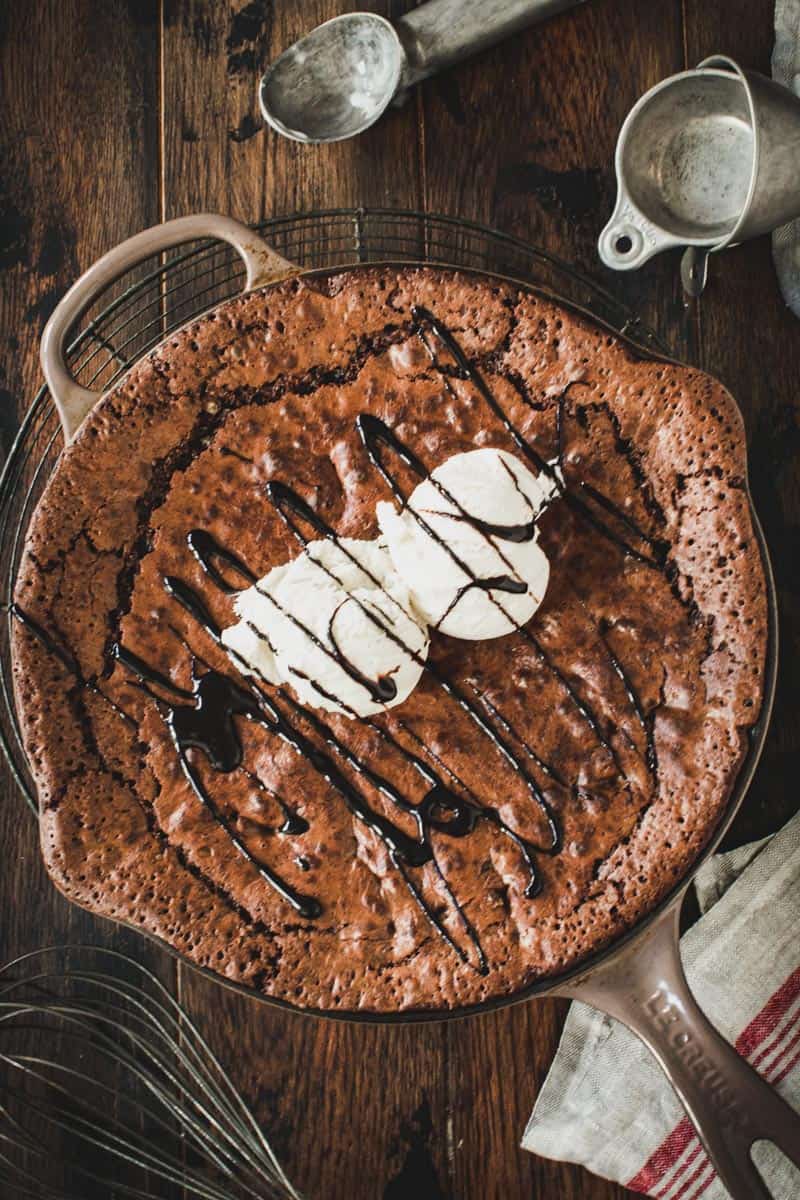
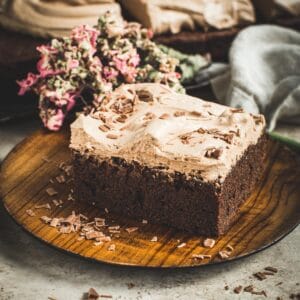
Slightly fluffier than a brownie but denser than a cake this Brownie Cake is the best of both desserts and is layered with a milk chocolate frosting. When you don’t want to choose between a cake or brownie just make this recipe and have both.
Why You’ll Love This Cake
Cakes can sometimes be complicated to make but brownies are often not and this Brownie Cake is one of the easiest cakes you can bake. It’s part brownie and part cake with the best flavor and texture from both. Then it’s topped off with a thick and velvety smooth milk chocolate frosting.
You can bake this as a layer cake, but really there’s no need. It’s just as beautifully made in a square baking pan and you can easily spread the frosting on top without needing any fancy decorating skills. This really is an effortless cake recipe.
This cake is perfect for Friday nights at home, backyard barbecues, or just to serve as a dessert to friends. It looks impressive, tastes decadently delicious, and is great to bring to parties.
Ingredients Needed
- Semi-Sweet Chocolate: you will need semi-sweet chocolate since there will be sugar added in and then a super sweet frosting on top. You’ll need to chop it up before melting it.
- Eggs: allow your eggs to reach room temperature before using them in the recipe.
- Cocoa Powder: I recommend using an unsweetened cocoa powder for this recipe and dark or regular versions will work.
- Milk Chocolate: I say the higher the quality of milk chocolate the better here. The milk chocolate will be melted and then mixed into the frosting so you want to have a rich and indulgent flavor.
- Heavy Whipping Cream: both heavy cream and heavy whipping cream will work. I prefer to use heavy whipping cream when preparing frosting recipes.
Step-by-Step Instructions
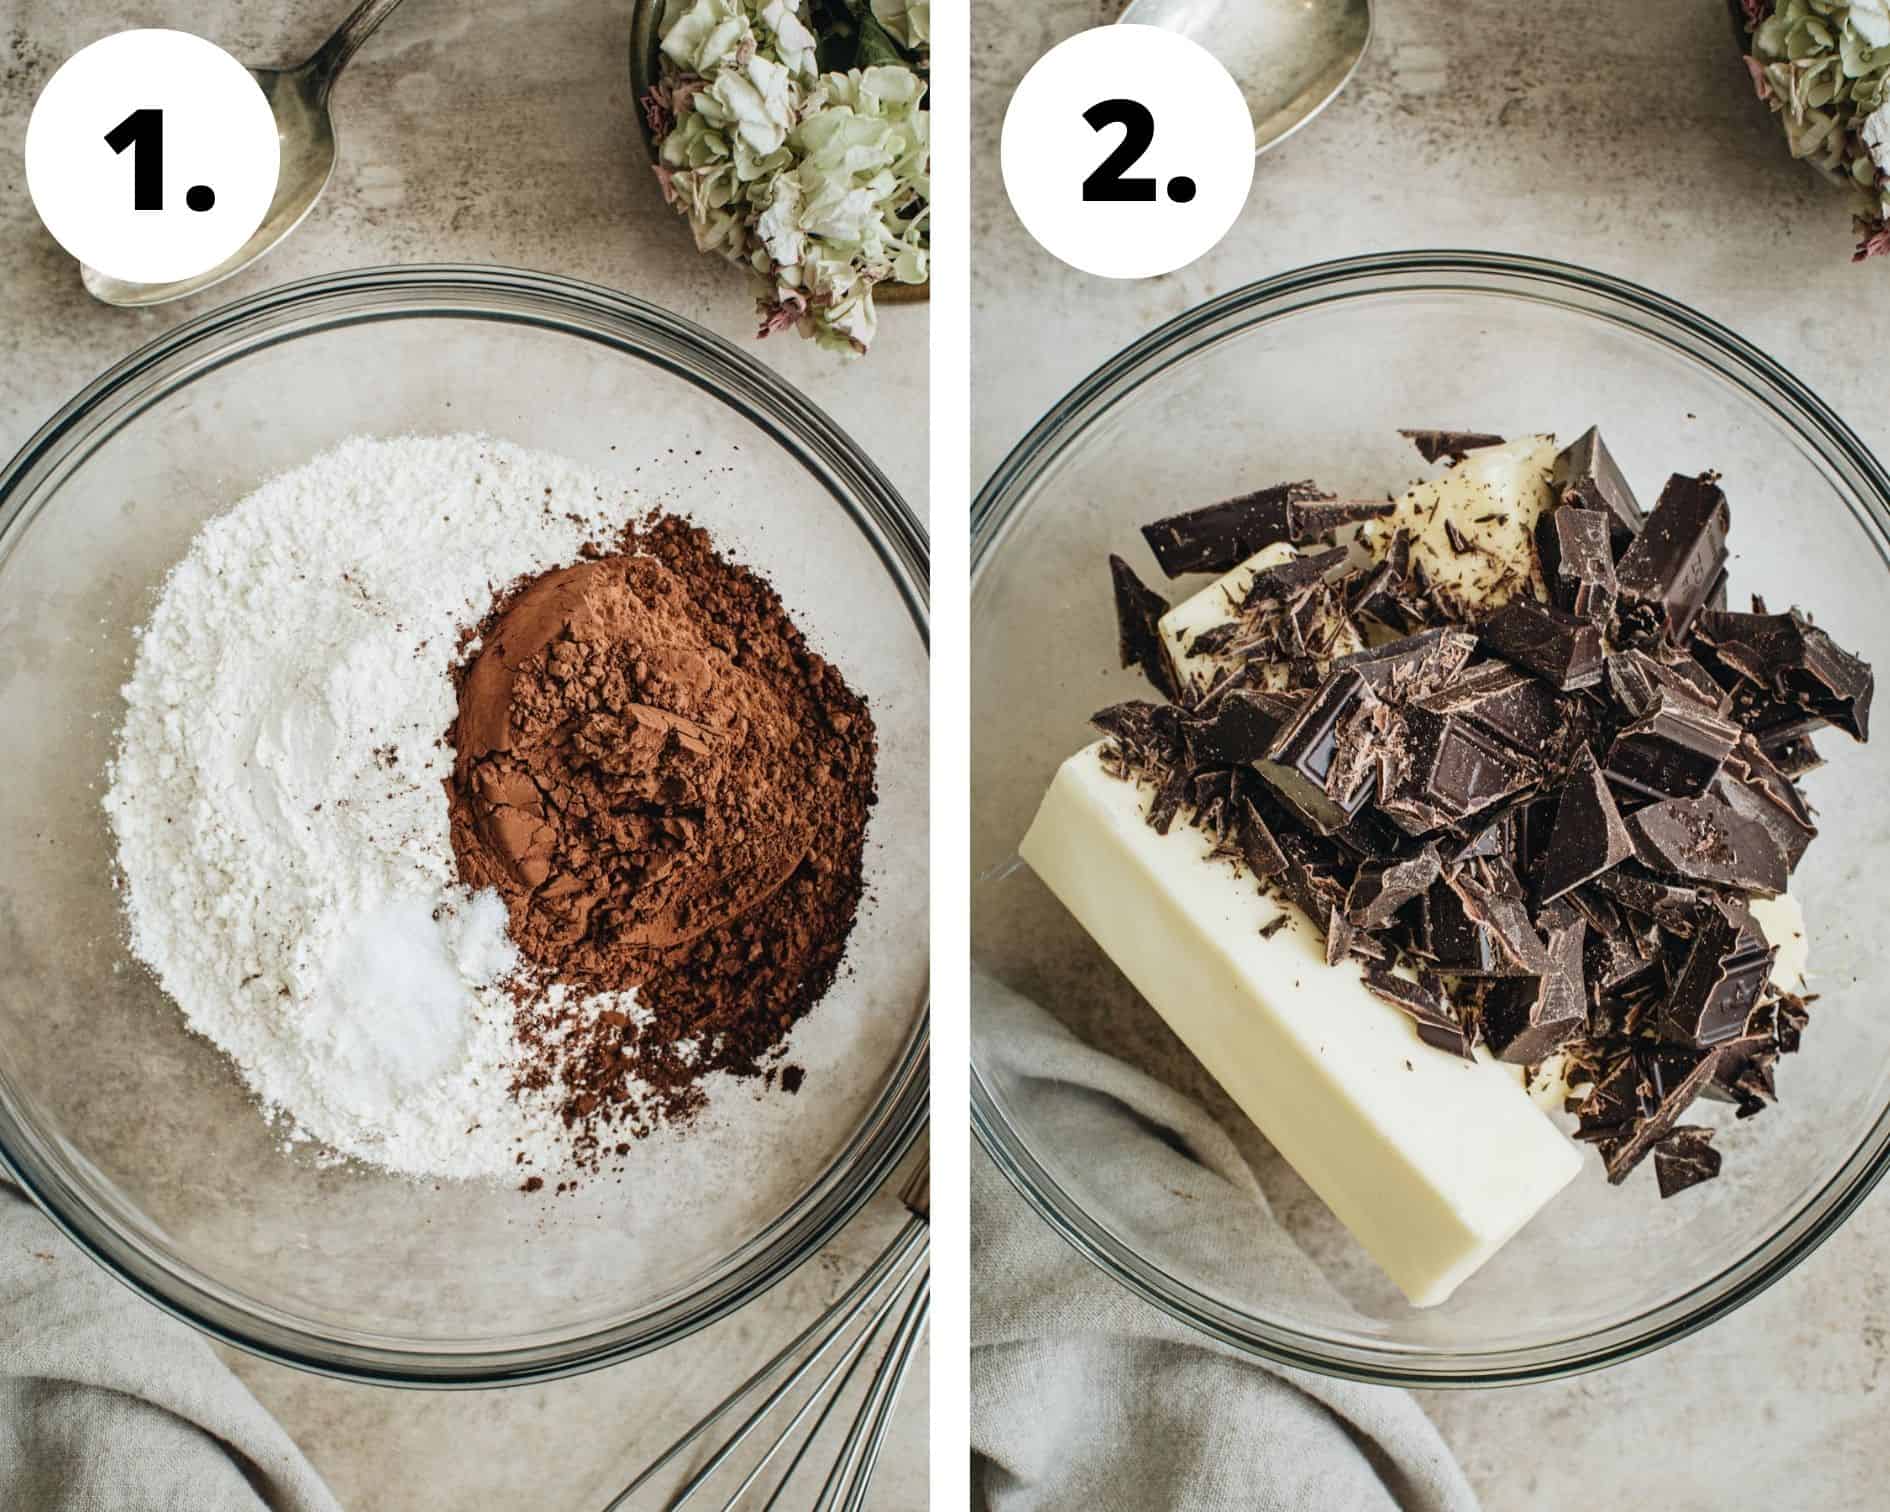
- Whisk dry ingredients. In a medium-sized bowl mix the flour, cocoa powder, and salt together and set aside.
- Melt butter and chocolate. Place the butter and chocolate in a microwave-safe bowl and melt them together in the microwave in 30-second intervals (about 1 and half minutes). Stir them together until smooth. Let cool.
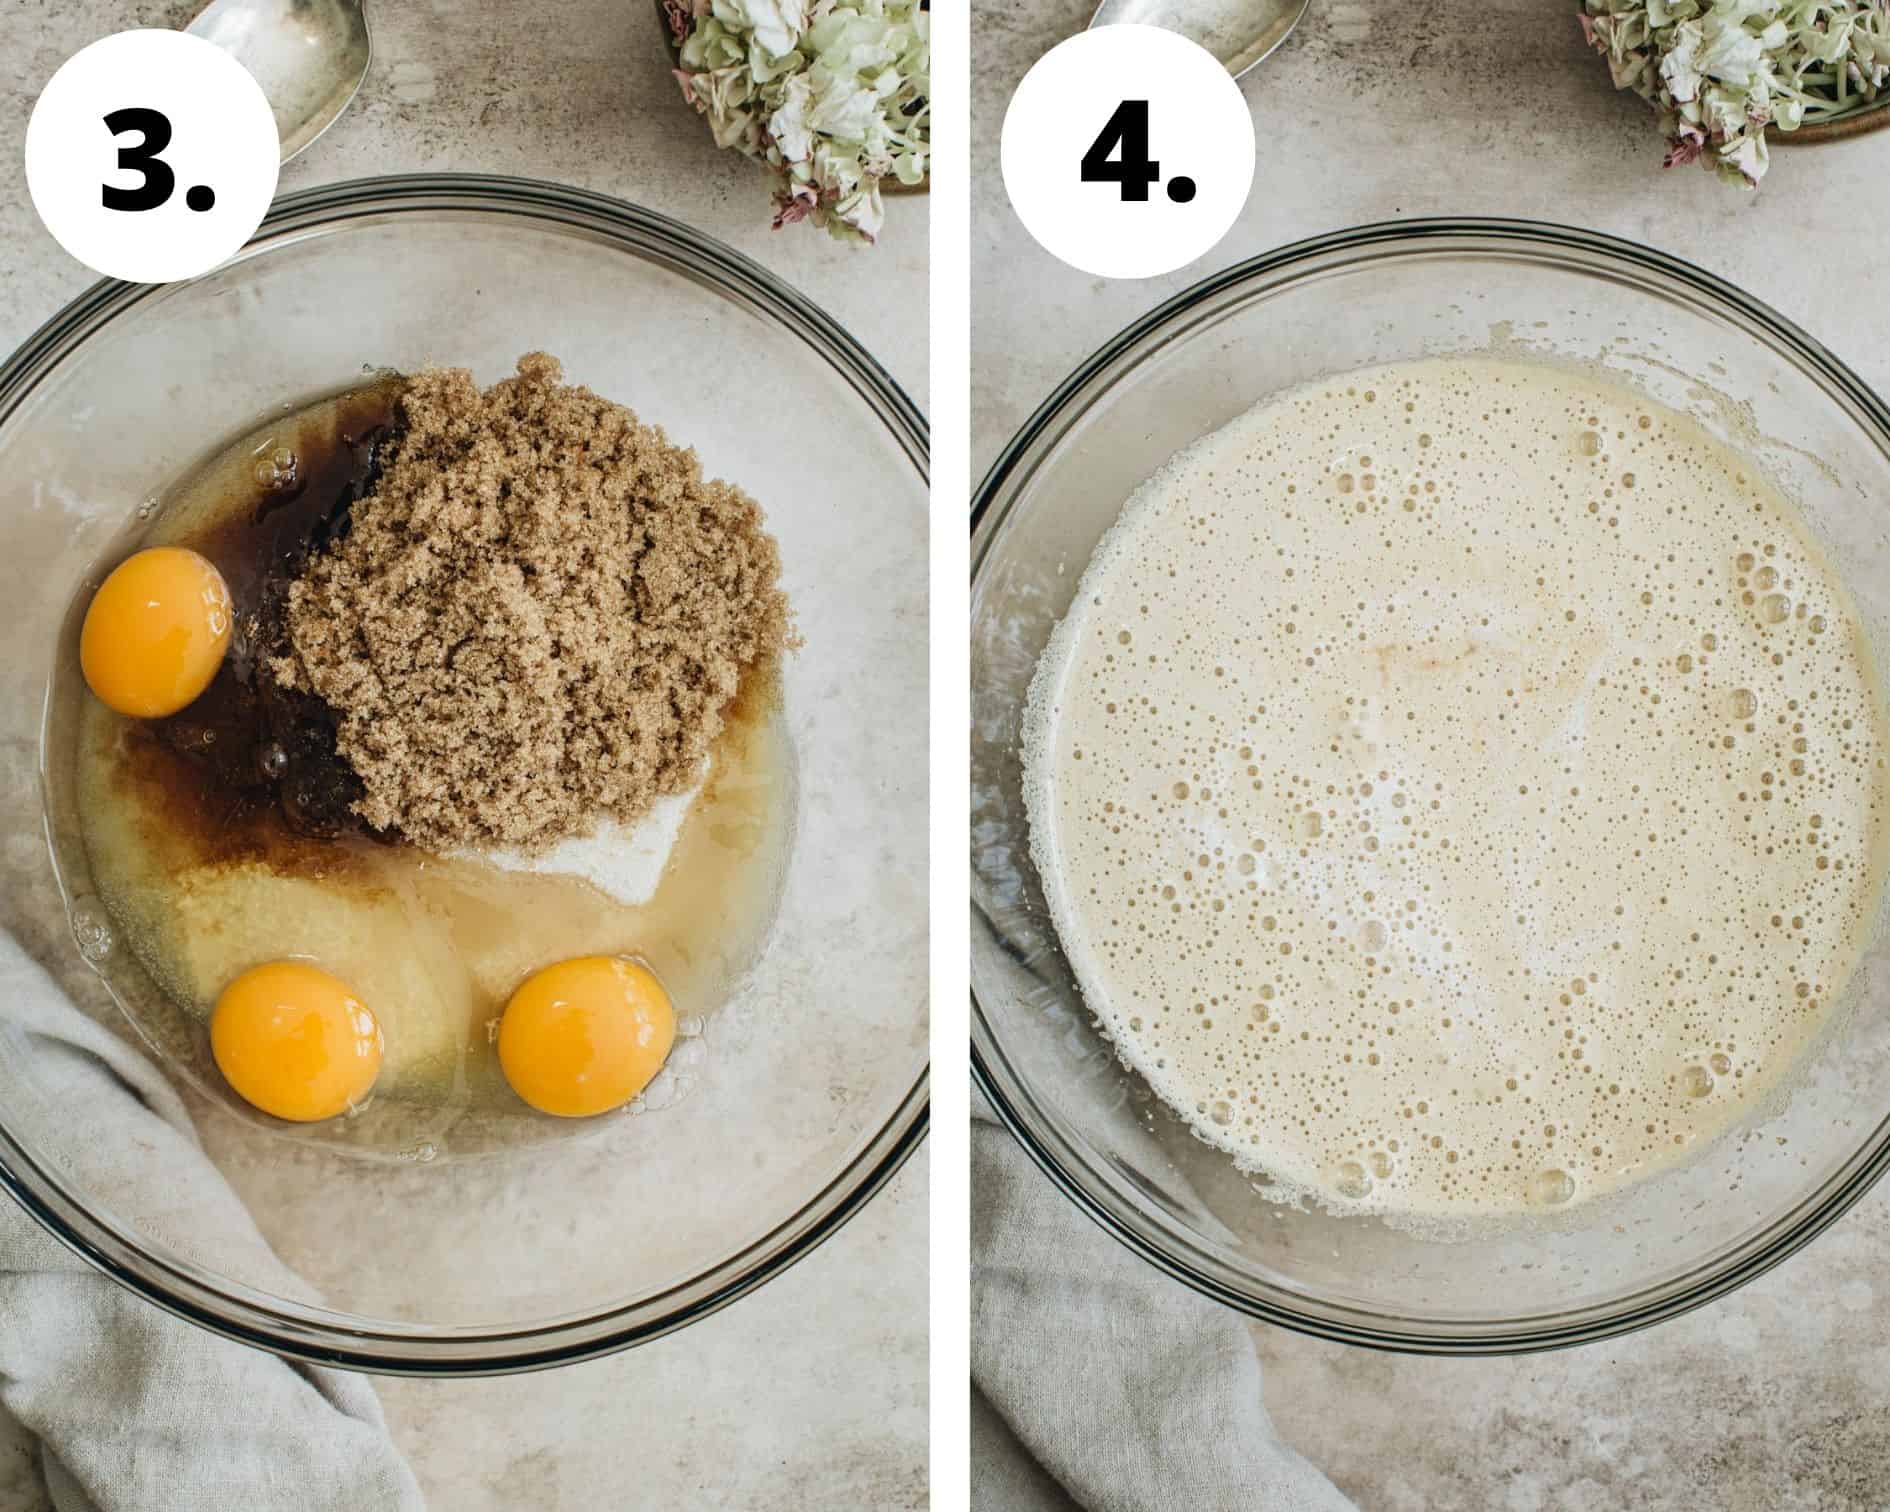
- Beat the eggs and sugar. In a large mixing bowl whisk the eggs, granulated sugar, brown sugar, and vanilla together using a handheld mixer. The mixture will be slightly foamy like it is in picture 4.
- Add the butter mixture. Slowly pour in the cooled butter mixture and beat in until just mixed.
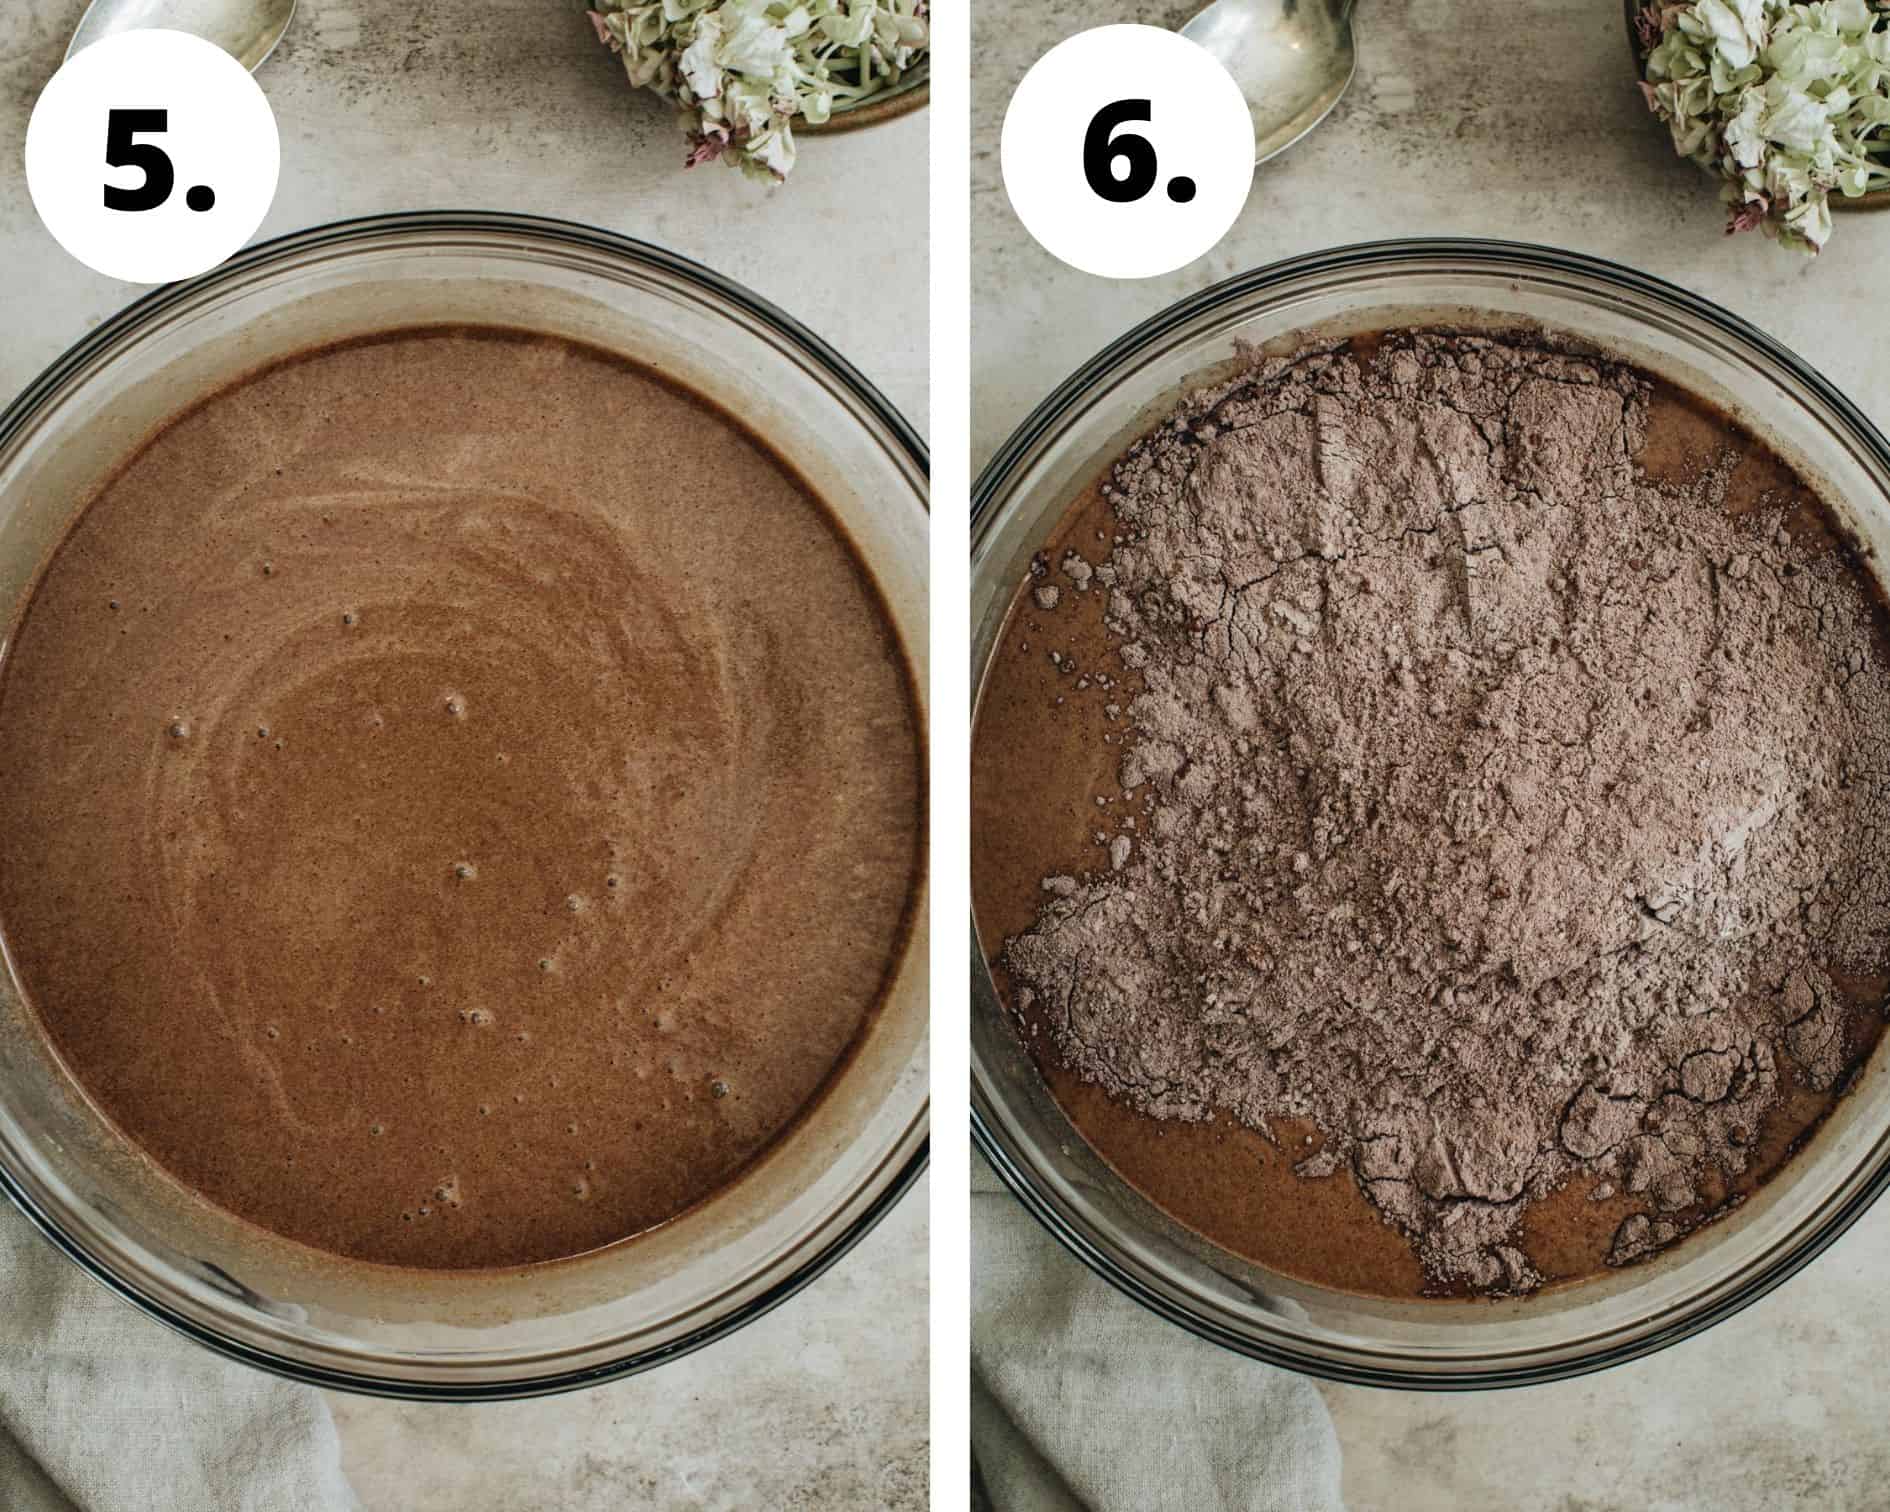
- Mix in the dry ingredients. Add the dry ingredients to the batter and continue to beat together until a smooth, but the thin batter is formed.
- Bake. Pour the batter into a greased 9×9 baking pan that’s also lined with parchment paper and smooth the top and edges. Bake for 35 to 40 minutes, until the center is slightly firm and springy to touch, and let cool completely.
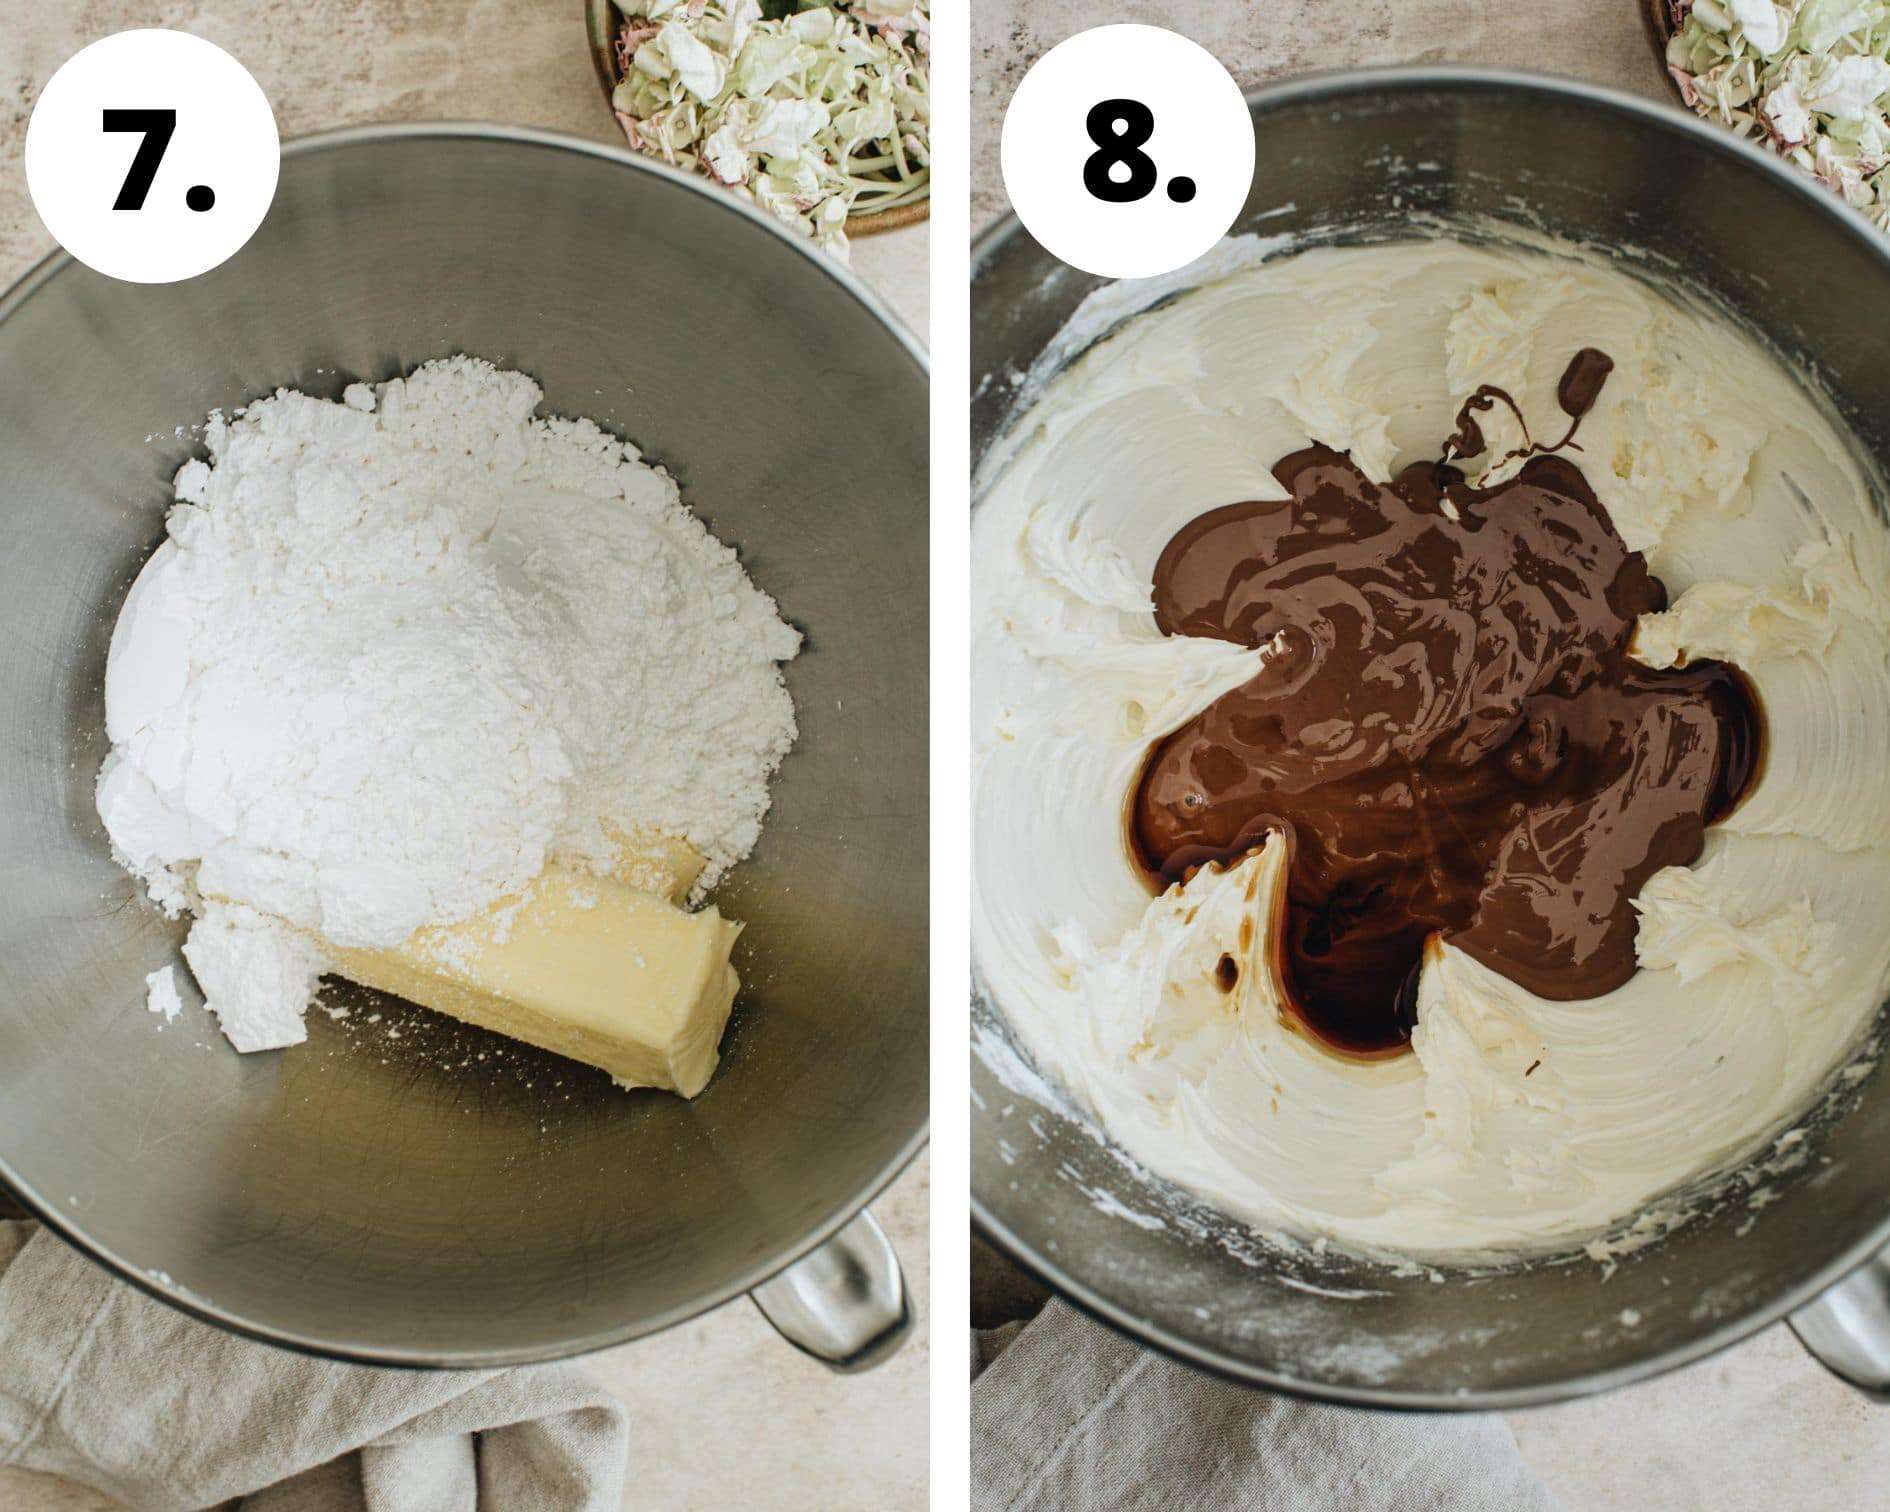
- Beat butter and sugar. In the bowl of an electric mixer fitted with the paddle attachment or using a handheld mixer beat the powdered sugar and butter together until light and fluffy, about 4 minutes.
- Beat in the chocolate and vanilla. Add the melted milk chocolate and vanilla and continue to beat for an additional 2 minutes.
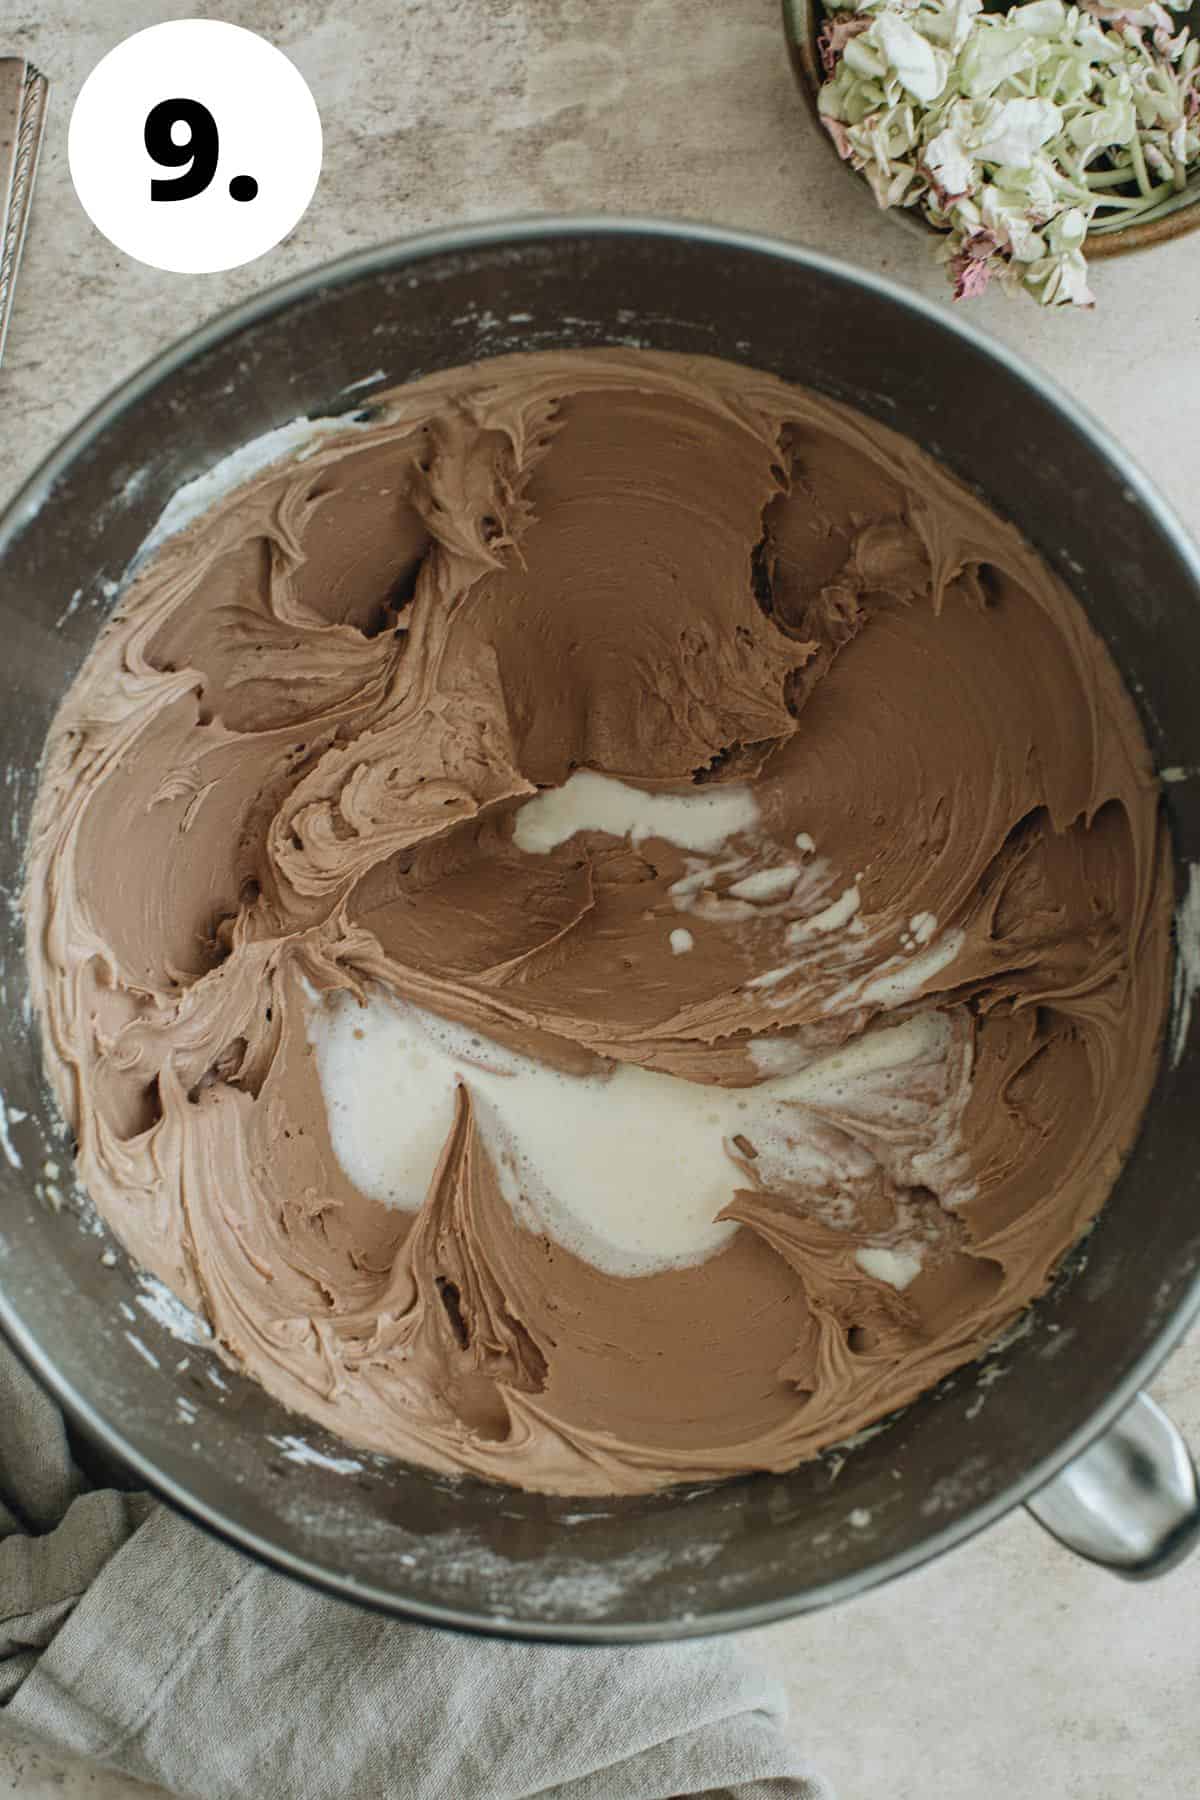
- Add heavy cream. Mix in 2 tablespoons of heavy cream (more if the frosting turns out to be too thick) and beat for an additional 2 to 4 minutes.
- Spread the frosting on top. Once the cake has cooled completely (you can follow these steps on How to Cool a Cake Fast) spread the frosting on top of the cake.
Optional Toppings
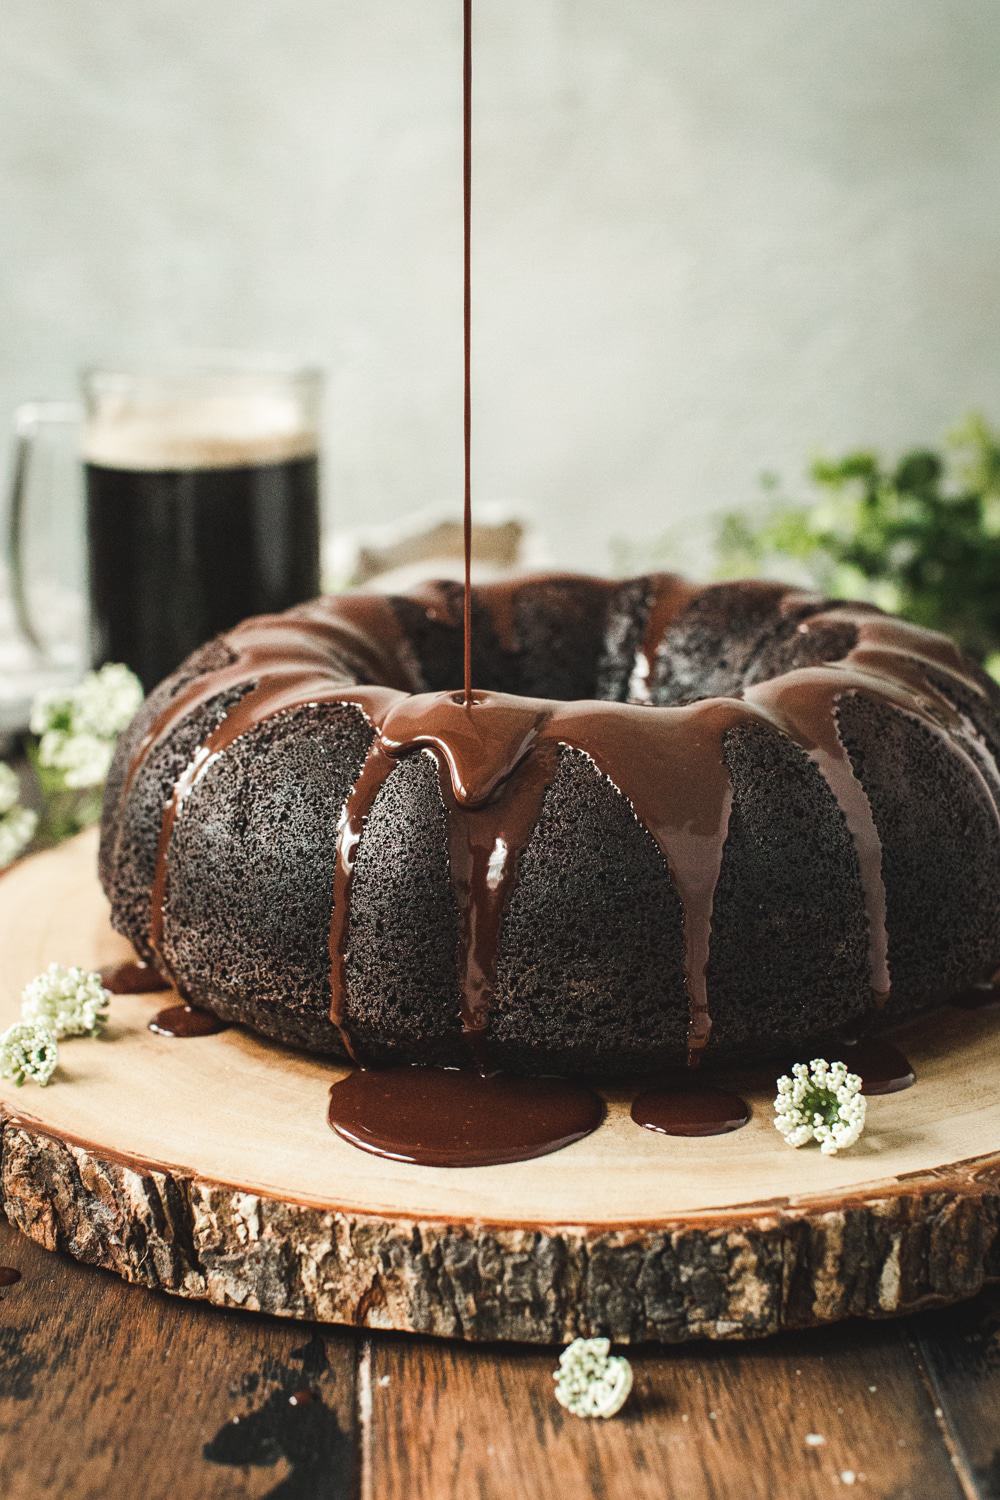
- Chocolate Ganache: Instead of using the milk chocolate frosting you can also use a chocolate ganache to top the cake.
- Chocolate Shavings: In addition to the frosting I like to sprinkle some chocolate shavings on top to give it a little extra chocolate flavor and appeal.

Storage Information
If not stored properly the icing could harden and crumble, which nobody wants. Place the cut slices into an air-tight container and store it in your pantry or on the counter. You don’t need to put it in the fridge, but if you do let it sit at room temperature for 20 minutes before you plan on serving it. This allows the icing to soften up.
Recipe Tips and Tricks
- To easily transport this cake keep it in the fridge the night before you plan on taking it to your event. This will allow it to remain firm. Since it’s only 1 layer though this is an easily transportable cake.
- Melt the chocolate in intervals of 30 seconds in your microwave or use a bowl of boiling water (just don’t allow the bowl to touch the water ever). Stir the chocolate after each interval really well. You don’t want to overheat the chocolate and scorch it.
- Allow the eggs to come to room temperature before using so they don’t start to scramble when mixed into the batter.
- Properly measure your flour by spooning it into your measuring cup and then using the back end of a knife to level it off. Scooping it into your measuring cup alone could cause you to end up with too much flour.
- If the frosting is too thick or too thin. For frosting that is too thick add more heavy cream 1 tablespoon at a time until the desired consistency is reached. If the frosting is too thin add more powdered sugar 1/4 cup at a time until the desired consistency is reached.
FAQs
Yes, and in fact, this cake can be made into a layer cake as well by using two 8×8 or 9×9 round baking pans. You can also double the frosting recipe if you want to completely cover the layered cake.
Fudgy brownies have a dense texture and are super rich whereas a cake-like brownie is slightly fluffier and lighter in texture. This recipe makes a cake-like brownie.
There isn’t a huge difference between the two. The brownie is just a brownie, which has a thicker fudge-like texture whereas brownie cake is more springy and fluffy and is also topped with frosting or ganache.
If you enjoyed this recipe, please leave a ⭐️⭐️⭐️⭐️⭐️ rating and a comment below. You can also share a photo and tag me on Instagram using @AimeeMarsLiving and #AimeeMars.
Brownie Cake
Equipment
- Mixing Bowls
- Microwave Safe Bowl
- Handheld Mixer or Electric Mixer
- Parchment Paper
- 9×9 Baking Pan or 8×8 square or round baking pans
- Offset Spatula
Ingredients
Brownie Cake
- 2 cups Flour
- 1/2 cup Cocoa Powder
- 1 teaspoon Salt
- 1½ cups Unsalted Butter
- 5 ounces Semi Sweet Chocolate chopped
- 1 cup Granulated Sugar
- 3/4 cup Brown Sugar
- 3 large Eggs room temperature
- 2/3 cup Milk
- 1 teaspoon Vanilla Extract
Frosting
- 2 sticks Unsalted Butter room temperature
- 1½ cups Powdered Sugar
- 8 ounces Milk Chocolate melted and cooled
- 2 teaspoons Vanilla Extract
- 2 tablespoons Heavy Cream
Instructions
Brownie Cake
- Preheat the oven to 350ºF and grease a 9×9 or 8×8 baking pan. Line the pan with parchment paper and set aside.
- In a medium-sized bowl mix the flour, cocoa powder, and salt together and set aside.
- Place the butter and chocolate in a microwave-safe bowl and melt them together in the microwave in 30-second intervals (about 1 and half minutes). Stir them together until smooth. Let cool.
- In a large mixing bowl whisk the eggs, granulated sugar, brown sugar, and vanilla together using a handheld mixer. The mixture will be slightly foamy like it is in picture 4.
- Slowly pour in the cooled butter mixture and beat in until just mixed.
- Add the dry ingredients (flour, cocoa powder, and salt mixture) to the batter and continue to beat together until a smooth, but the thin batter is formed.
- Bake for 35 to 40 minutes, until the center is springy and no longer jiggly. Allow the cake to cool completely.
Milk Chocolate Frosting
- In the bowl of an electric mixer fitted with the paddle attachment or using a handheld mixer beat the powdered sugar and butter together until light and fluffy, about 4 minutes.
- Add the melted milk chocolate and vanilla and continue to beat for an additional 2 minutes.
- Mix in 2 tablespoons of heavy cream (more if the frosting turns out to be too thick) and beat for an additional 2 to 4 minutes.
- Once the cake has cooled completely spread the frosting on top of the cake.
Notes
- To easily transport this cake keep it in the fridge the night before you plan on taking it to your event. This will allow it to remain firm. Since it’s only 1 layer though this is an easily transportable cake.
- Melt the chocolate in intervals of 30 seconds in your microwave or use a bowl of boiling water (just don’t allow the bowl to touch the water ever). Stir the chocolate after each interval really well. You don’t want to overheat the chocolate and scorch it.
- Allow the eggs to come to room temperature before using so they don’t start to scramble when mixed into the batter.
- Properly measure your flour by spooning it into your measuring cup and then using the back end of a knife to level it off. Scooping it into your measuring cup alone could cause you to end up with too much flour.
- If the frosting is too thick or too thin. For frosting that is too thick add more heavy cream 1 tablespoon at a time until the desired consistency is reached. If the frosting is too thin add more powdered sugar 1/4 cup at a time until the desired consistency is reached.