All Recipes
 Beverages
 Breakfast
 Appetizers
 Dinner
 Sides
Sides
 Dessert
 Videos
Sausage Balls are a classic holiday appetizer or breakfast bite no one can resist. These sausage and cheese balls are both extra cheesy and tender because they’re homemade. Made using pantry ingredients instead of Bisquick.

I had to reach out to my cousin to find this family recipe. Not only is it one of my favorite holiday savory bites to eat it’s also nostalgic and brings back so many fun memories like sneaking Rum Balls when the grown-ups weren’t looking.
But they’re great outside of the holidays too and are a great appetizer to serve during the Super Bowl or for Easter brunch. Appetizers have always been one of my favorite courses and I’ve been known to order them as my entree when dining out.
Bites that are easy to walk by and grab like these Goat Cheese Stuffed Dates or Little Smokies Wrapped in Bacon just encourage me to walk multiple times past any spread. Sausage and cheese balls are no different. They’re irresistible and easy enough to make your kids or grandkids can help you.
Why You’ll Love this Recipe
- Made from scratch. This sausage cheese balls recipe is from scratch, which means there’s no Bisquick in the mixture. It also means they turn out tender and not dry. The Bisquick version is tasty too, but I prefer to opt for the “from scratch” version when it’s just as easy to prepare.
- Easy to make. With a total of 7 simple ingredients, you can have a batch of these whipped up in 20 minutes and then baked in 20 more. They’re easy to make and your kids or grandkids can help you prepare them.
- Everyone loves them. These easy sausage balls are a crowd pleaser and will be gone minutes after you set them out. Everyone loves them so you might want to make a double batch and if you have leftovers you can just freeze them.
Ingredients Needed
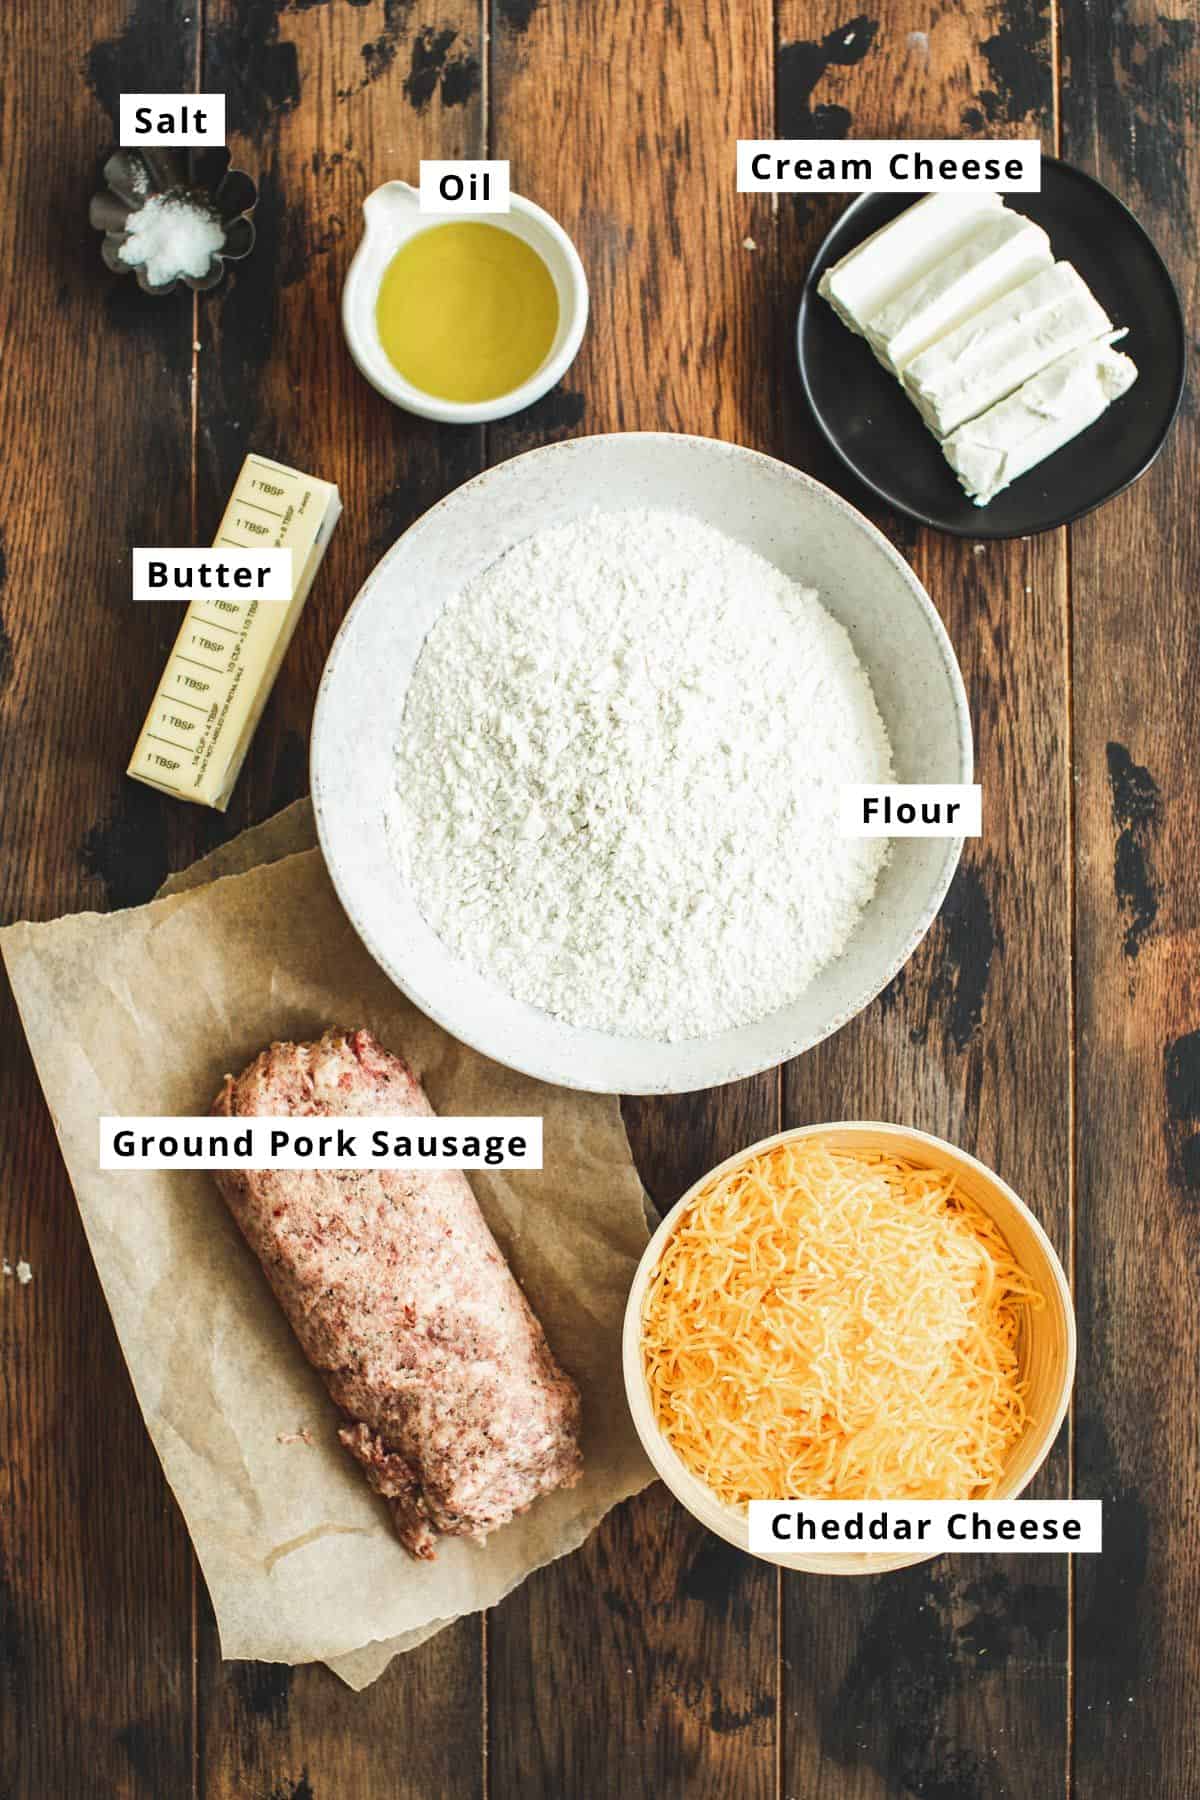
Ingredient Notes
- Ground Pork Sausage – I prefer to use a milk pork sausage for these sausage balls, but if you’d like a spicier version you can use hot pork sausage as well. You want to get the breakfast sausage that comes in the plastic casing.
- Shredded Cheese – Chedded is my favorite cheese to use when making these, but you can try other versions as well, especially if you’re making them for the Super Bowl. Try a Mexican blend or even mozzarella and add use Italian pork sausage instead.
- Cream Cheese – Use full-fat cream cheese for this recipe. It adds to the over texture and cheesiness.
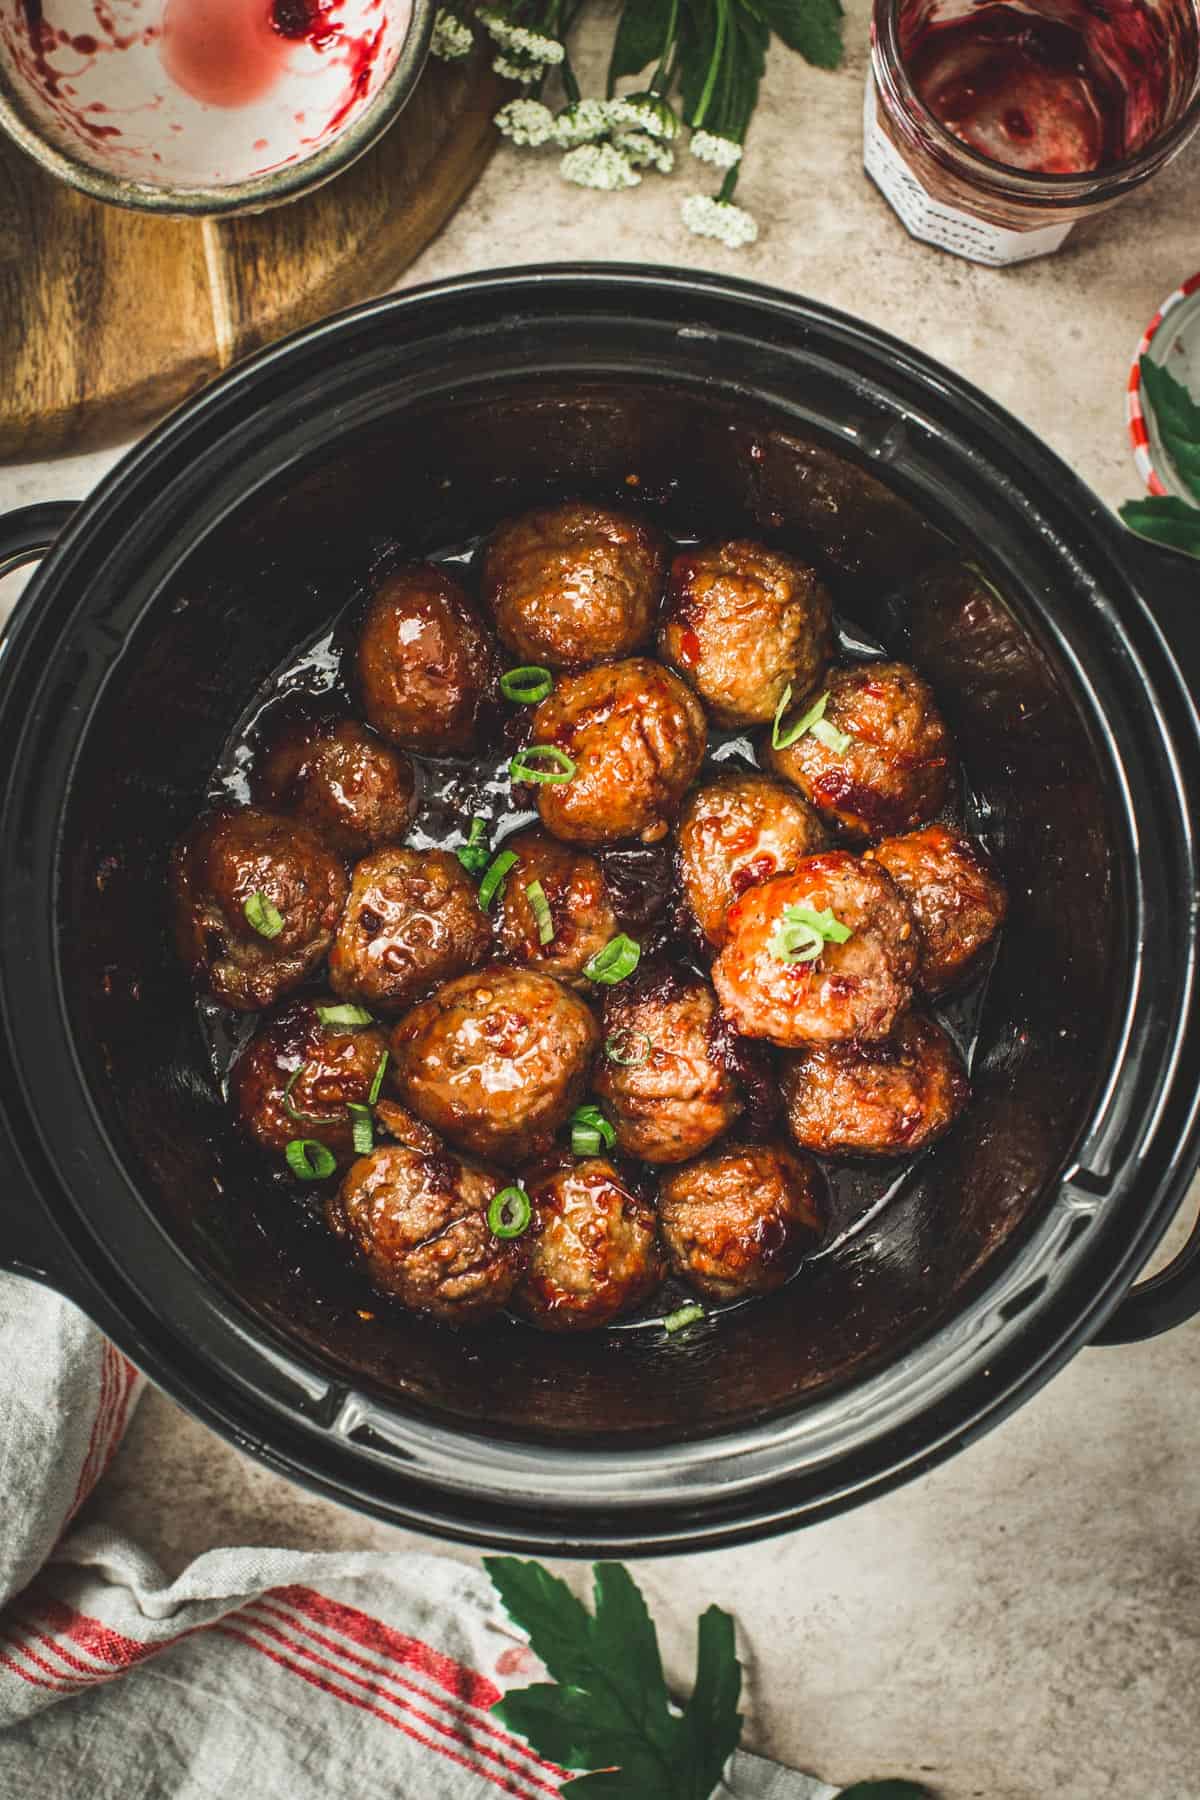
- Oil – I often use oil when making meatballs like these Cranberry Meatballs because it gives the meatball a tender texture that’s not dry. Any version of oil will work but I recommend using one that’s safe for high heat.
How to Make Easy Sausage Balls
Prep – Preheat the oven to 350º F and line a baking sheet with parchment paper or a silicone baking mat. I’ve found I prefer to use the silicone baking mats because the bottoms of the sausage and cheese balls turn a golden brown without burning.
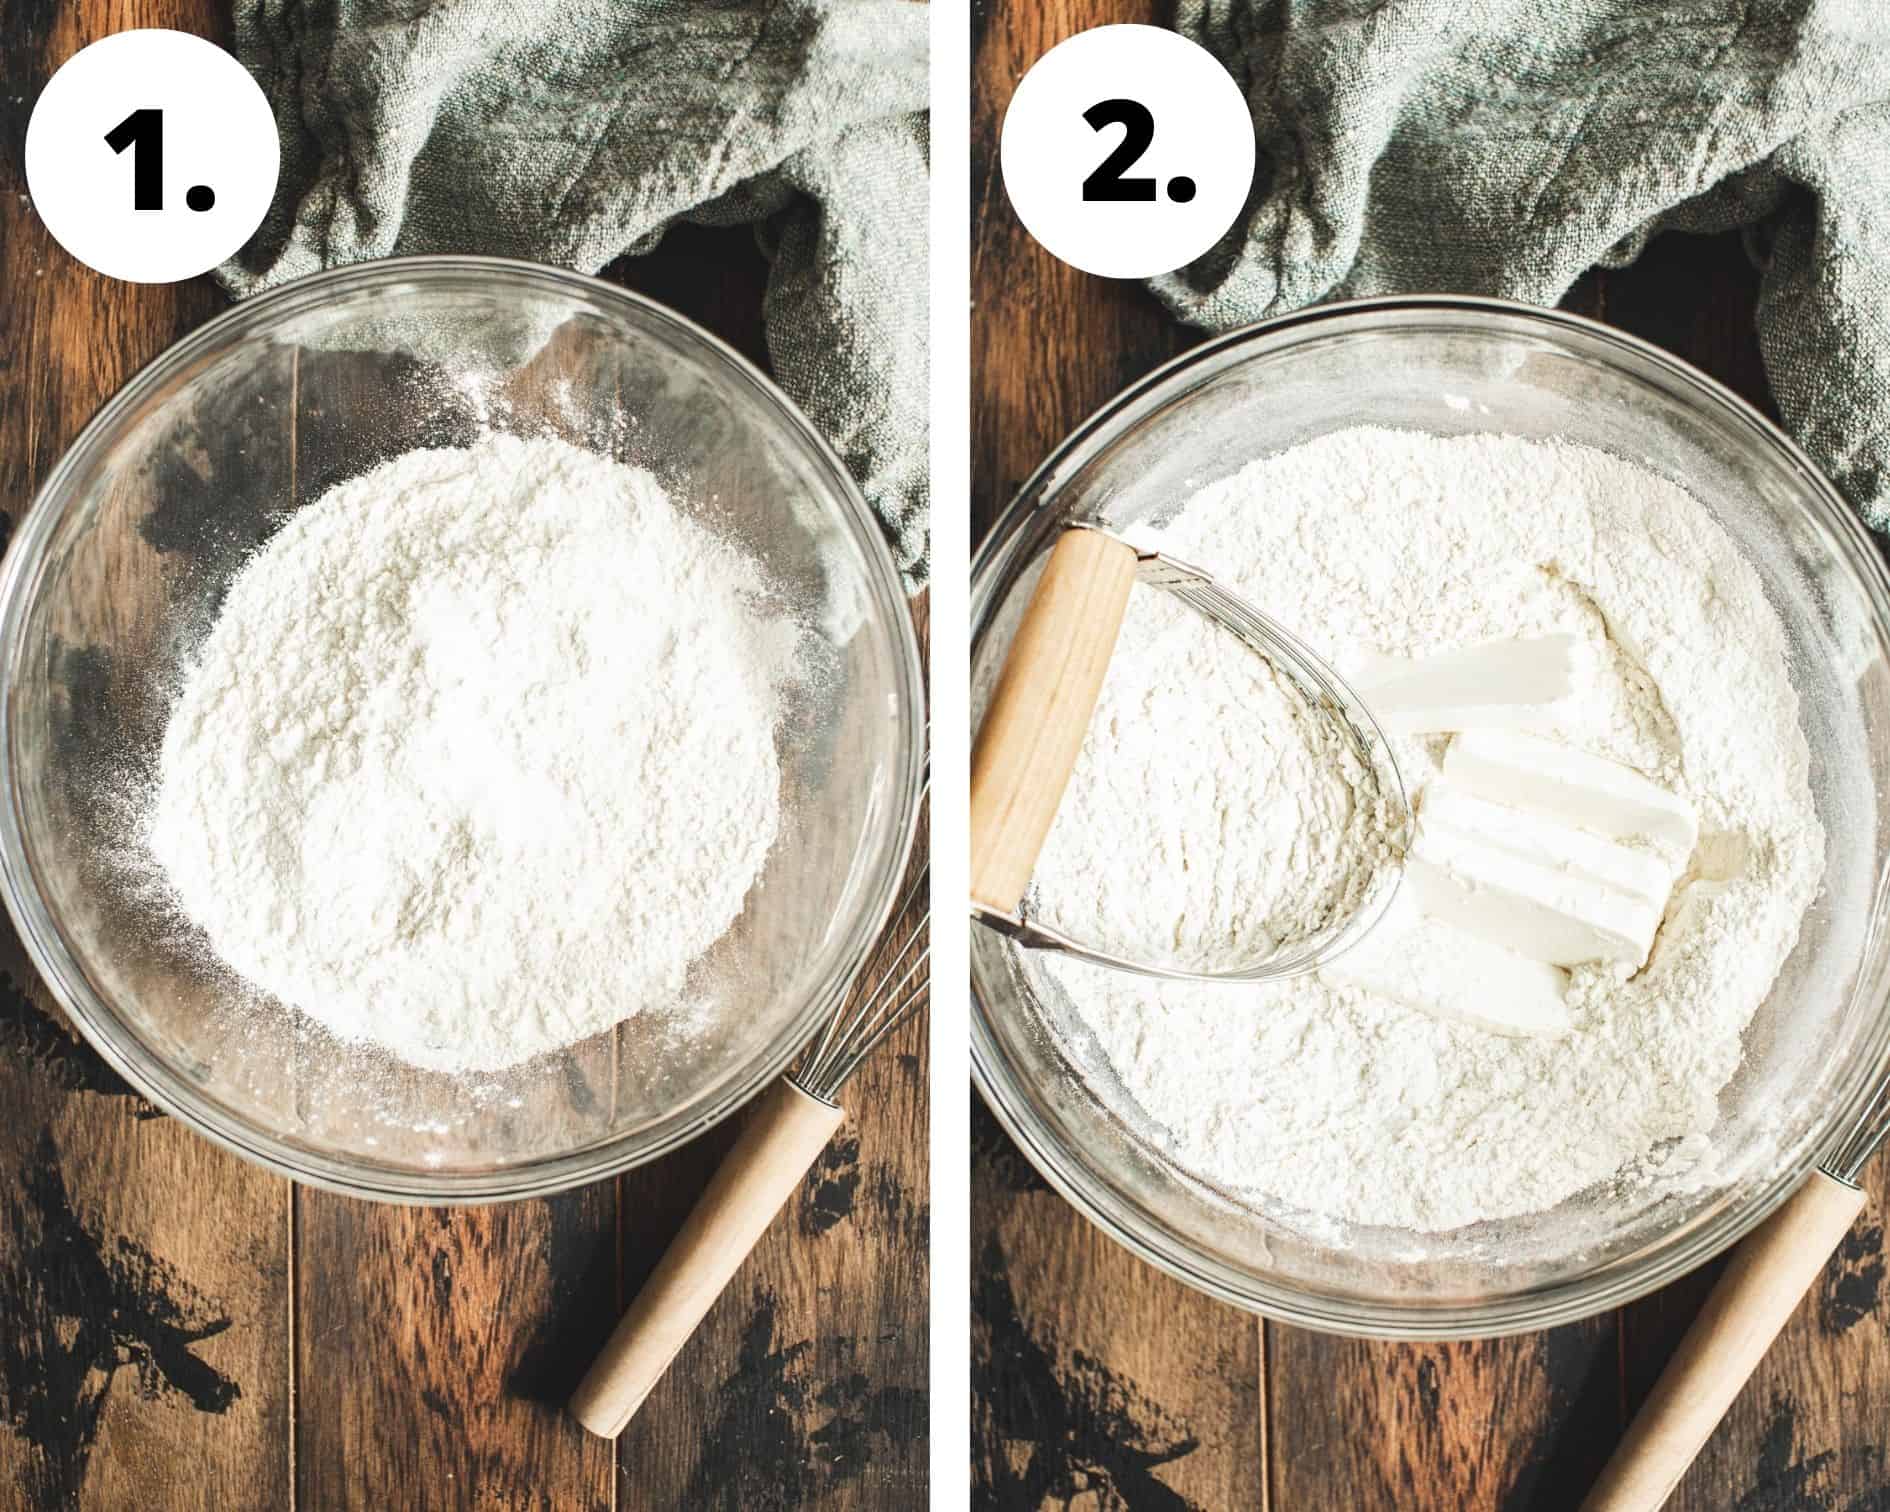
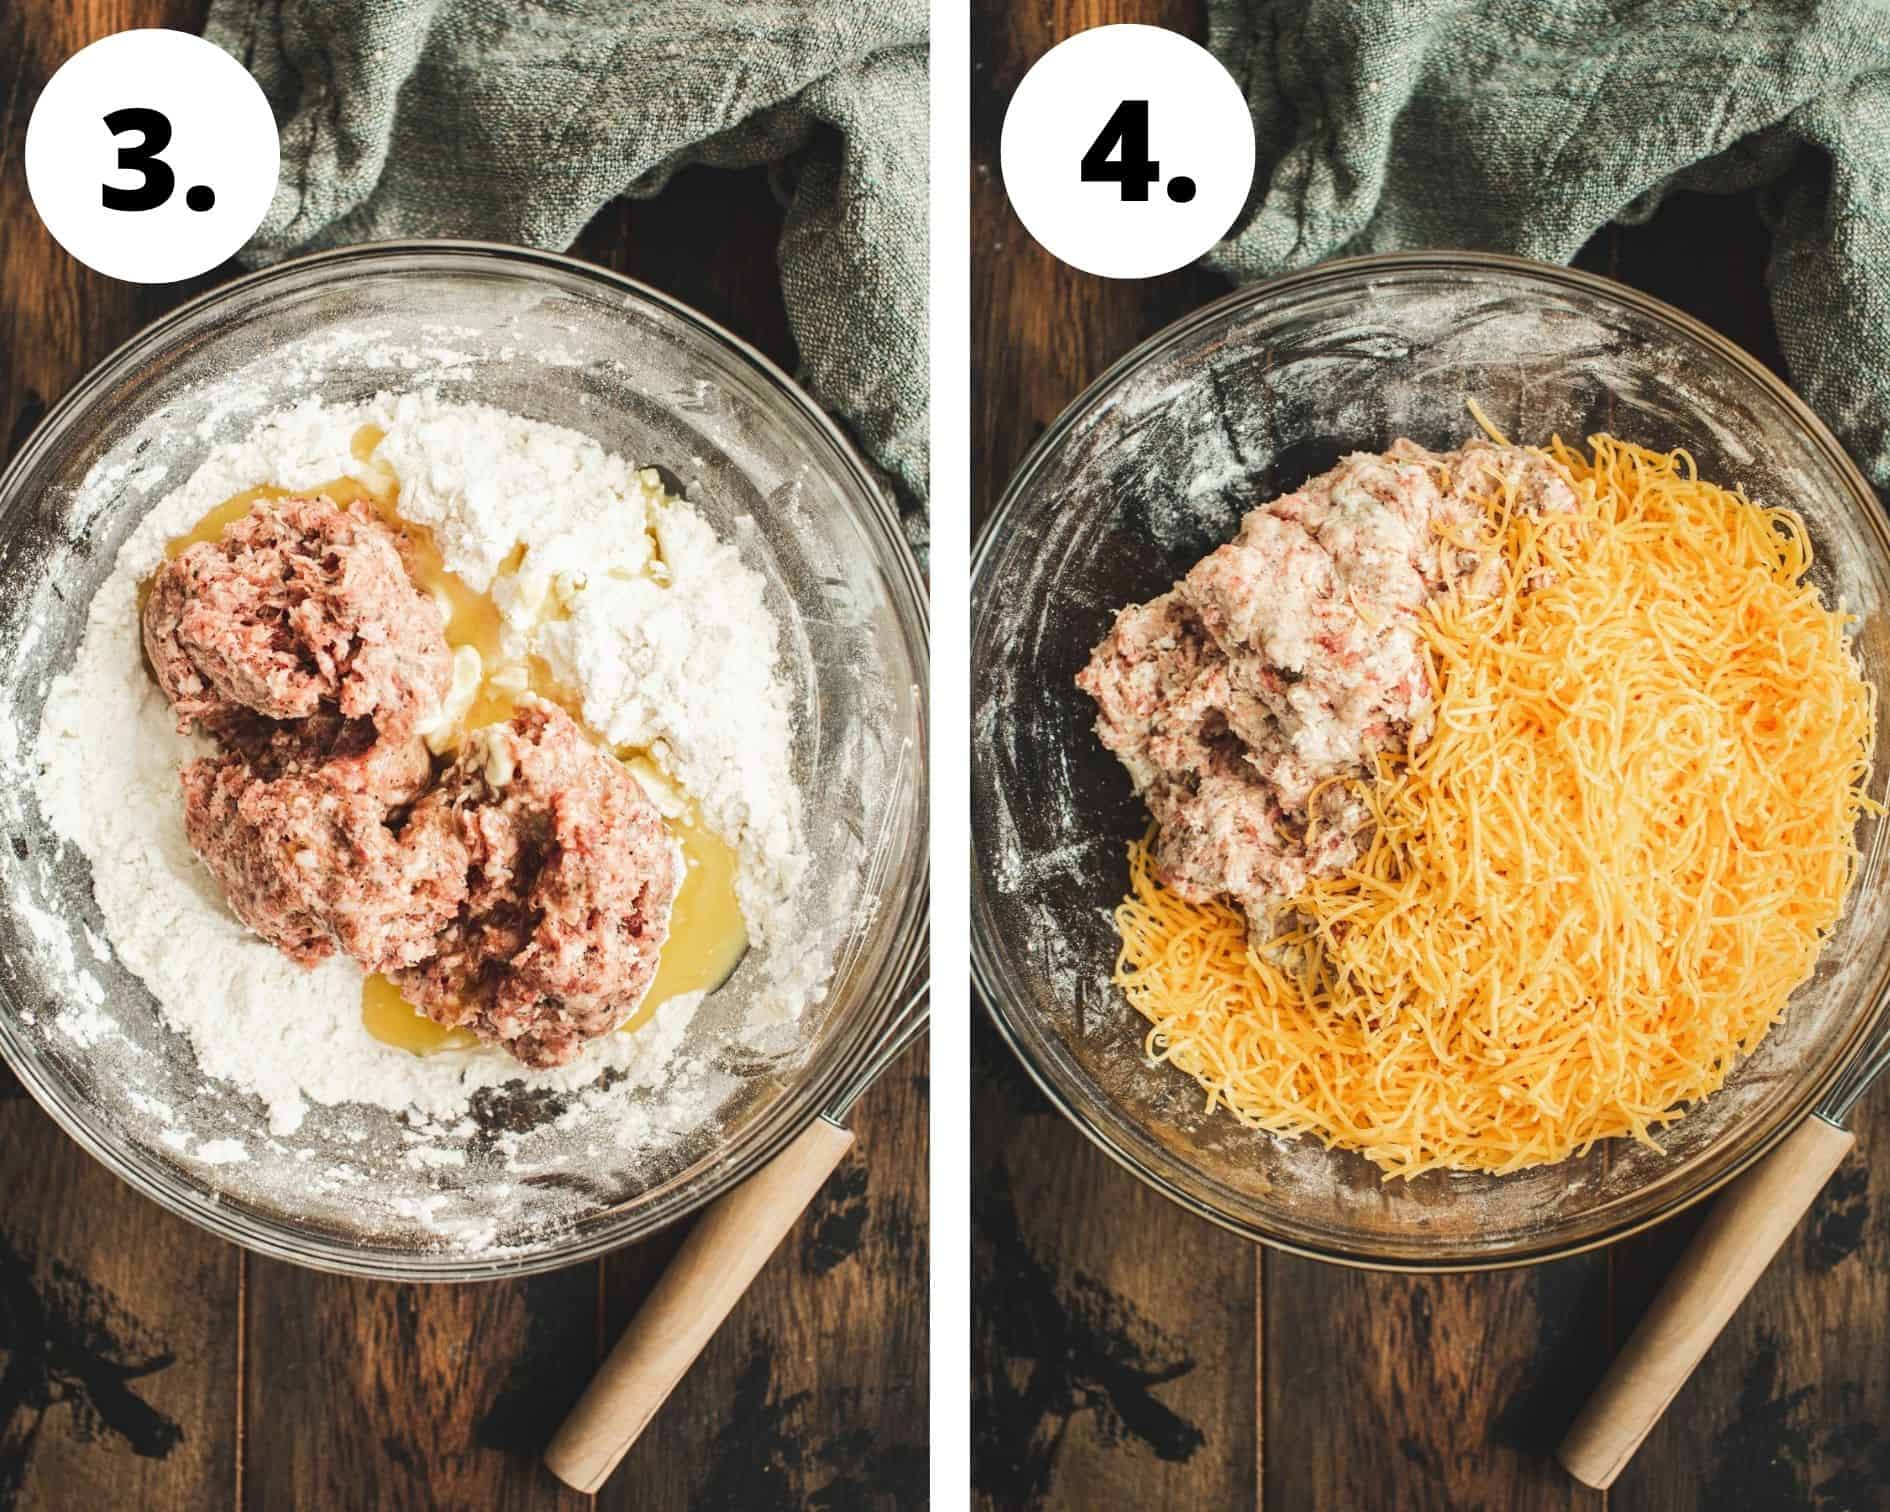
- Combine the dry ingredients. Place the flour and salt into a large mixing bowl and whisk to combine them evenly.
- Cut in the cream cheese. Using a pastry cutter or the back of a fork cut the softened cream cheese into the flour mixture until it’s well mixed with the flour and it becomes crumbly.
- Mix in the sausage and cheese. Add the sausage, butter, and oil to the bowl, and using your hands mash it into the flour mixture (you can also place it into a food processor, but using your hands is less messy to clean). Work the shredded cheese into the mixture until evenly combined.
- Roll into balls. Using a cookie scoop, measure out some of the dough and roll it into a ball in the palm of your hands. Place them onto the prepared baking sheet about 1 to 2 inches apart.
- Bake. Place them in the oven to bake for 20 minutes until the outsides turn a golden brown.

Storage and or Freezing Instructions
- Leftovers – Place the homemade sausage balls into an air-tight container or a zip-top bag and keep them stored in the fridge for up to 4 days. I recommend removing as much air from the bag if using a zip-top bag. A simple trick to doing this is to seal the bag and leave a small hole, then suck the air out with your mouth. Effective and it works!
- Freezing Instructions – The best way to freeze sausage and cheese balls is to place the raw dough balls in an even layer on a baking sheet. Then flash freeze them for about 30 minutes in the freezer. You can then place them into a zip-top bag or freezer-safe container. They will last for up to 2 months stored in the freezer. You can then bake them from frozen and they’ll turn out just as if they were fresh.
- Reheating Instructions – Place the sausage balls onto a rimmed baking sheet lightly coated with oil or cooking spray. Heat them at 325º F until warmed throughout about 10 to 15 minutes.

Recipe Notes and Tips
- Want to make these ahead? You can easily prepare the dough 1 to 2 days in advance of when you plan on cooking and serving them. I recommend going ahead and rolling it into balls to save time too.
- Serving Suggestions: These easy sausage balls are best served on a platter with a dipping sauce. Everything is better with sauce. Some delicious options are honey mustard sauce, bbq sauce, ranch or blue cheese dressing, a sweet and sour sauce, or your favorite sauce.
- Check the temperature. To make sure the meat is fully cooked check to make sure the pork has reached an internal temperature of 160º F.
FAQS
You may have added too much flour, and that’s okay, it can be fixed. When measuring the flour spoon it into your measuring cup and then use the back of a butter knife to scrape any excess off the top. This ensures you won’t use too much flour.
If your sausage balls are too dry or the batter is crumbly then add some milk 1 teaspoon at a time until the dough starts to become moist and can easily be rolled into balls.
Sausage and cheese balls are best served warm and to keep them warm for a party place them in a crockpot and set it to low. This will keep them nice and hot for your party guests.


If you enjoyed this Easy Sausage Balls, please leave a ⭐️⭐️⭐️⭐️⭐️ rating and a comment below. You can also share a photo and tag me on Instagram using @AimeeMarsLiving and #AimeeMars.

Easy Sausage Balls
Equipment
- Cookie Scoop
- Pastry Cutter
- Rimmed Baking Sheet
Ingredients
- 2 cups Flour
- 1/2 teaspoons Salt
- 1 lb Ground Pork Sausage
- 2 cups Shredded Cheddar Cheese
- 4 ounces Cream Cheese softened
- 2 tablespoons Oil
- 3 tablespoons Butter melted
Instructions
- Preheat the oven to 350º F and line a baking sheet with parchment paper or a silicone baking mat.
- Place the flour and salt into a large mixing bowl and whisk to combine them evenly.
- Using a pastry cutter or the back of a fork cut the softened cream cheese into the flour mixture until it's well mixed with the flour and it becomes crumbly.
- Add the sausage, butter, and oil to the bowl, and using your hands mash it into the flour mixture (you can also place it into a food processor, but using your hands is less messy to clean). Work the shredded cheese into the mixture until evenly combined.
- Using a cookie scoop, measure out some of the dough and roll it into a ball in the palm of your hands. Place them onto the prepared baking sheet about 1 to 2 inches apart.
- Bake for 20 minutes until the outsides turn a golden brown.
Notes
- Want to make these ahead? You can easily prepare the dough 1 to 2 days in advance of when you plan on cooking and serving them. I recommend going ahead and rolling it into balls to save time too.
- Serving Suggestions: These easy sausage balls are best served on a platter with a dipping sauce. Everything is better with sauce. Some delicious options are honey mustard sauce, bbq sauce, ranch or blue cheese dressing, a sweet and sour sauce, or your favorite sauce.
- Check the temperature: To make sure the meat is fully cooked check to make sure the pork has reached an internal temperature of 160º F.
Storage and or Freezing Instructions
- Leftovers – Place the homemade sausage balls into an air-tight container or a zip-top bag and keep them stored in the fridge for up to 4 days. I recommend removing as much air from the bag if using a zip-top bag. A simple trick to doing this is to seal the bag and leave a small hole, then suck the air out with your mouth. Effective and it works!
- Freezing Instructions – The best way to freeze sausage and cheese balls is to place the raw dough balls in an even layer on a baking sheet and flash freeze them for about 30 minutes in the freezer. You can then place them into a zip-top bag or freezer-safe container. They will last for up to 2 months stored in the freezer. You can then bake them from frozen and they’ll turn out just as if they were fresh.
- Reheating Instructions – Place the sausage balls onto a rimmed baking sheet lightly coated with oil or cooking spray and heat them at 325º F until warmed throughout about 10 to 15 minutes.