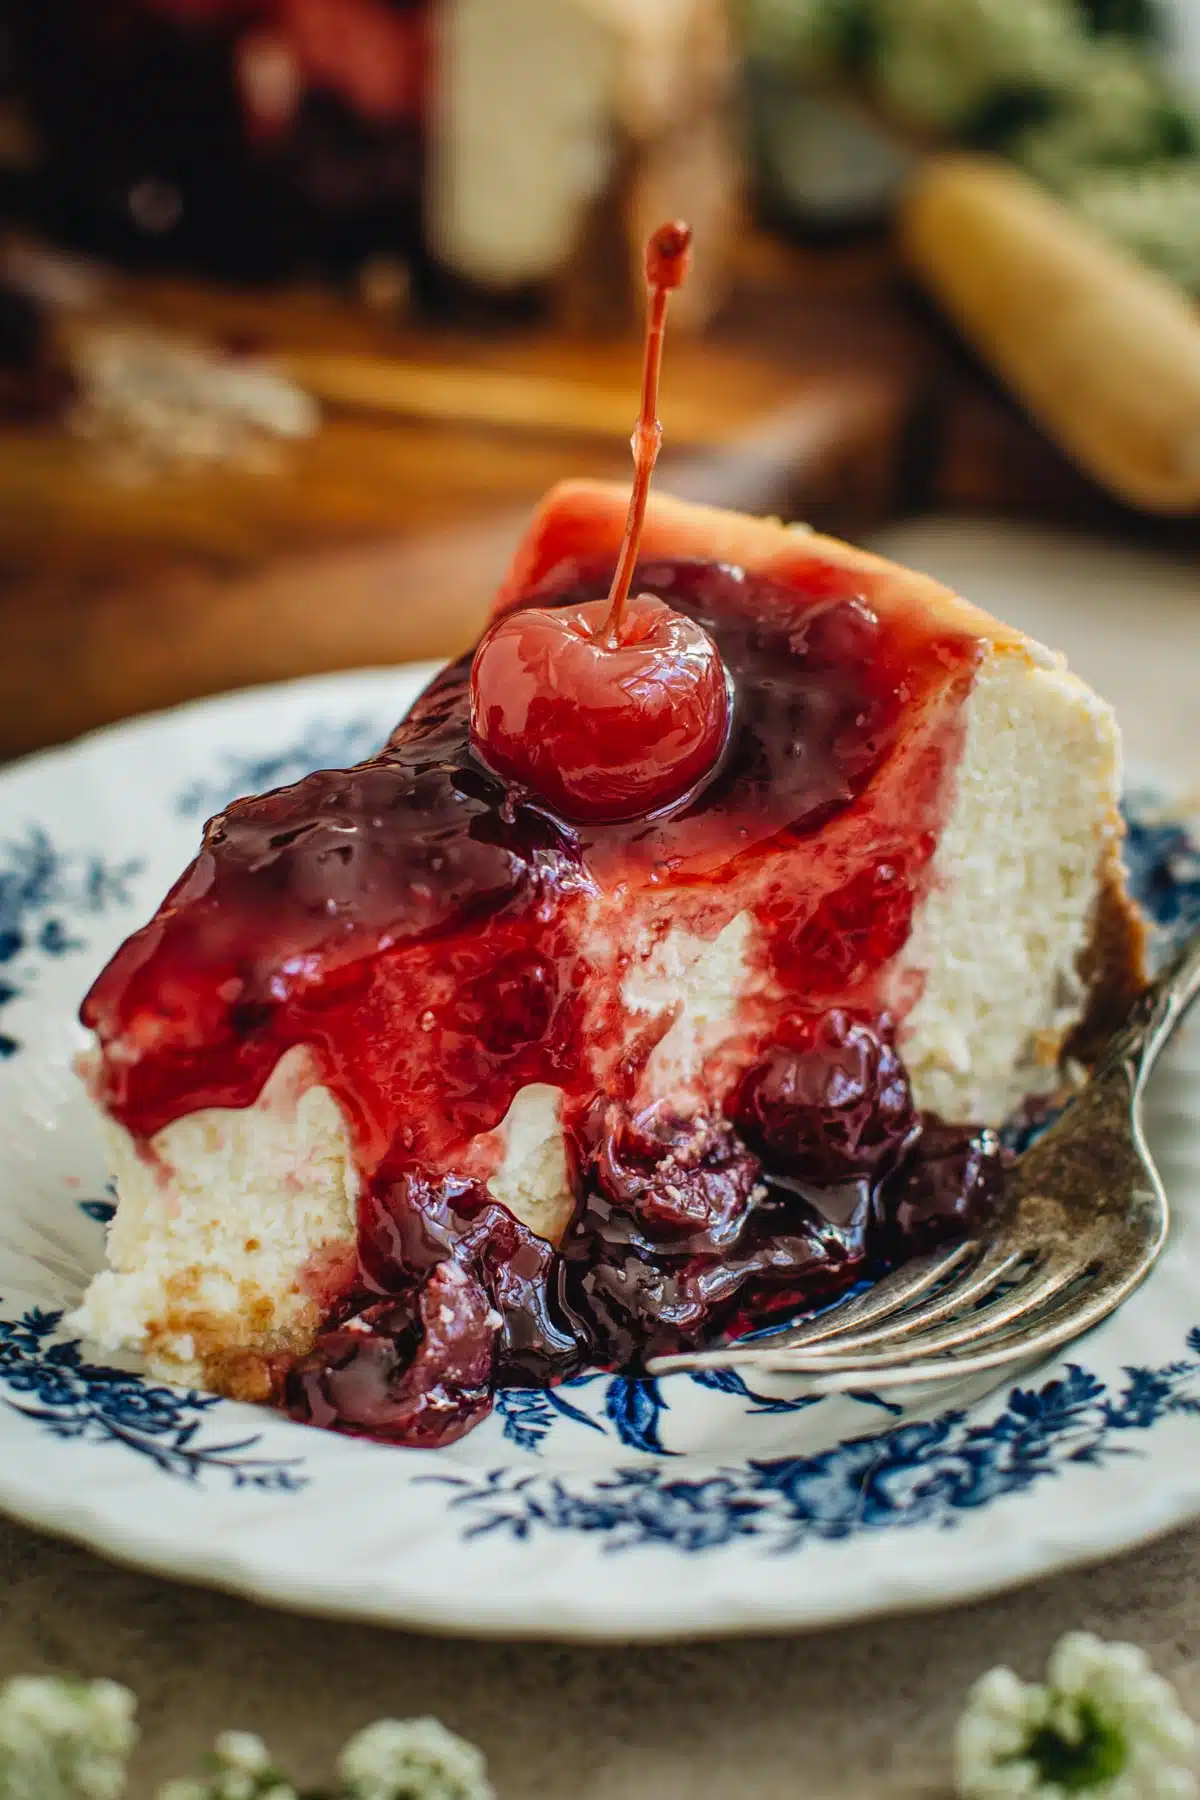
Cherry Cheesecake is creamy, rich, and bursting with sweet cherries. Featuring just a few other key ingredients, it’s so easy to make!
Cheesecake is one of my all-time favorite desserts. These no bake strawberry cheesecake bars are perfect for summer, and I’ve also been known to make cheesecake dip! I love bringing gingerbread cheesecake dip or pumpkin cheesecake dip to holiday parties. They are so simple to make and are always a hit.
Why This Recipe Works
While I love my cheesecake dips and bars, sometimes I’m in the mood for something a little more classic — that’s where this easy cherry cheesecake recipe comes in.
It’s a pretty standard recipe. All you’ll need are the usual suspects: cream cheese, sour cream, graham crackers for the homemade crust, and a can of cherry pie filling. It doesn’t get much easier than that.
The results are fantastic. My cherry cheesecake is sweet, smooth, and flavorful, thanks to the oh-so-sweet cherries. It comes together in a flash, so you’ll just have to have a little patience as it bakes!
Ingredients Needed
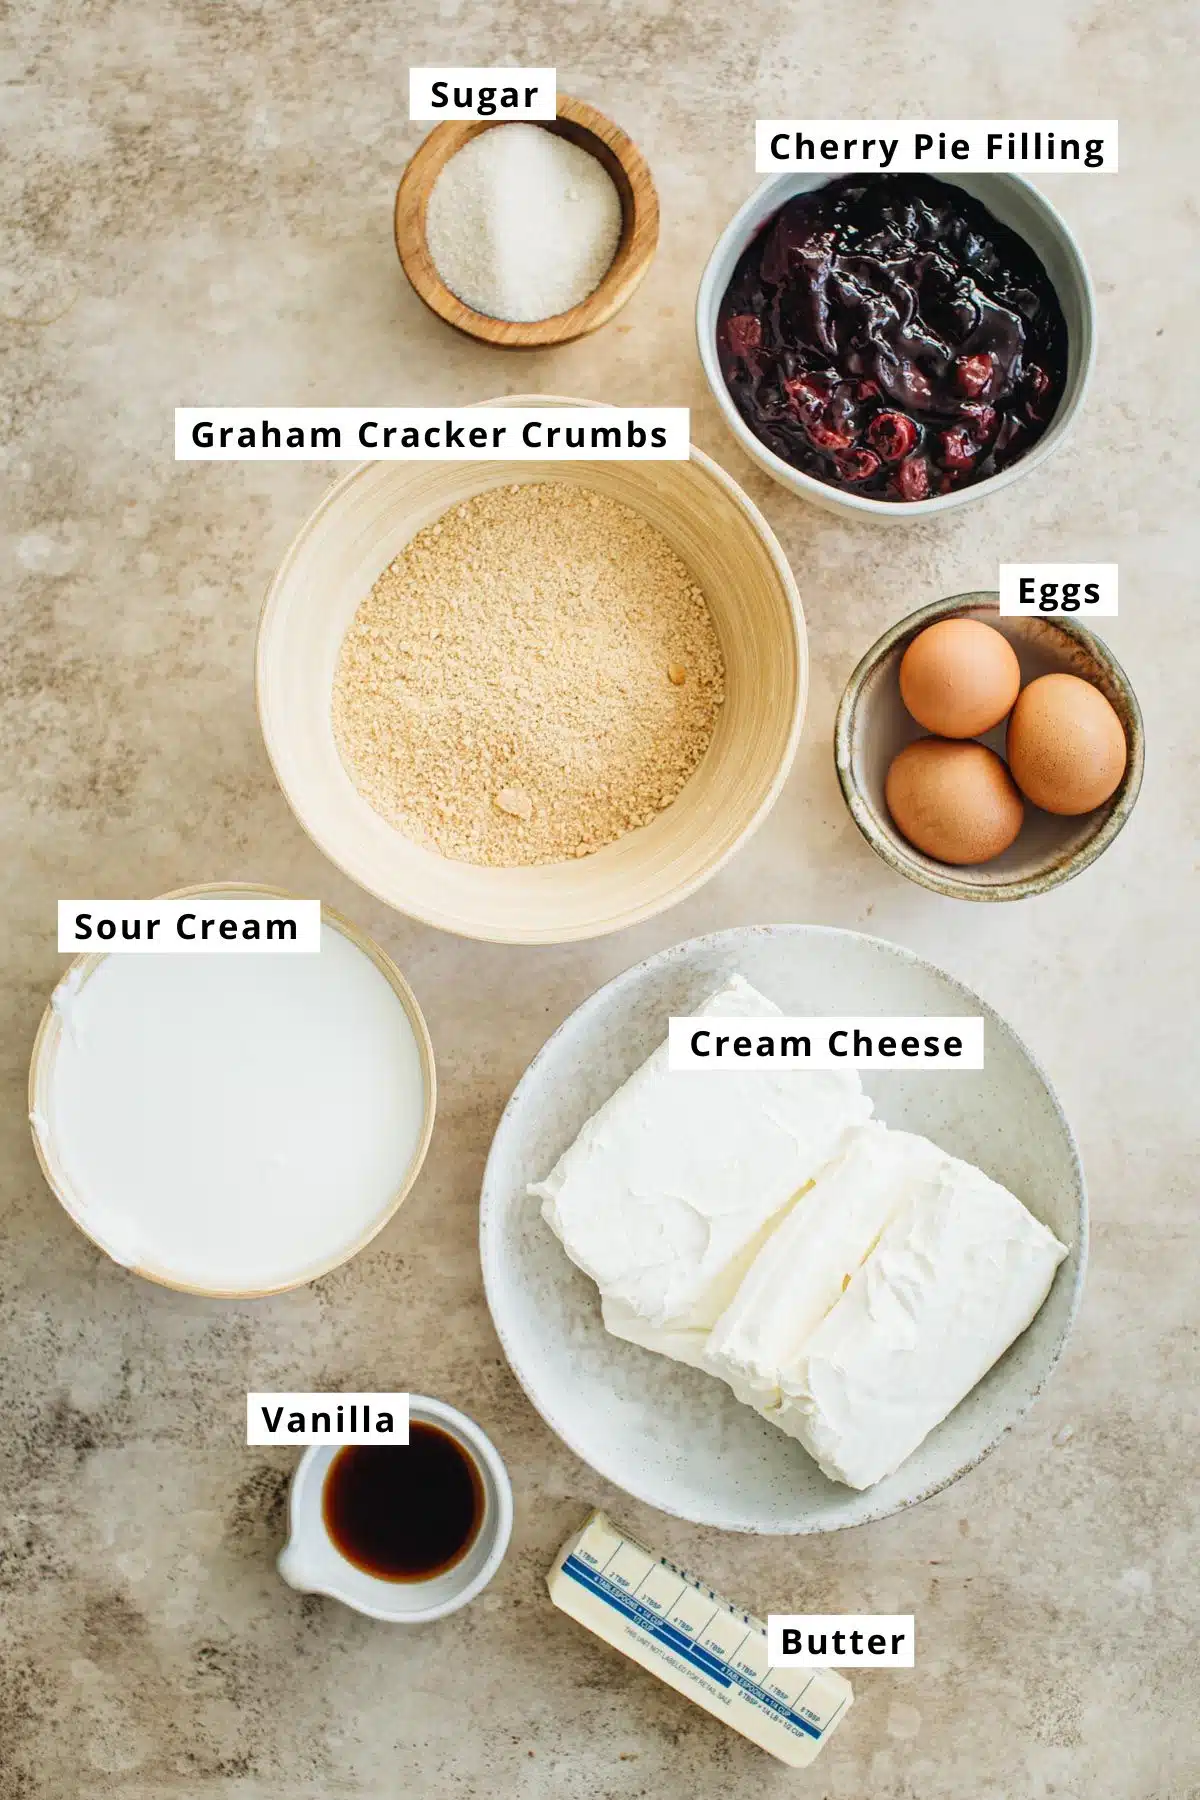
- Cream Cheese: The base of all good cheesecake is quality cream cheese! I typically go for full fat as it adds a rich texture to the overall results.
- Sour Cream: Sour cream adds a slight tart flavor that complements the sweetness of the fruit perfectly.
- Cherries: To make this cherry cheesecake recipe even easier, I opt for cherry pie filling from a can.
- Graham Crackers: Sure, you could buy a pre-made graham cracker crust from the supermarket, but where’s the fun in that?
How to Make Cherry Cheesecake
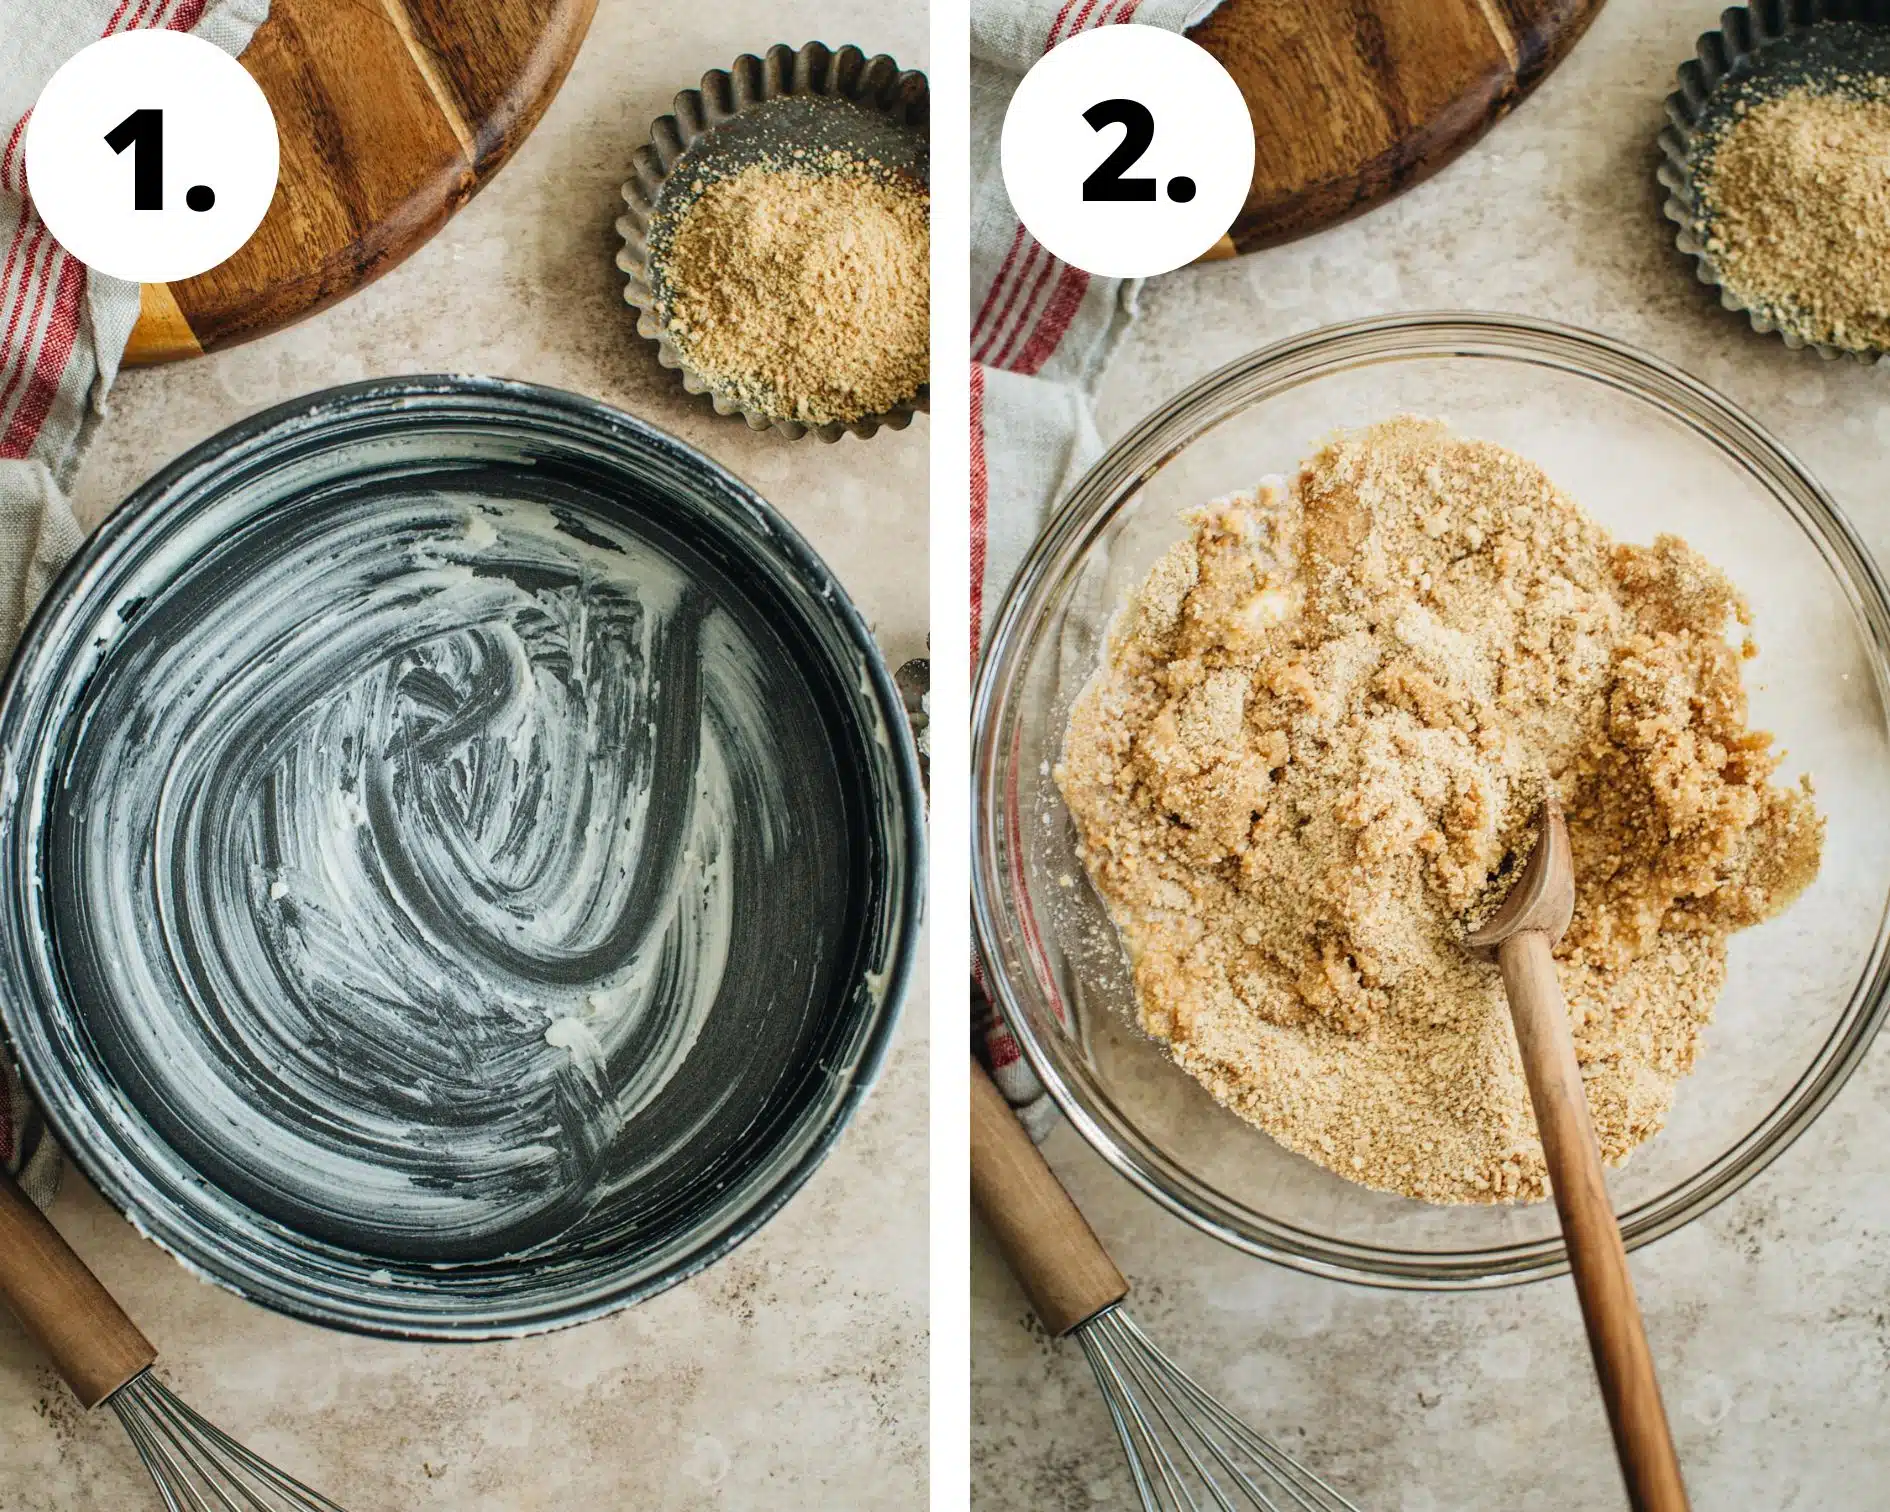
- Recipe prep. Preheat your oven to 325°F and coat the sides of a springform pan with butter or shortening.
- Make the graham cracker crust. Add crushed graham crackers and sugar to a medium bowl and stir. Pour in the melted butter and mix until it begins to clump. Press the mixture into the bottom of the pan using your fingers. Bake the crust for 10 minutes and set aside.
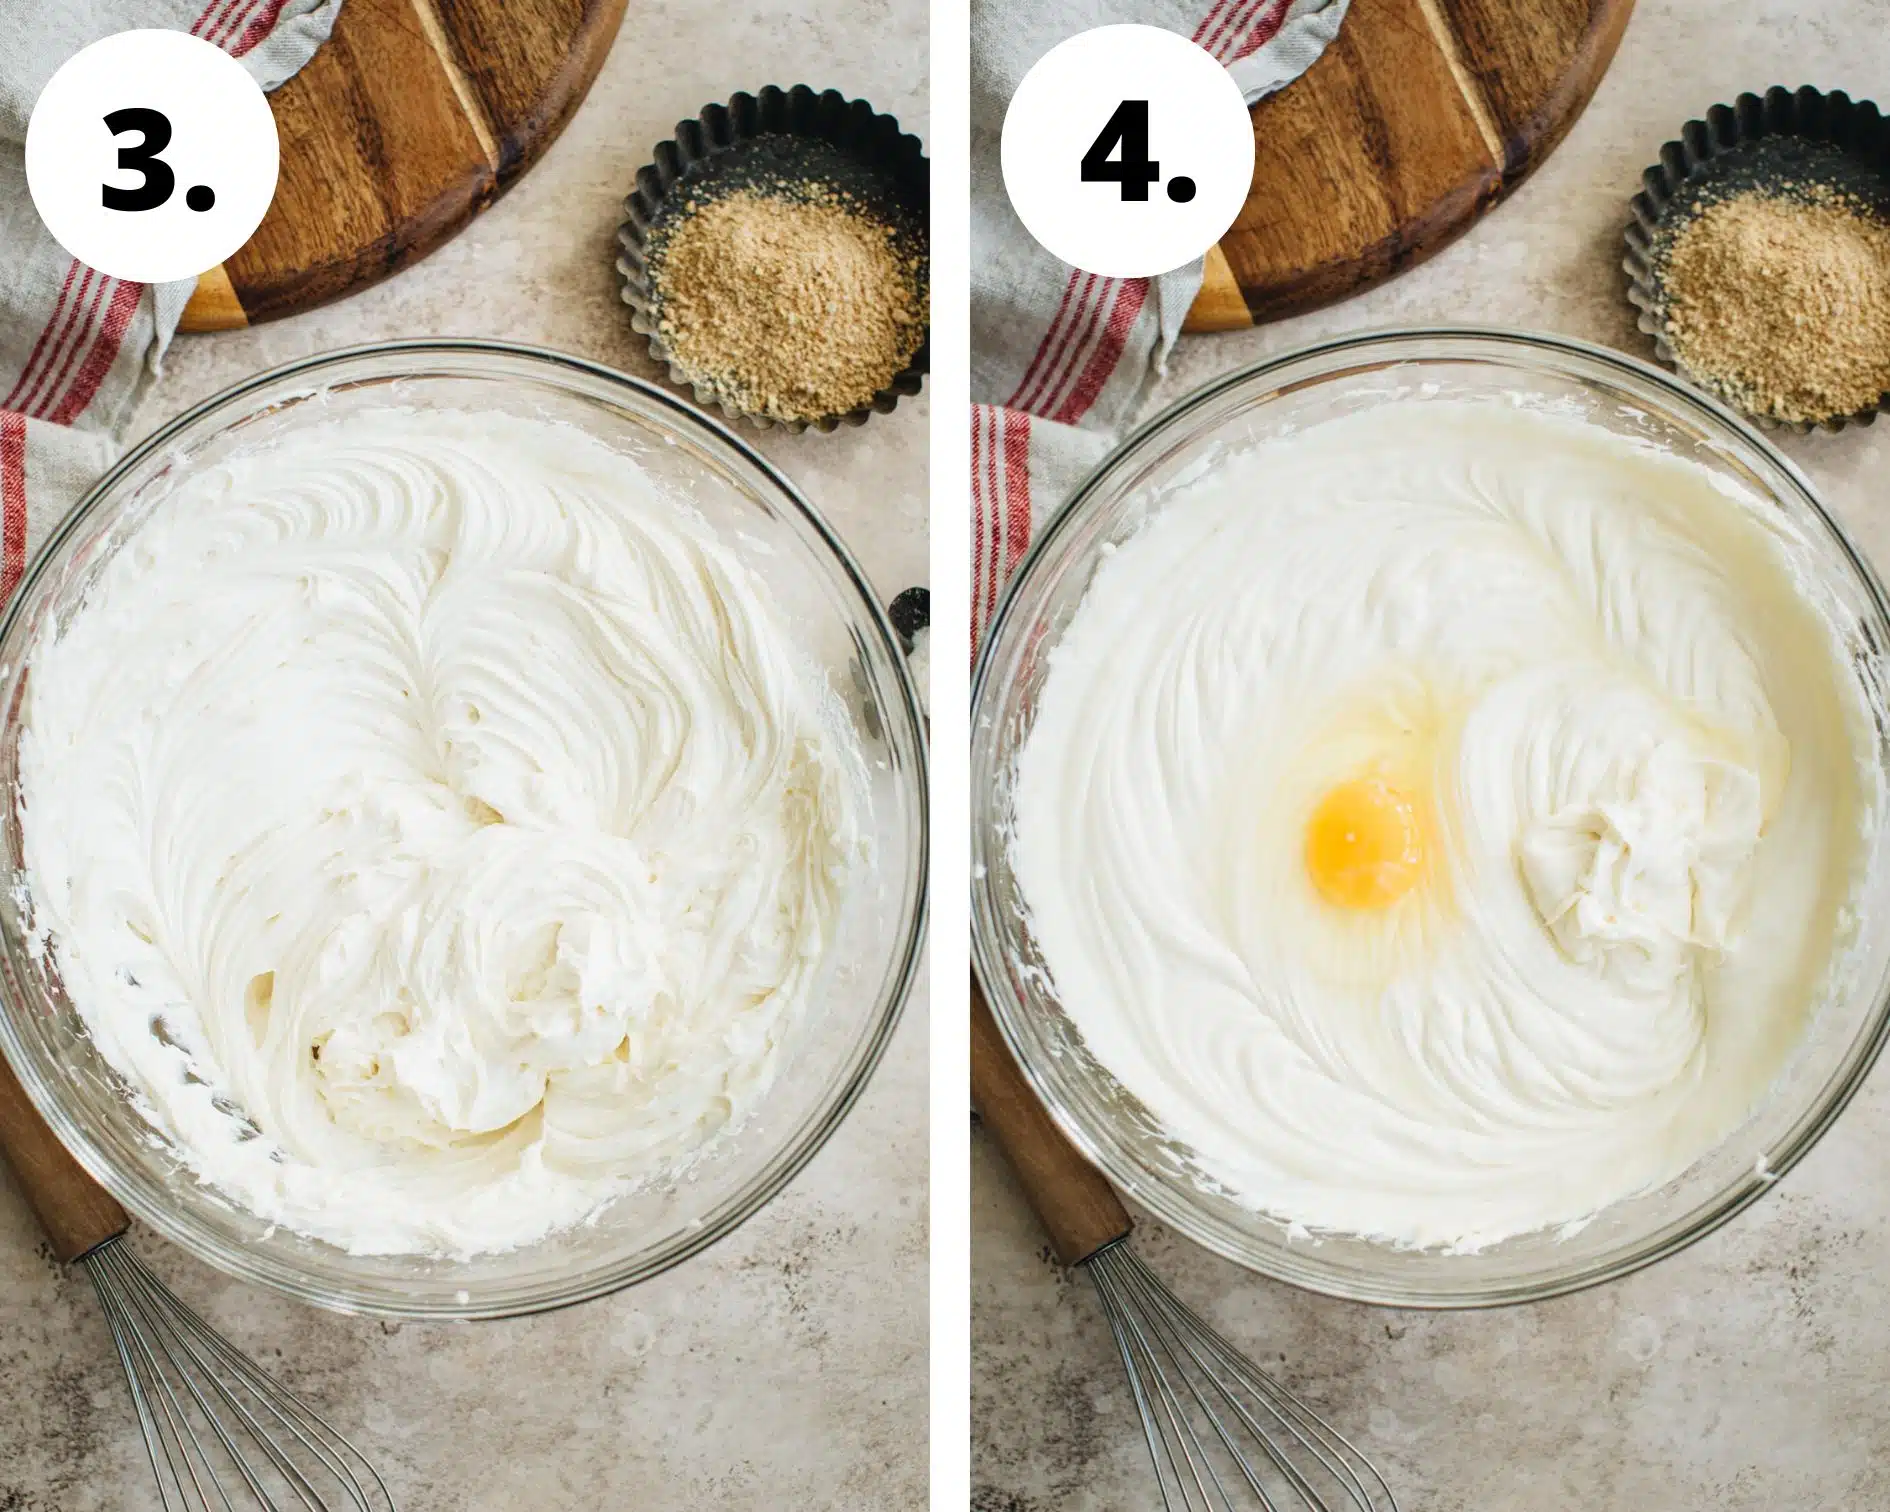
- Mix the cream cheese & sugar. Place the cream cheese and sugar in a large mixing bowl, or into the bowl of an electric mixer that’s fitted with the paddle attachment. Beat them together until they become smooth.
- Add the eggs. Add one egg at a time to the mixture, mixing after each. Scrape the sides of the bowl if needed.
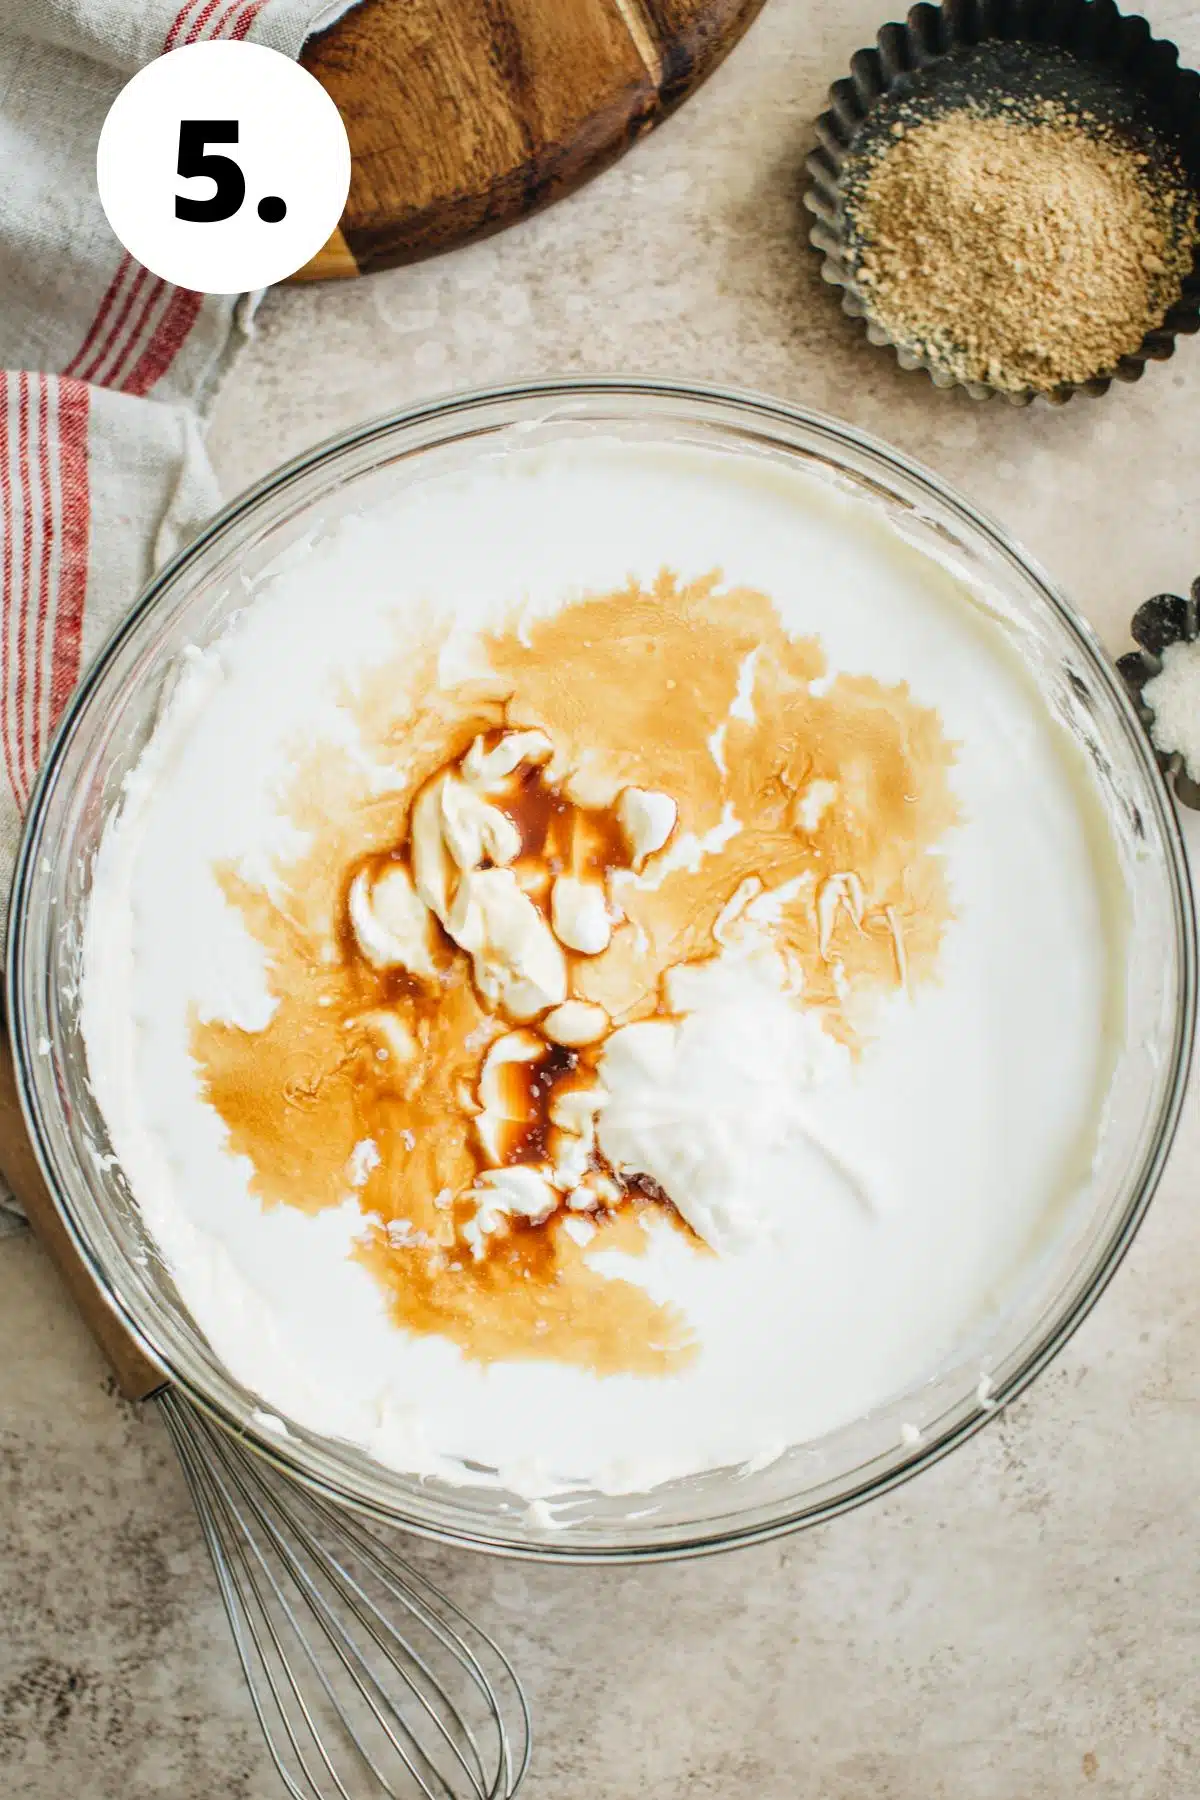
- Incorporate the sour cream. Add the sour cream and vanilla extract and mix thoroughly.
- Bake the cheesecake. Fill a baking dish with hot water and place it on the second rack of the oven. Pour the batter into the pan over the crust, then place it in the oven on the top rack. Allow baking for 60-75 minutes.
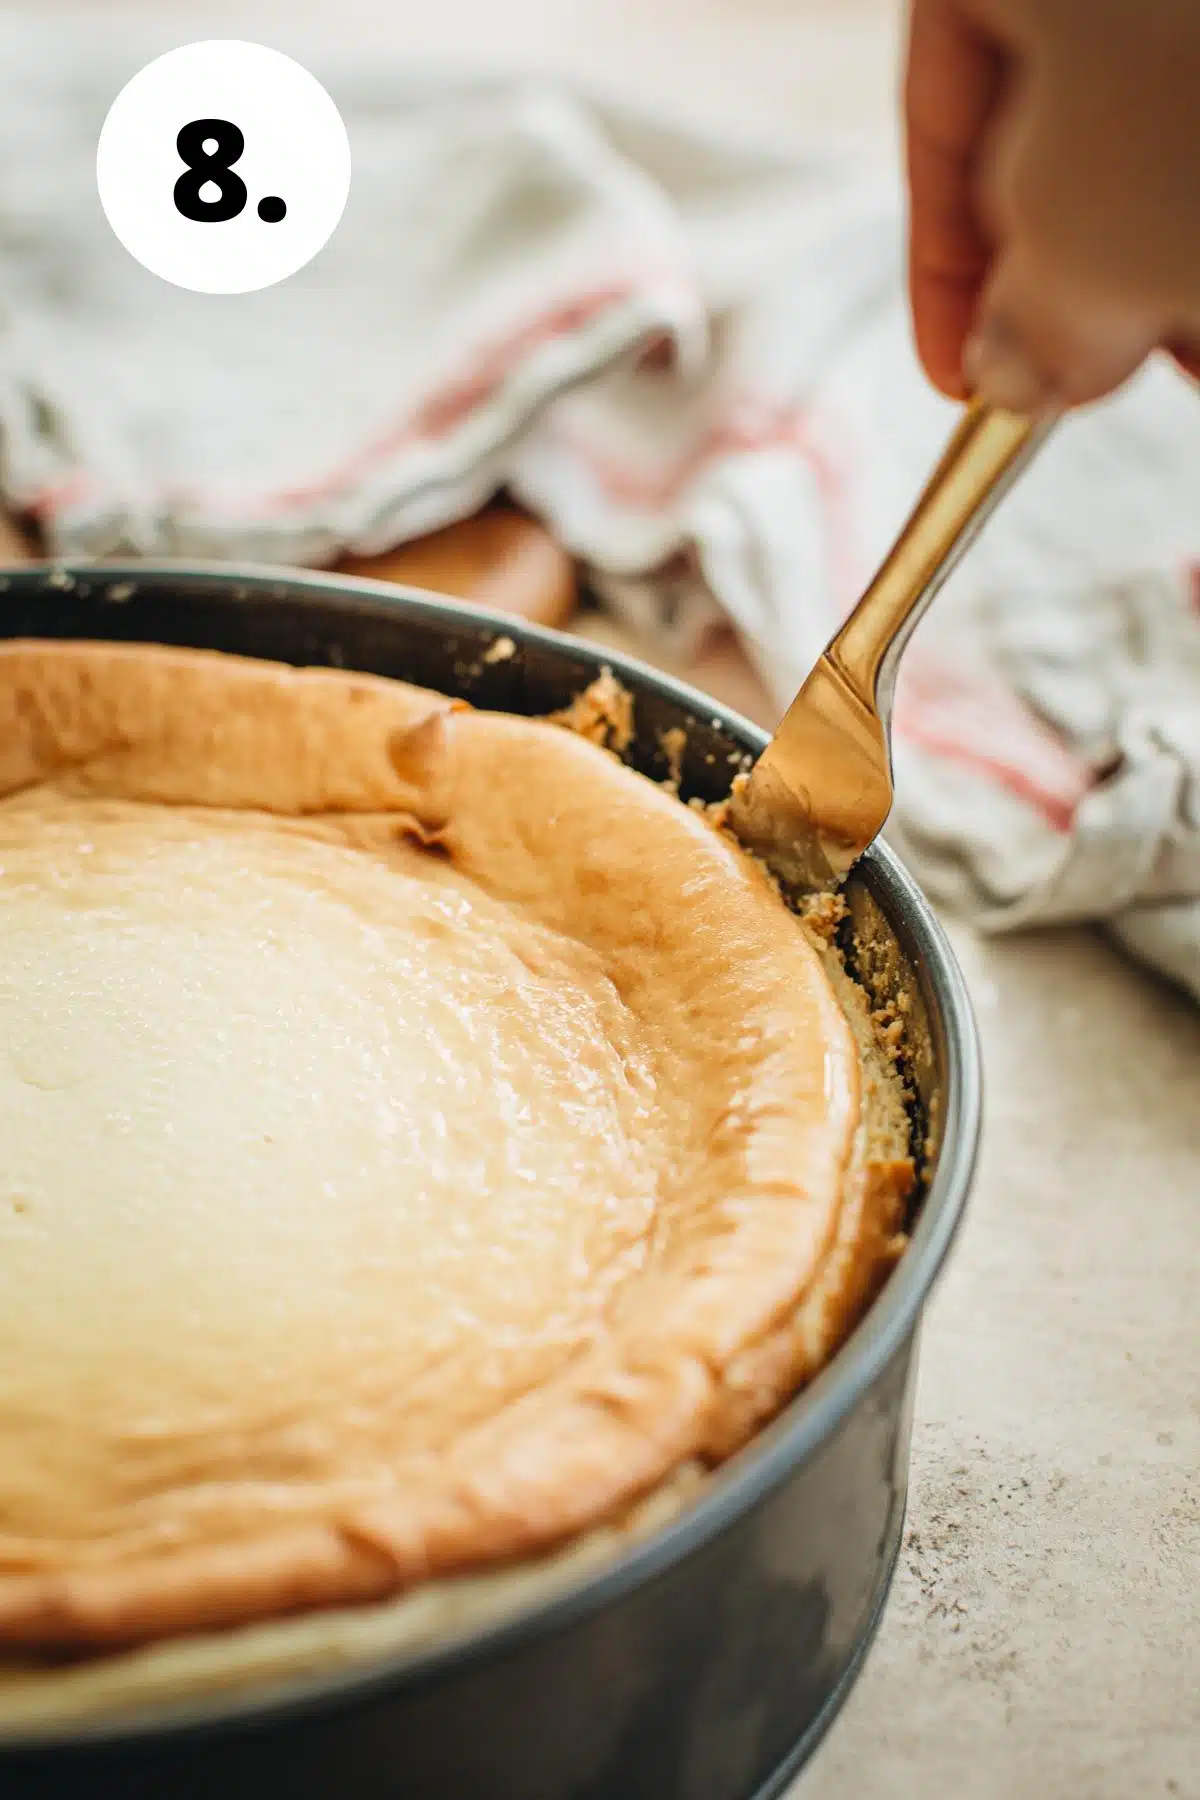
- Allow it to cool. Turn off your oven but leave the cheesecake inside. Let it cool for 1 hour with the door left slightly ajar. Remove the cheesecake and allow it to come to room temperature before placing it in the fridge to chill for at least 4 hours.
- Remove from the pan. After it has chilled, run a sharp knife along the edge of the pan to loosen it. Unbuckle the springform pan and carefully remove the cake.
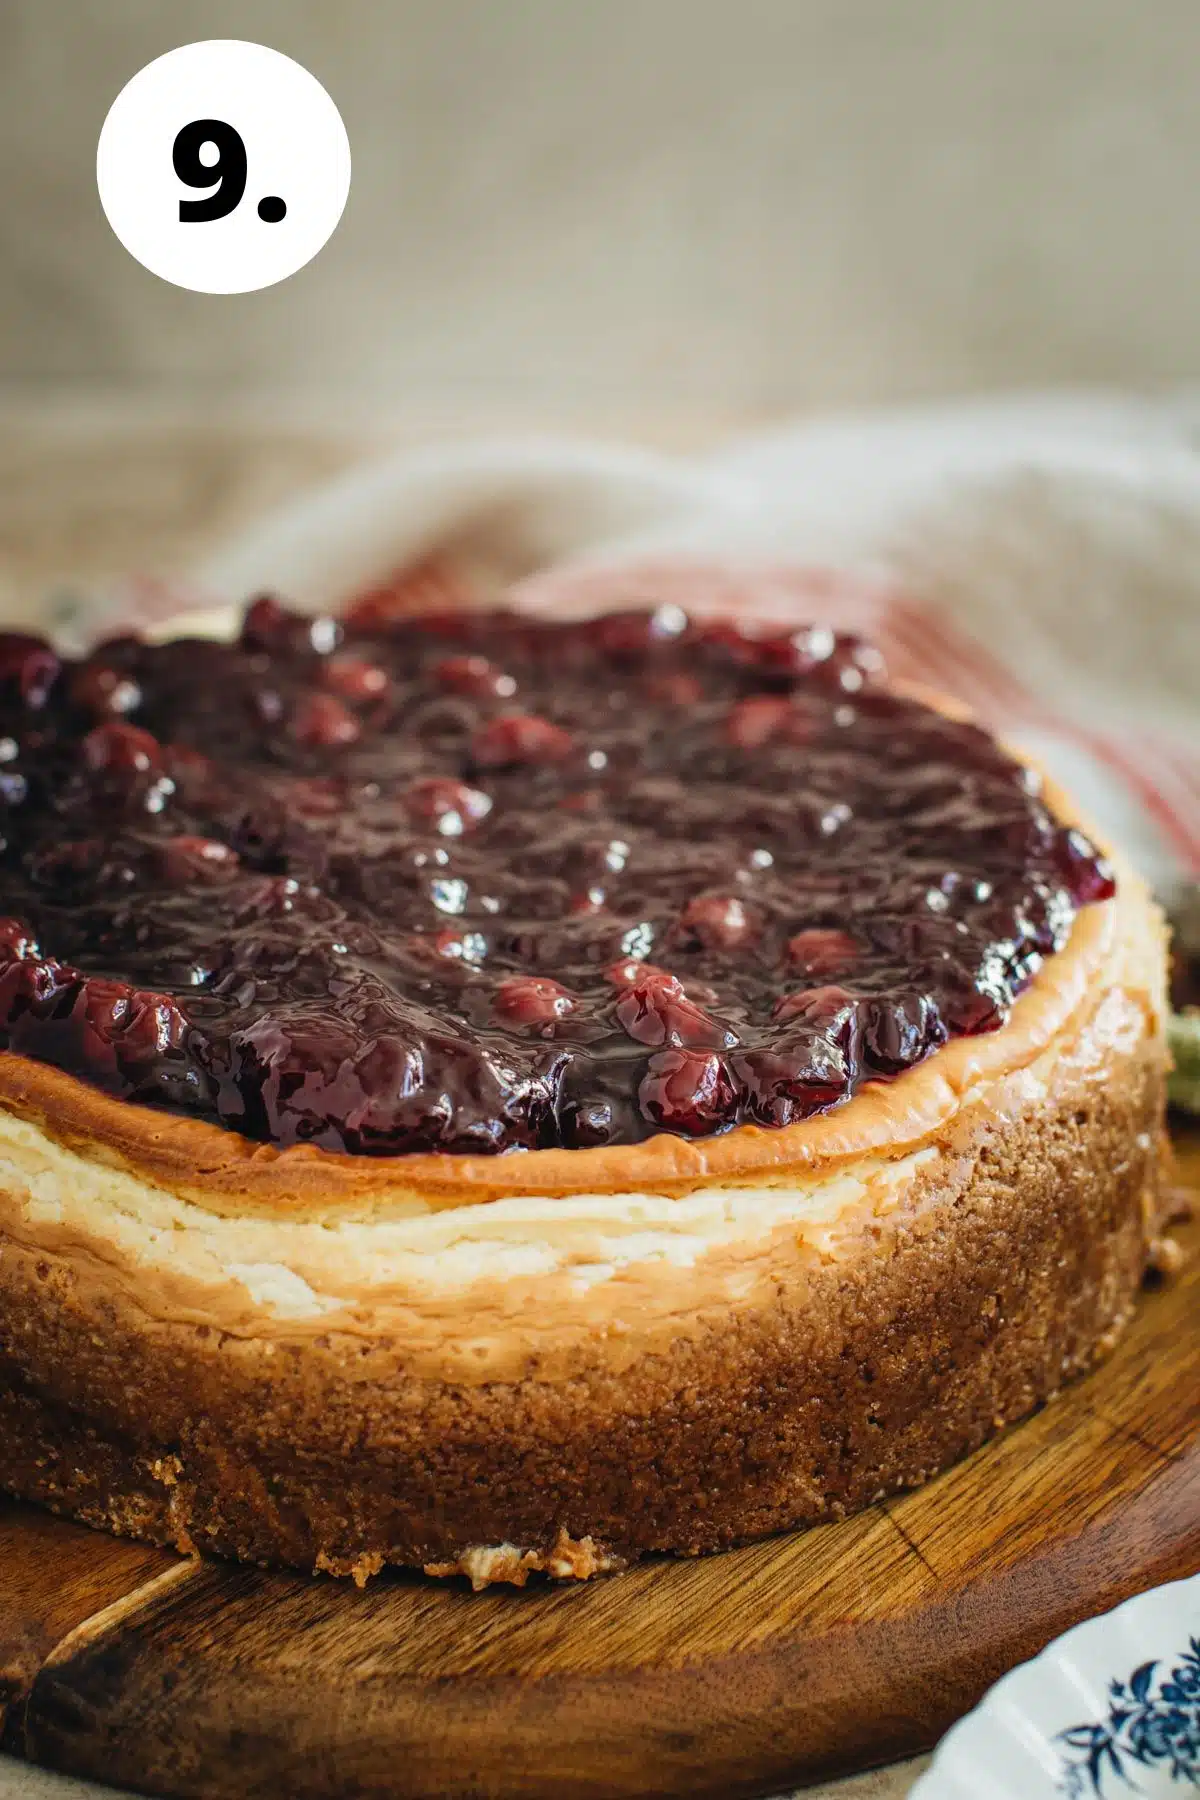
- Garnish & serve. Spoon the cherry pie filling over the top of your easy cherry cheesecake, slice, and serve!
Storage and or Freezing Instructions
- Make-ahead instructions: You can prepare and make this dessert up to 3 days in advance. Cover and store it in the fridge.
- Freezing instructions: Follow the easy cherry cheesecake recipe instructions, but don’t add the cherry pie filling just yet. Wrap the cheesecake tightly in plastic wrap, then add a layer of tin foil. Place it in your freezer, where it will keep for up to 1 month. Allow it to thaw before you add the topping and serve.
- Storage instructions: Store your cherry cheesecake in an airtight container or covered in plastic wrap in the fridge. It will last for 3-4 days.

Recipe Notes and Tips
- How to prop the oven door open. You can use a wooden spoon to keep the oven door slightly open as your creation cools.
- Don’t overmix. Avoid overmixing your cherry cheesecake batter by keeping your electric mixer on low.
- Temperature matters. Bring all of the ingredients to room temperature before mixing them. You’ll end up with the perfect texture!
FAQS
Traditional cheesecakes call for a combination of cream cheese and sour cream. New York-style cheesecake features much more cream cheese and just a dash of sour cream.
The key is in the cooling and chilling methods outlined above! Make sure to allow it to chill in the fridge for at least 4 hours — overnight is even better.
Related Recipes
If you enjoyed this easy recipe, please leave a ⭐️⭐️⭐️⭐️⭐️ rating and a comment below. You can also share a photo and tag me on Instagram using @AimeeMarsLiving and #AimeeMars.
Cherry Cheesecake
Equipment
- Spring Form Pan
- Handheld Mixer or Electric Mixer
Ingredients
Crust
- 1¾ cup Graham Cracker Crumbs
- 1/3 cup Sugar
- 7 tablespoons Butter melted
Filling
- 4 8-ounce blocks Cream Cheese softened
- 3/4 cup Sugar
- 2½ cups Sour Cream
- 3 large Eggs
- 2 teaspoons Vanilla
- 1 21-ounce can Cherry Pie Filling
Instructions
- Preheat your oven to 325°F and coat the sides of a springform pan with butter or shortening.
- Add crushed graham crackers and sugar to a medium bowl and stir. Pour in the melted butter and mix until it begins to clump.
- Press the mixture into the bottom of the pan using your fingers. Bake the crust for 10 minutes and set aside.
- Place the cream cheese and sugar in a large mixing bowl, or into the bowl of an electric mixer that’s fitted with the paddle attachment. Beat them together until they become smooth.
- Add one egg at a time to the mixture, mixing after each. Scrape the sides of the bowl if needed.
- Add the sour cream and vanilla extract and mix thoroughly.
- Fill a baking dish with hot water and place it on the second rack of the oven.
- Pour the batter into the pan over the crust, then place it in the oven on the top rack. Allow baking for 60-75 minutes.
- Turn off your oven but leave the cheesecake inside. Let it cool for 1 hour with the door left slightly ajar. Remove the cheesecake and allow it to come to room temperature before placing it in the fridge to chill for at least 4 hours.
- After it has chilled, run a sharp knife along the edge of the pan to loosen it. Unbuckle the springform pan and carefully remove the cake.
- Spoon the cherry pie filling over the top of your easy cherry cheesecake, slice, and serve!

