All Recipes
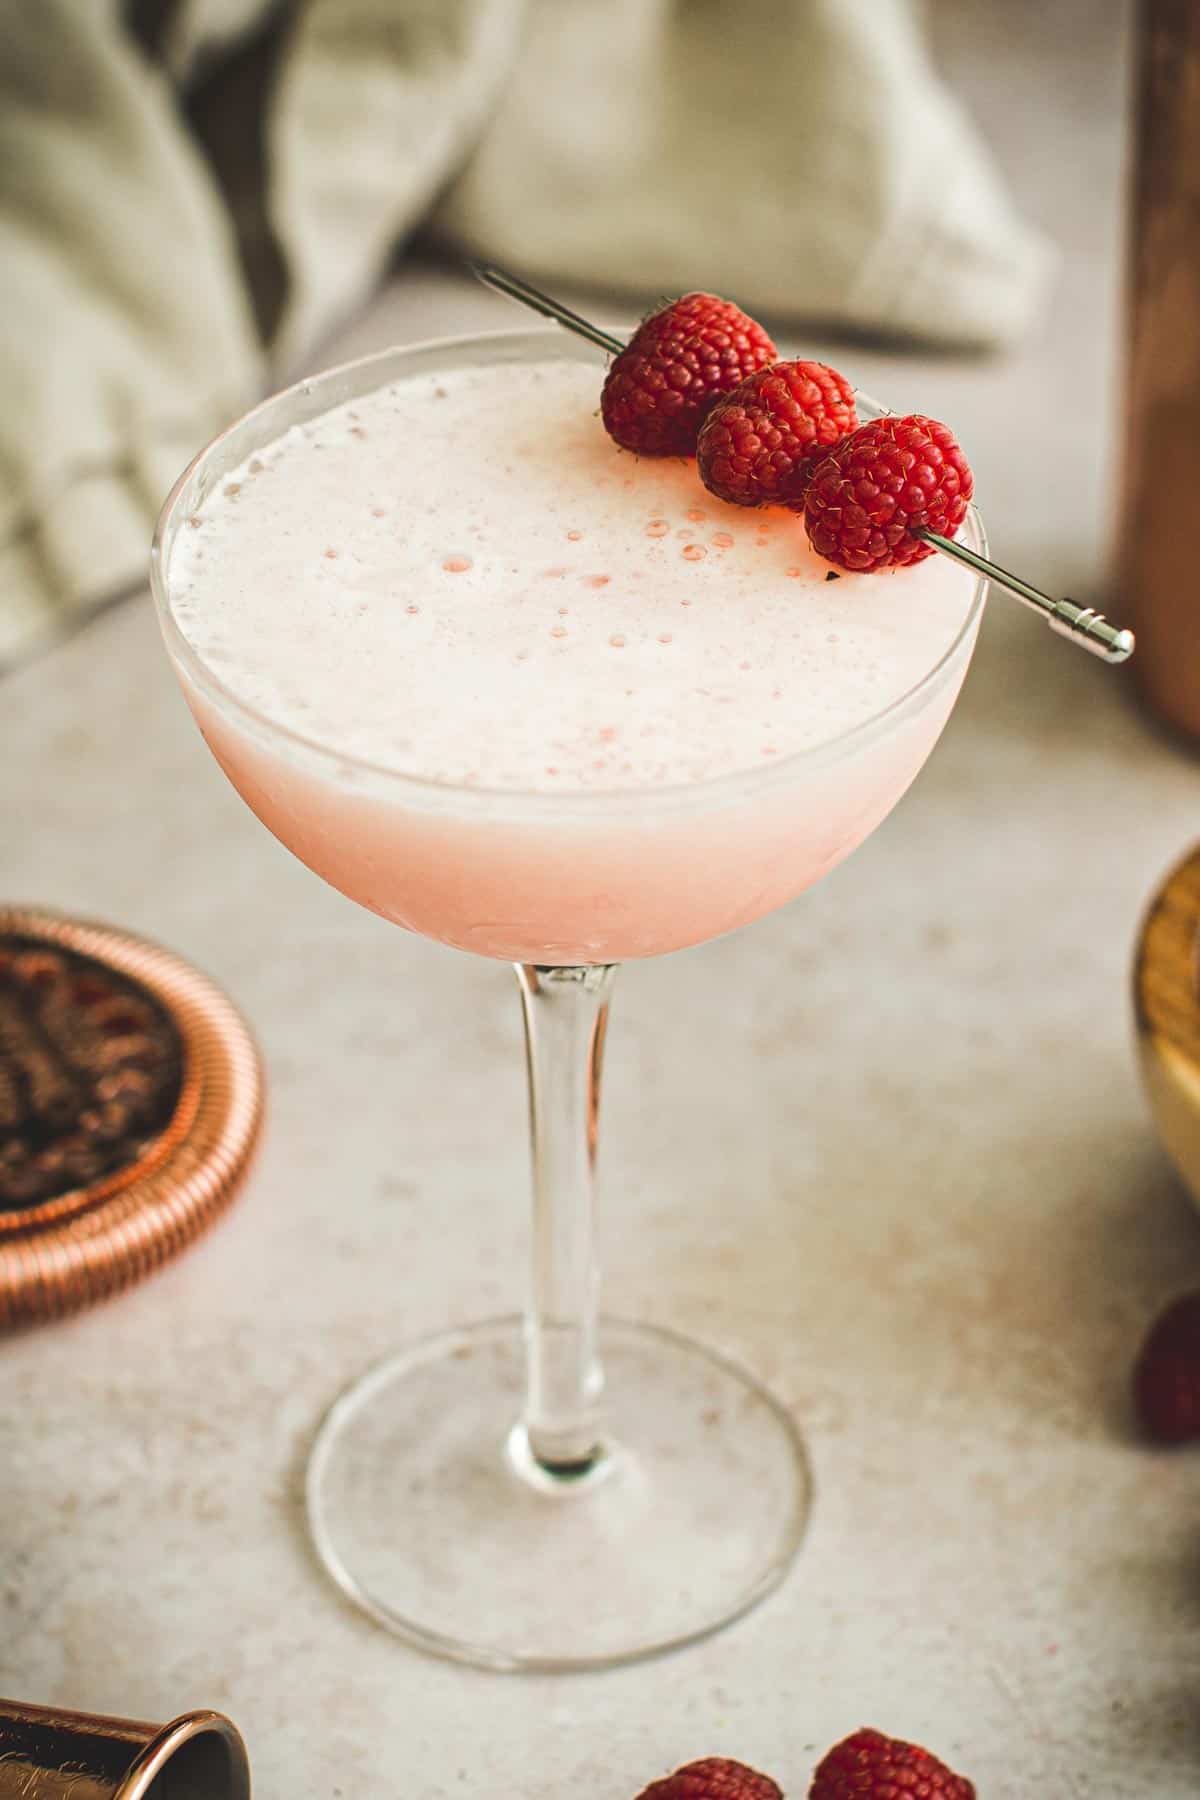
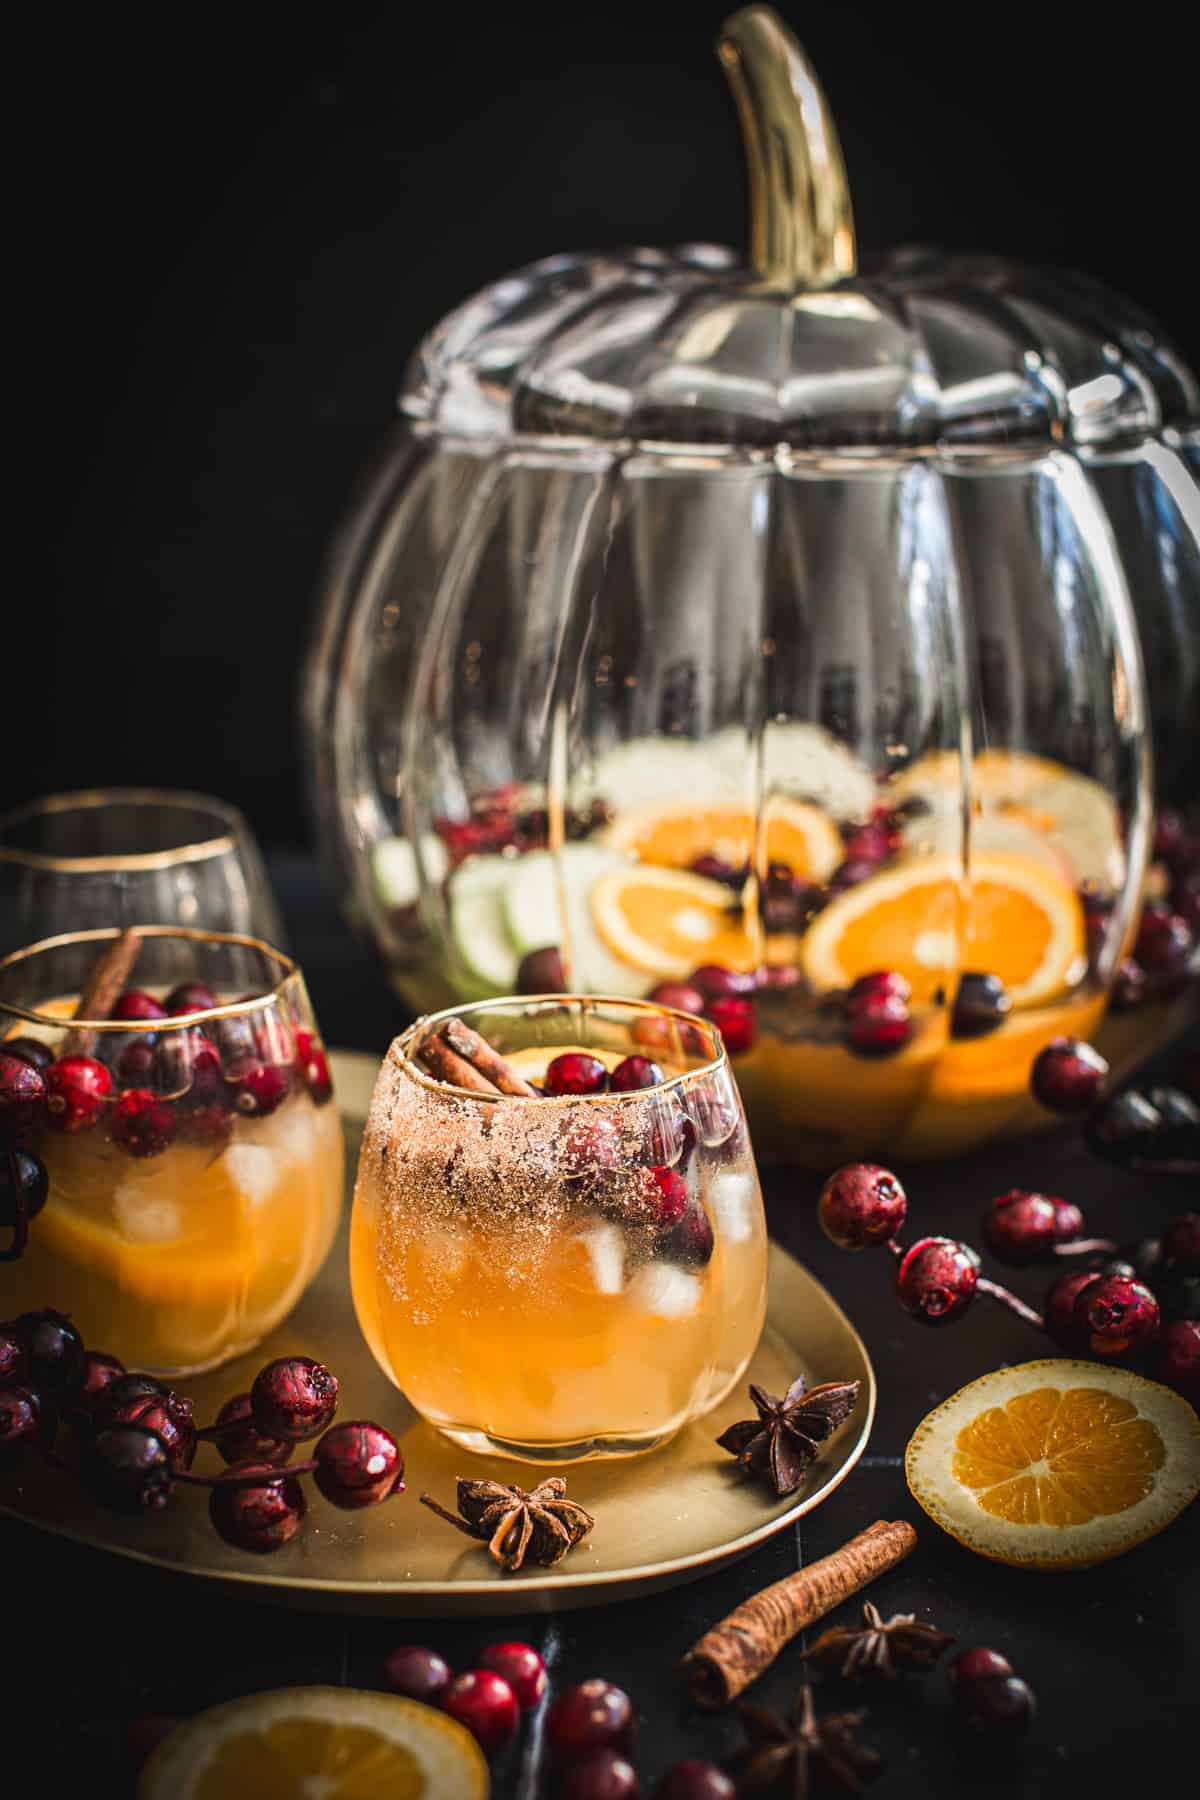
 Beverages
 Breakfast
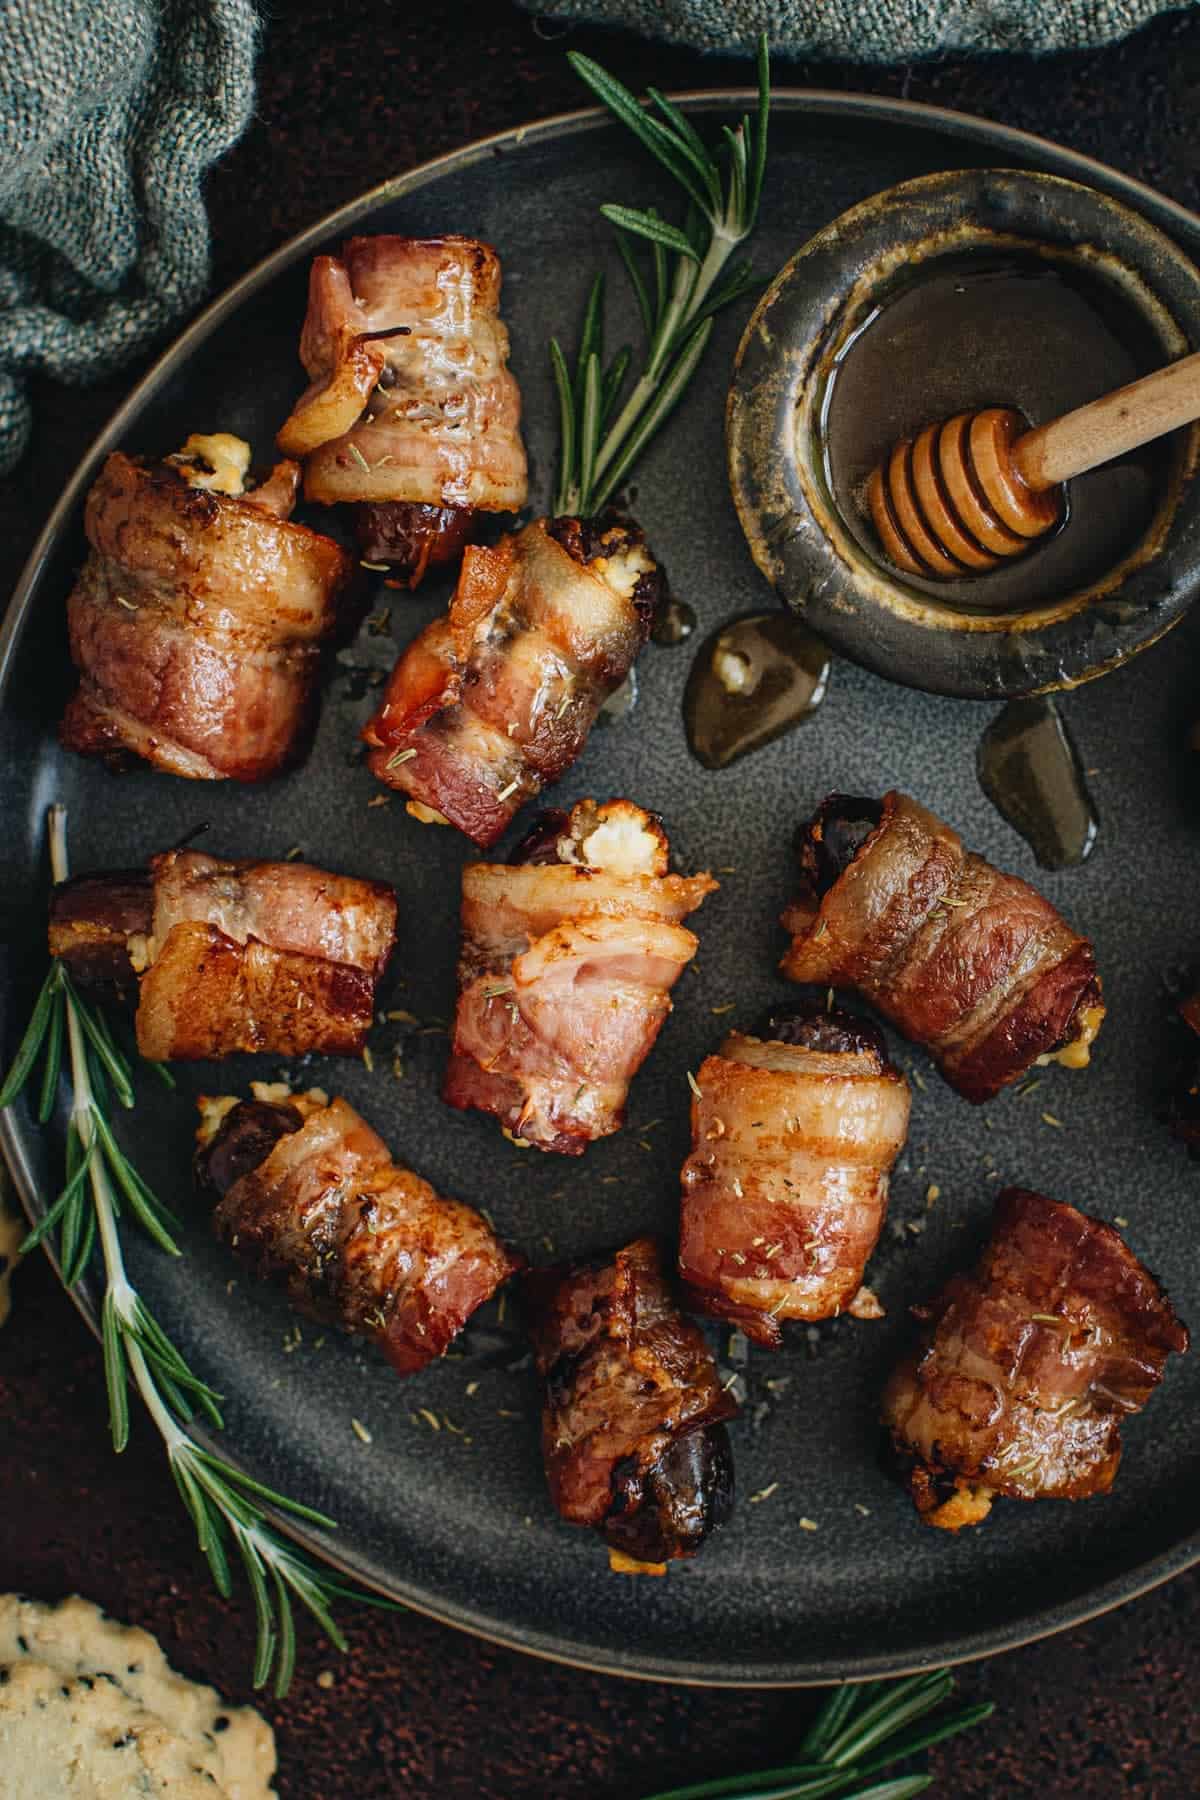
 Appetizers
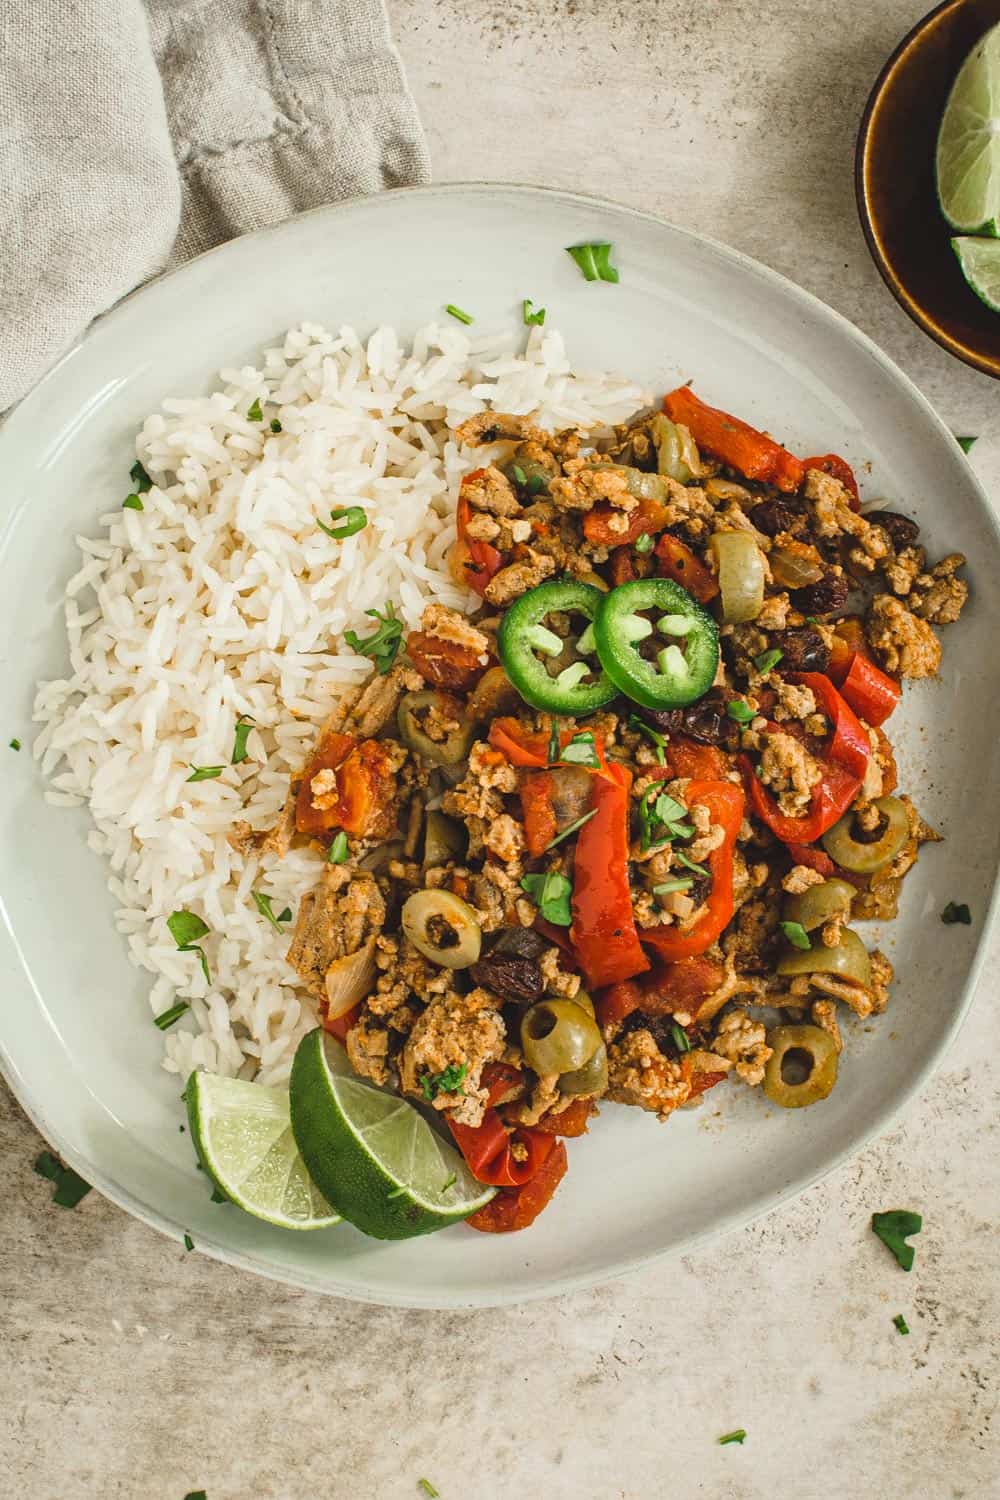
 Dinner
 Sides
Sides
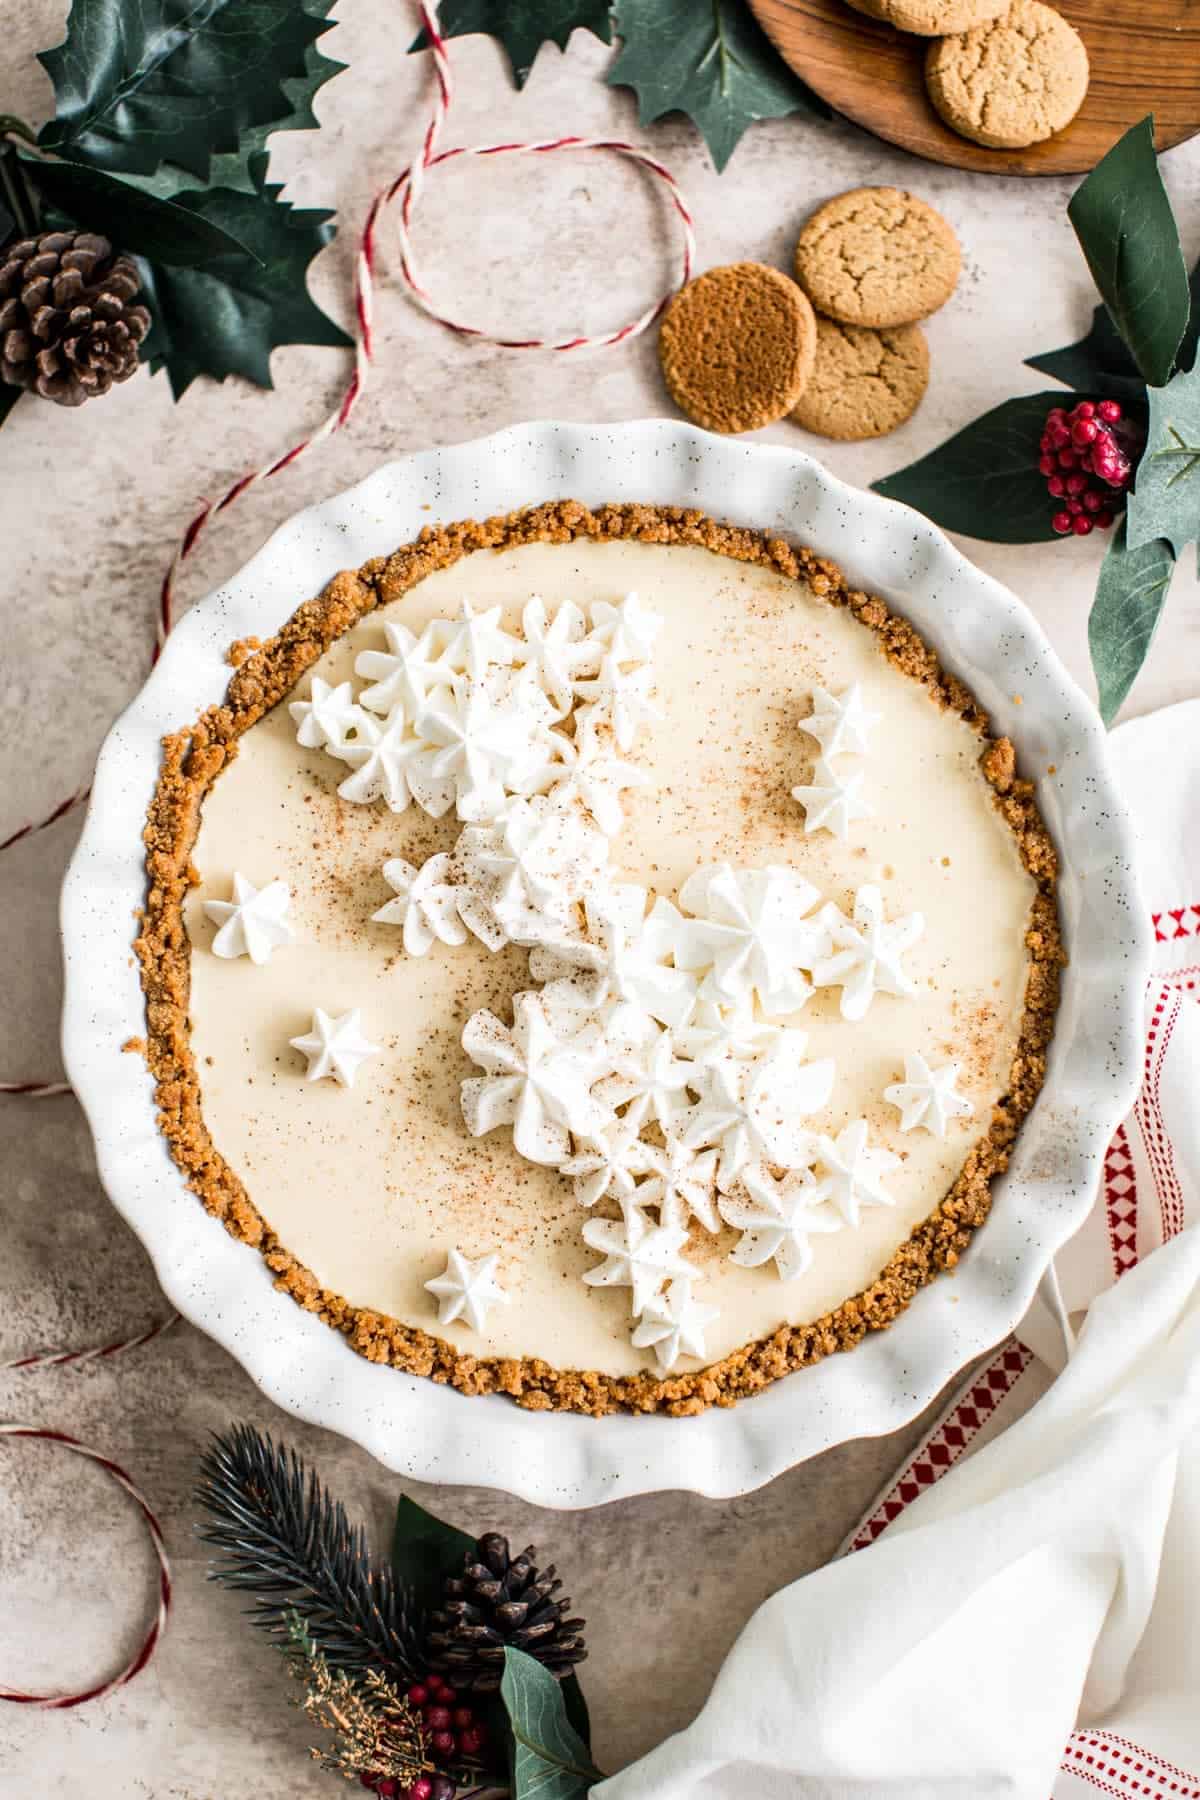
 Dessert
 Videos
Rustic fall notes of cinnamon, allspice, nutmeg, and clove make this Cinnamon Apple Butter the perfect autumn spread. Enjoy this jam-like spread on steaming biscuits or rolls at any meal.
Another fall favorite recipe of mine is these honey bourbon roasted carrots.

Cinnamon Apple Butter (Pectin Free)
Just last week while I was in Seattle the winds began to change bringing slightly cooler evening temperatures with whisps of autumnal thoughts. Though our days in Charleston are still sweltering hot, I’m craving hearty meals with produce harvested from seasons before.
Canning has been something I’ve wanted to try for some time now and just as summer is sliding into the fall season is the perfect time to start. I knew I would need something easy to begin my adventures in canning and something we would eat in abundance.
Apples are a fruit we can all agree on in our household so I knew they would be a safe starting point. This cinnamon apple jelly is fall essence in a jar and can be slathered onto anything.

How To Make Stovetop Apple Butter
Making stovetop apple butter is actually quite simple, especially if you’re not going to be canning.
- Core and slice the apples, placing them in a very large pot. Pour have the sugar on top of the apples, toss, and cover with a towel or lid to let sit overnight.
- Add the remaining sugar and lemon juice and cook over medium-high heat for 45 minutes to an hour, stirring often.
- Place in an air-tight jar to store or continue with the canning process (instructions below).

What Equipment You Will Need for Water Bath Canning
Canning can seem daunting at first, but starting with something simple such as jelly and using a water bath are easier first steps. Below is a list of equipment you will need with links on where to purchase.
- Water Bath Canner (this is a 9-piece kit that includes canning tools)
- Canning Kit (if water batch doesn’t come with one)
- Half-pint jars with lids
Apple Butter vs Applesauce
There’s really only a slight difference between the two and really it comes down to consistency. Applesauce is more tender. Apple butter is applesauce cooked down to a spreadable paste with more spices.

For More Canning Jams and Jelly Try These Recipes
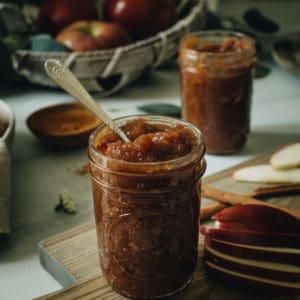
Apple Butter Recipe
Equipment
- Water Bath Canner
- Canning Kit
- 8 half-pint jars with lids and rings
Ingredients
- 6 lbs Apples cored, not peeled
- 4 cups Sugar divided
- 1/3 cup Lemon Juice
- 2 tablespoons Cinnamon
- 1/2 teaspoon Nutmeg
- 1/4 teaspoon Allspice
- 1/4 teaspoon Cloves
Instructions
Prepping
- Core the apples and slice them so 6lbs is remaining after. Place them in a large pot and pour 2 cups of the sugar on top. Toss slightly to move the sugar around. Cover with a towel or lid and let sit overnight or up to 24 hours.
Cooking
- To cook, add the remaining 2 cups of sugar to the pot of apples as well as the lemon juice. Cook, over medium-high heat for 45 minutes to 1 hour, stirring frequently. Stir in all the spices and ladle into the cans, making sure to leave a 1/2-inch headspace on each jar.
Canning
- Wash the canning jars and lids in warm soapy water and rinse well (cleaning them in the dishwasher will also work). Place the jars into the water bath canner on the rach, and cover completely with water. Cover the pot with the lid and bring to a boil for at least 10 minutes.
- Carefully remove the jars when ready to begin filling them and set on a towel instead of directly on top of the counter (otherwise they could crack or break once they touch a cook countertop).
- Return the water in the canning bath to a boil. Prepare the lids, not the rings, by placing them in a separate pot of warm heated water. Do not boil the lids because they can get damaged.
- Fill the jars using the funnel, leaving 1/2-inch of headspace.
- After filling the jars run a small flat spatula around the inside of the jar to remove any air bubbles. Most canning kits come with a tool for doing this. If the headspace of the ingredients changes add a little more in order to bring it up to the proper level.
- Clean the rims of the jar with a damp towel and center the lid on top of the jar. Screw the rings to fingertip tight but don't overtighten them.
- Place the jars into the canner making sure the water covers the tops of the jars by at least 2 inches. Bring to a boil and set the timer for 10 minutes (for jams and jellies).
- Turn off heat and remove the jars from the canner (each lid will make a 'ping' sound once it seals). Let the jars sit for up to 12 hours before removing the outer ring. If any of the lids feel loose move the jar to the fridge and enjoy in the next 5 to 7 days. Otherwise, place in your pantry to enjoy later.