All Recipes
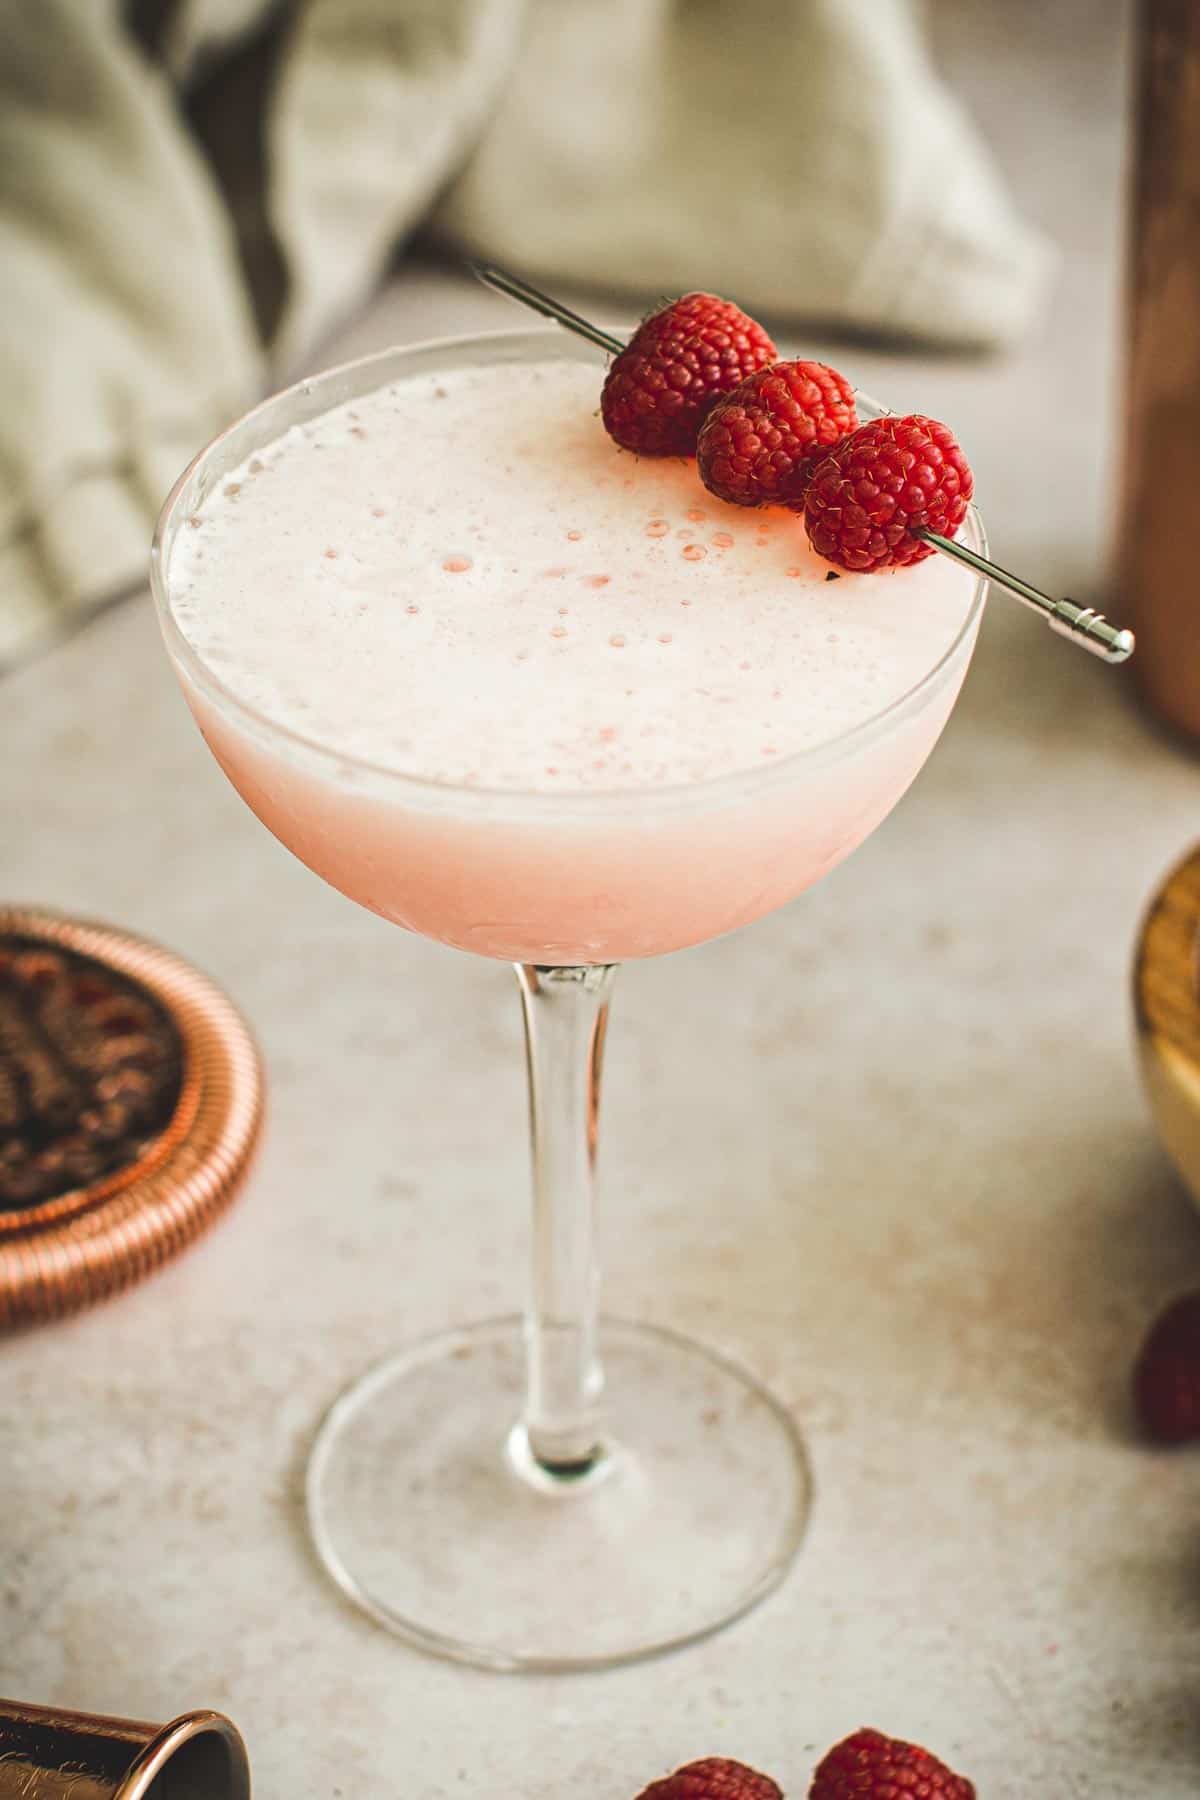
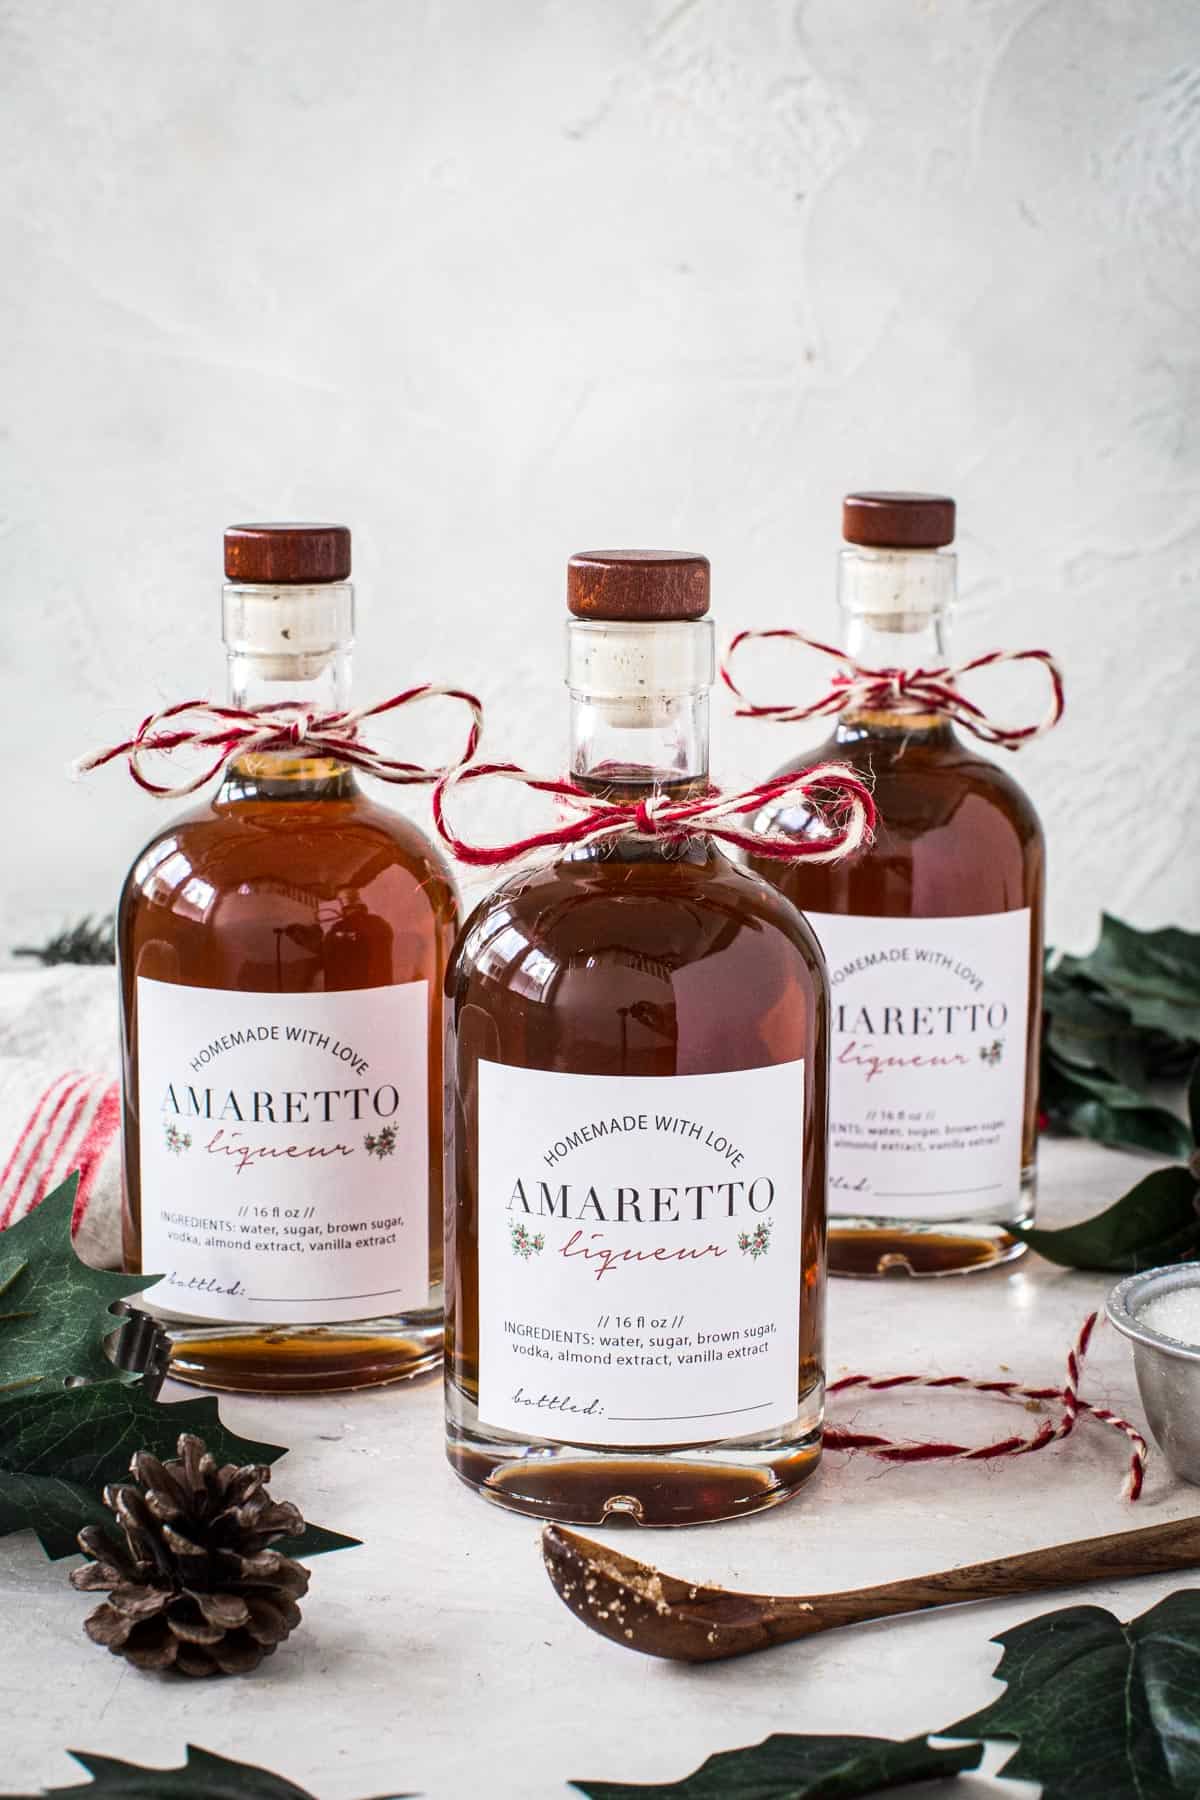
 Beverages
 Breakfast
 Appetizers
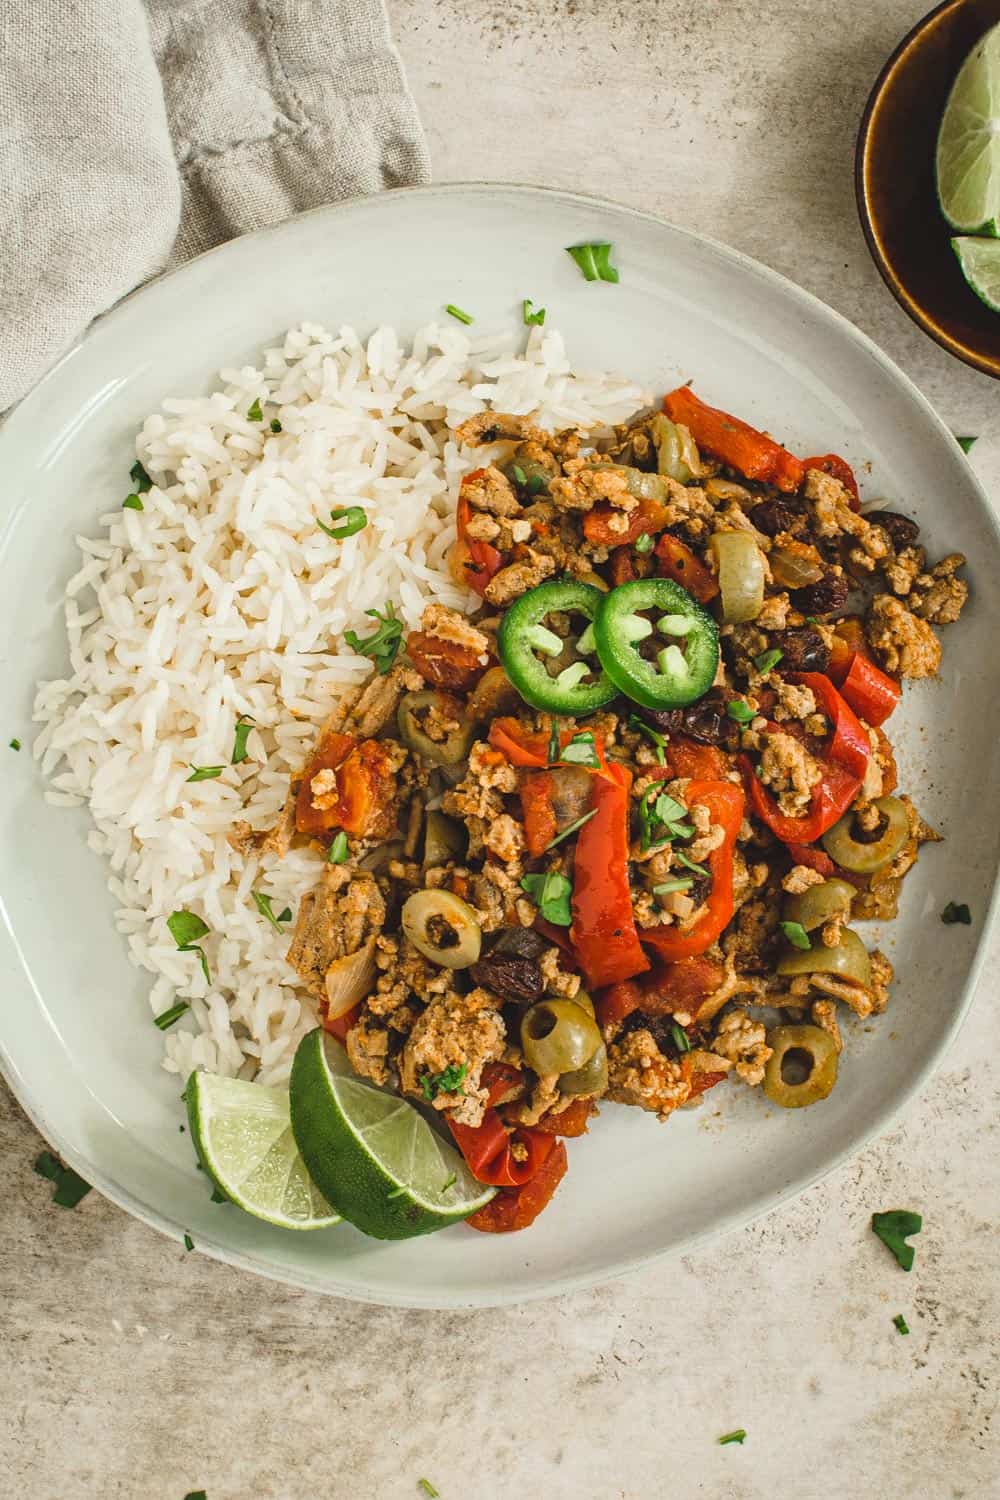
 Dinner
 Sides
Sides
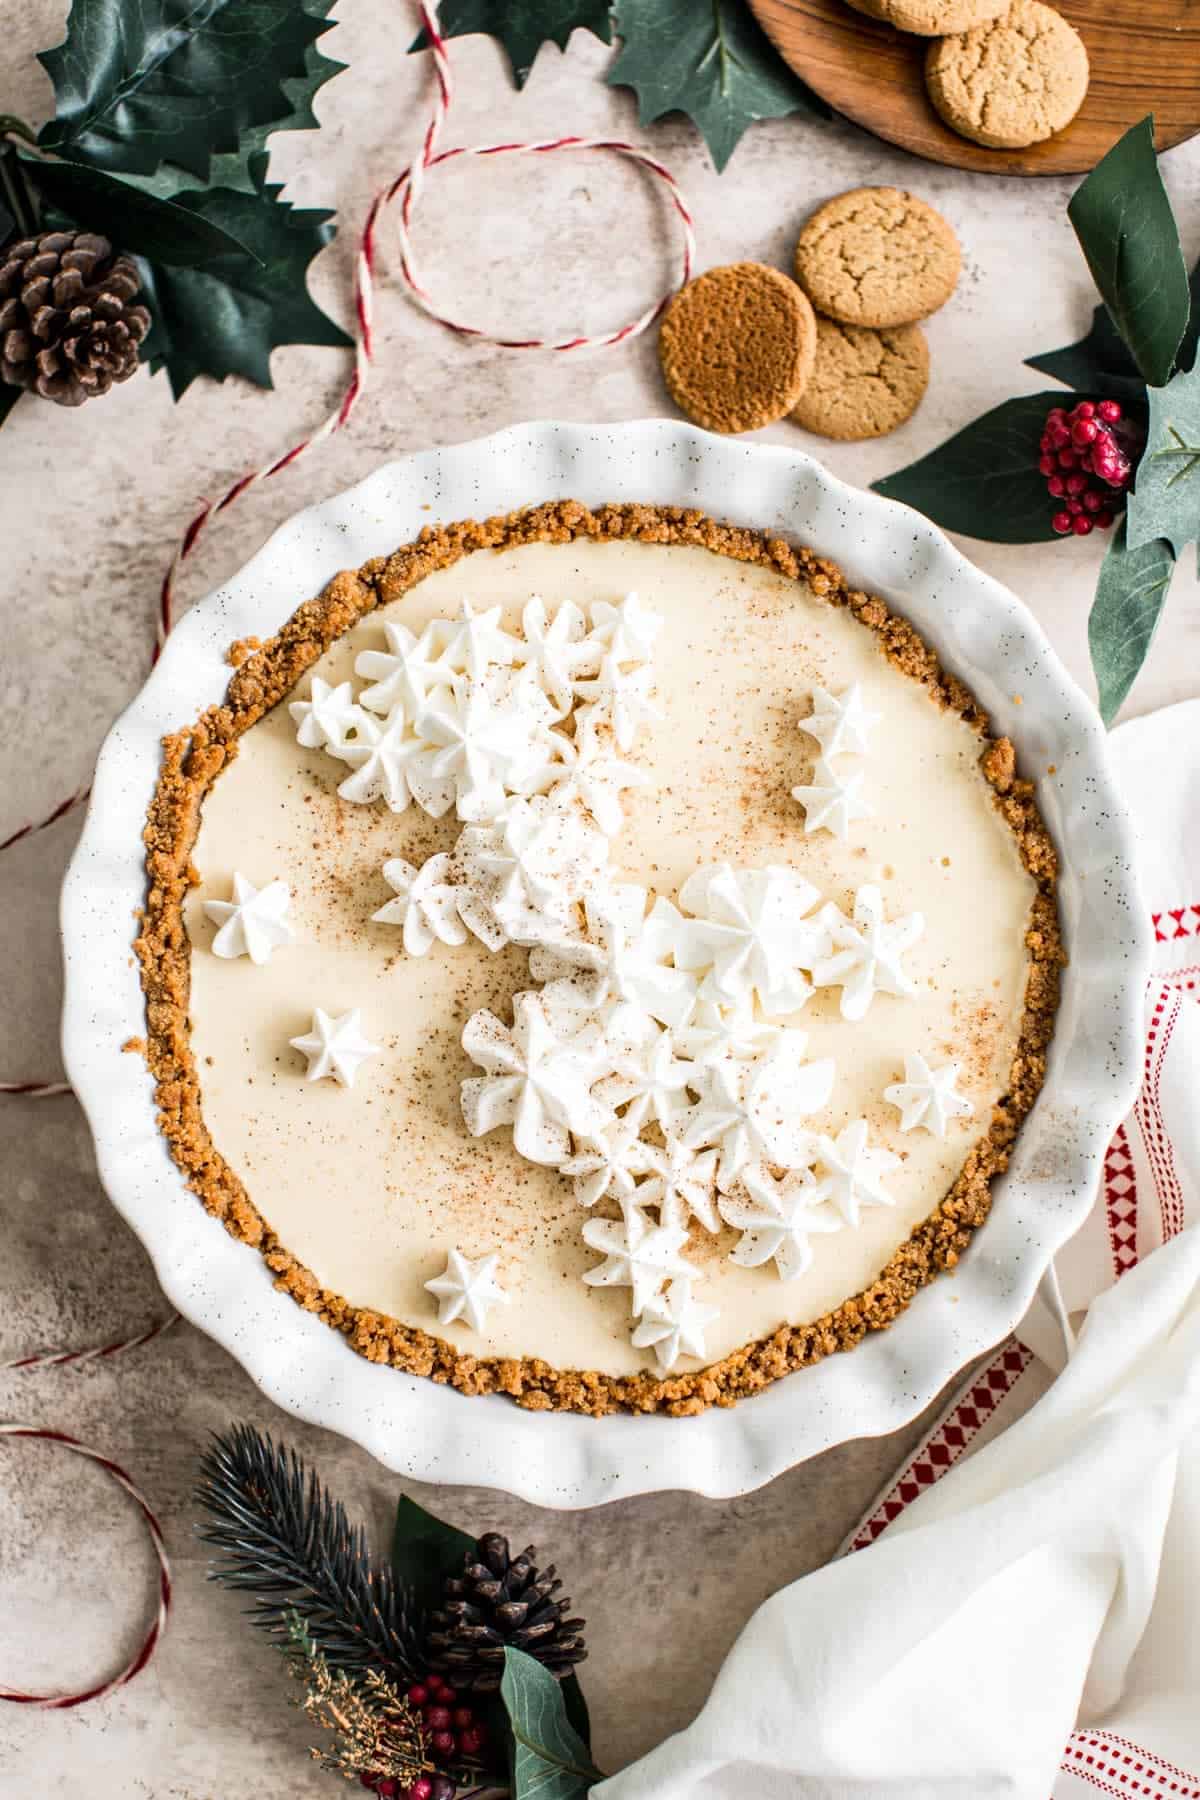
 Dessert
 Videos
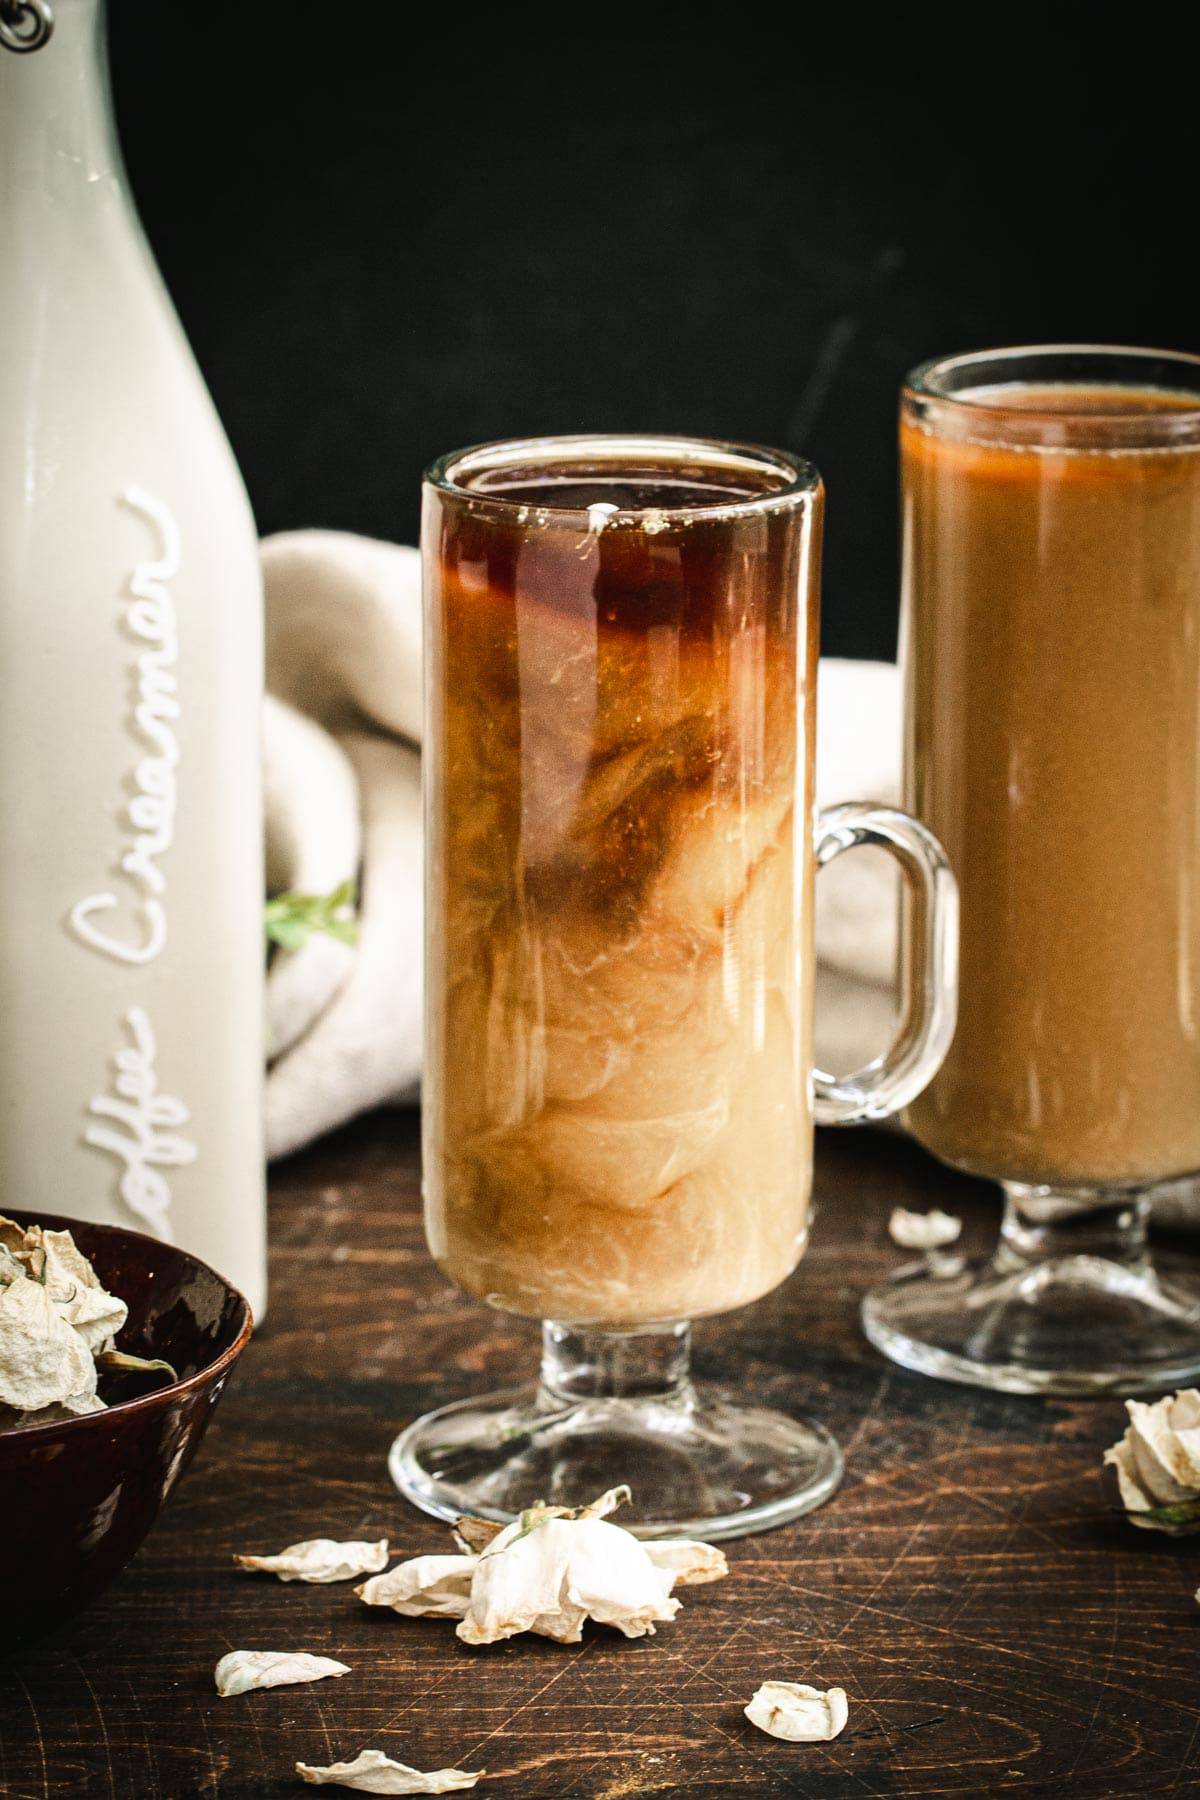
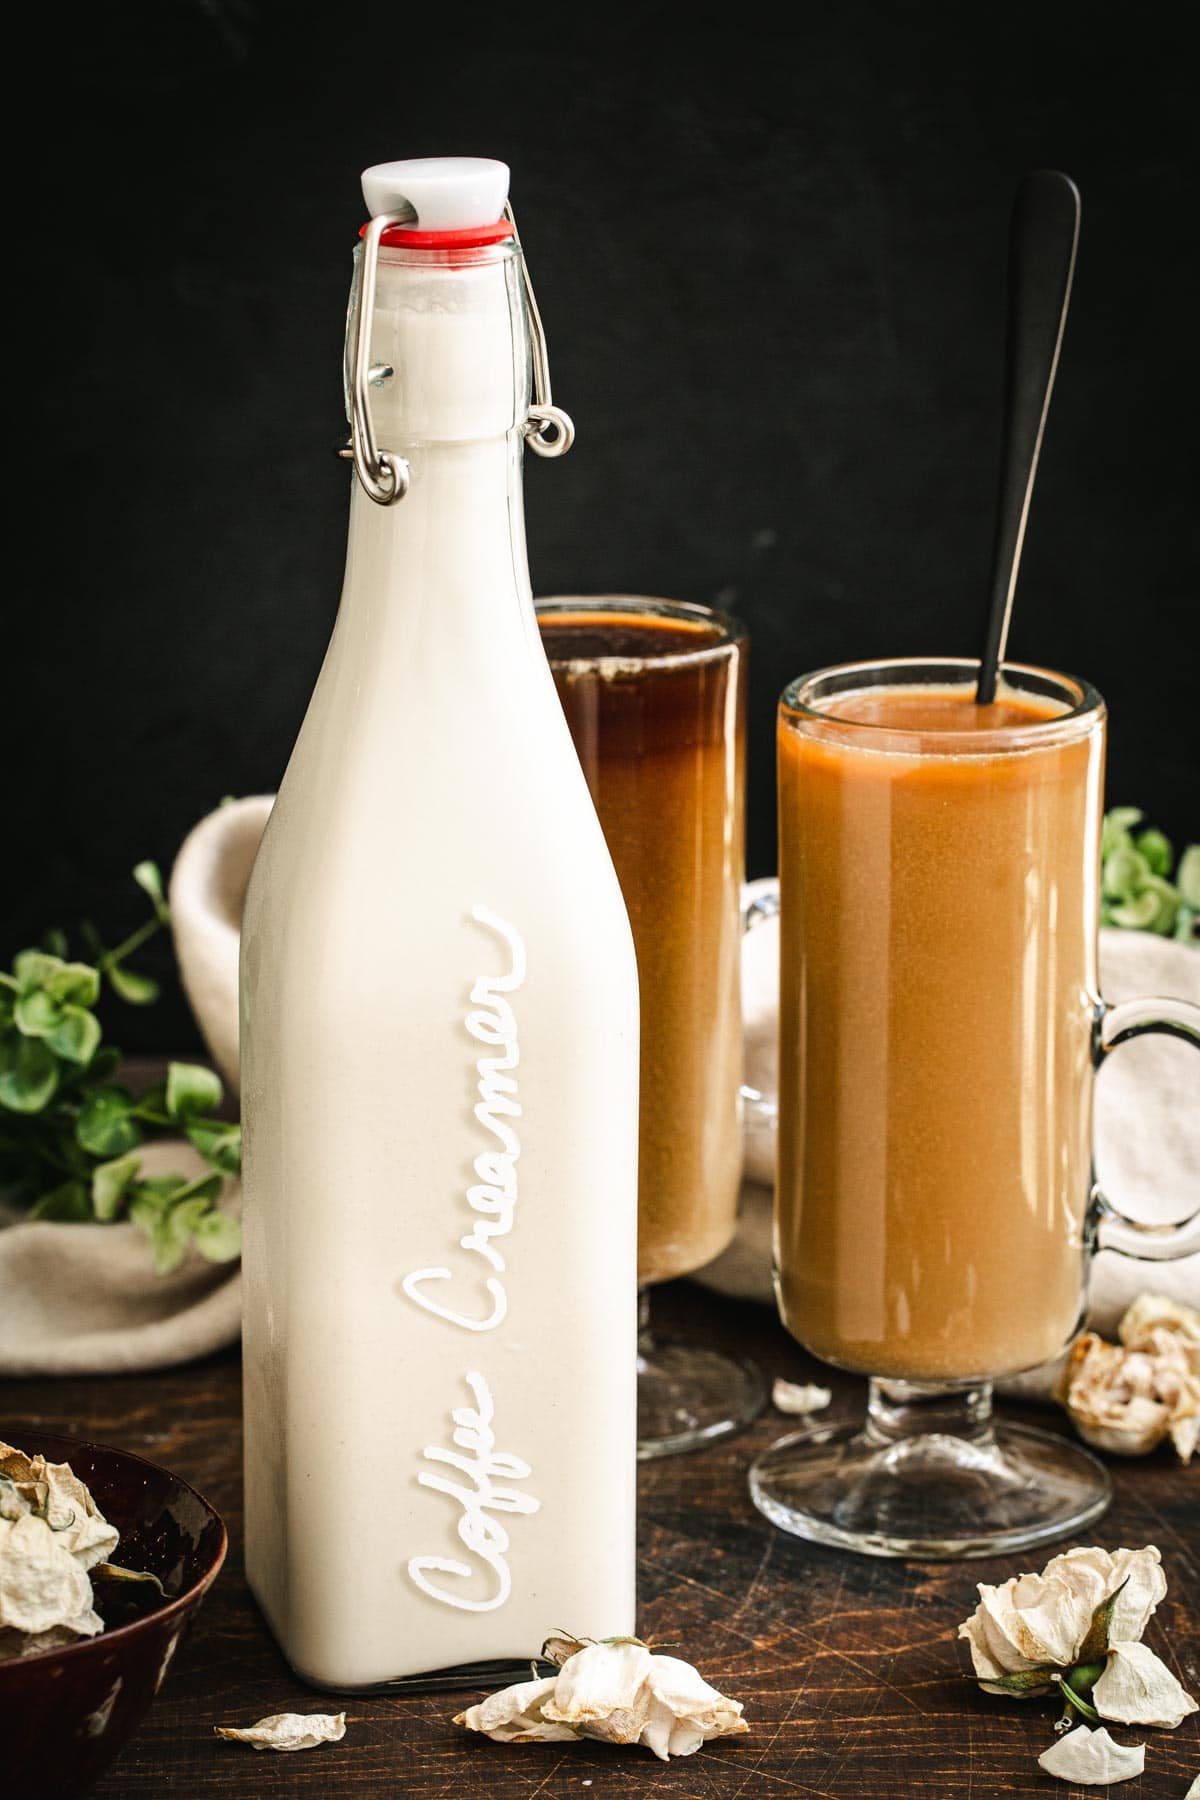
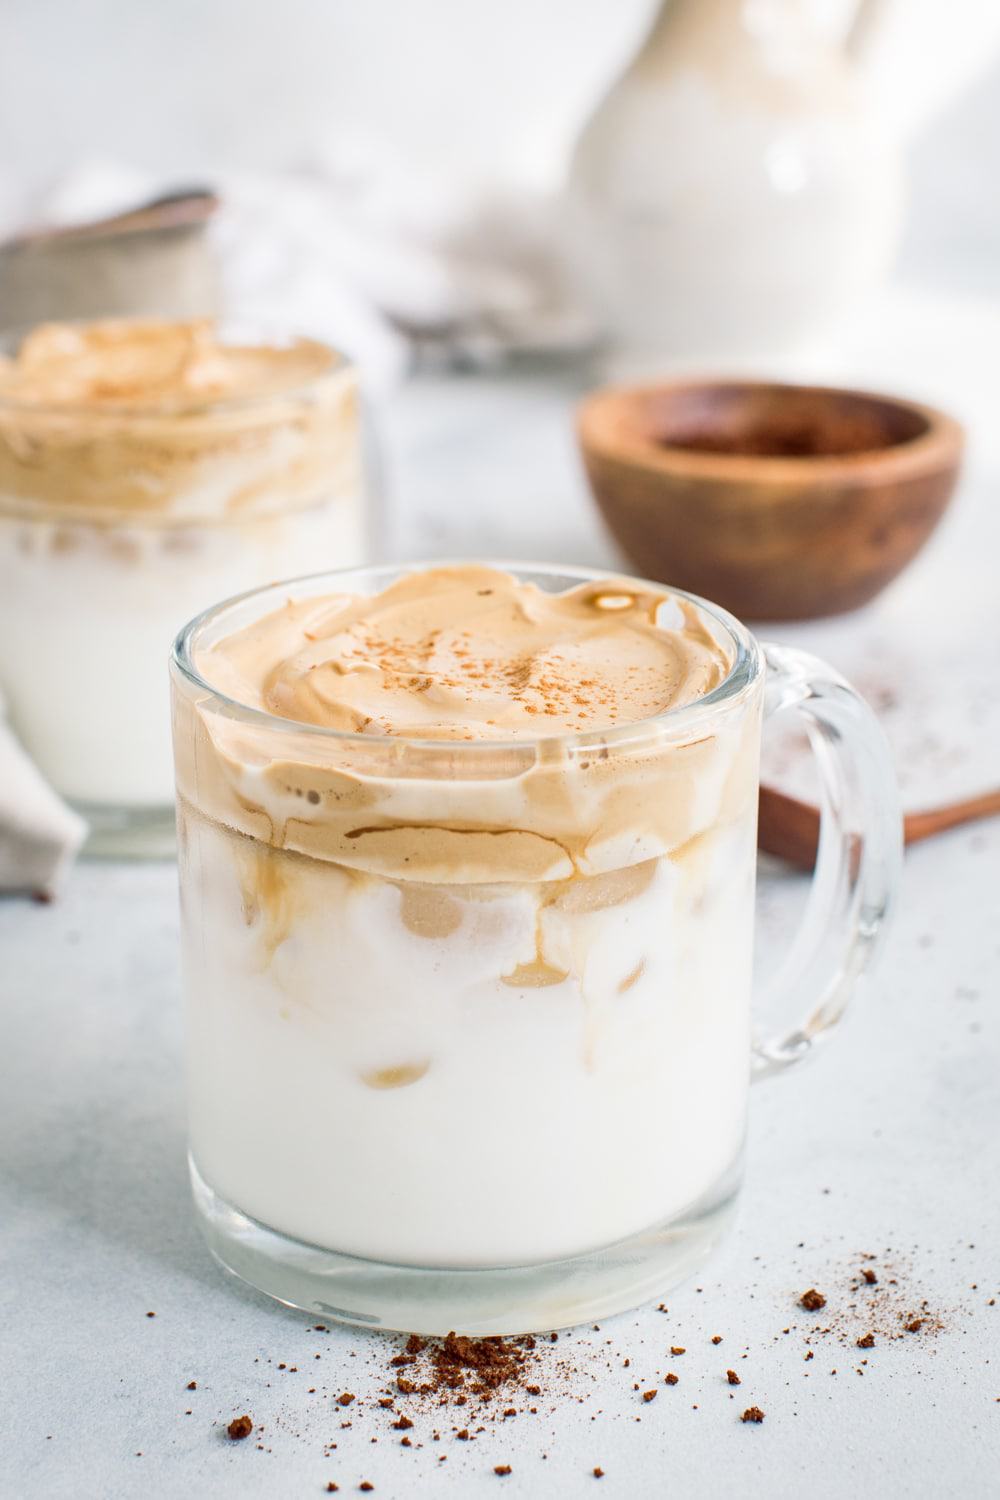
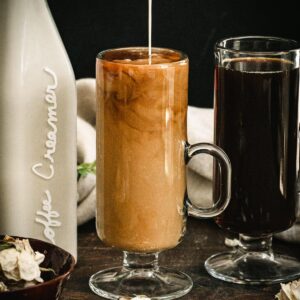
Rich and creamy this Homemade Coffee Creamer is dairy-free and vegan and the perfect addition to your morning coffee. With simple steps and variations for using actual cream as well, you’re going to want to switch your creamer immediately.
Why This Recipe Works
I consider myself quite the coffee connosuier and in fact met my husband, who didn’t drink coffee at the time in a cafe. Each morning I meticulously prepare my coffee and it’s one of the things I look forward to enjoying the most as the day begins. I consider the creamer to be as important as the coffee, which is why I often prefer to prepare my own.
Store-bought creamers, even the healthy ones, are often laden with chemicals and unhealthy ingredients, but when you make your own you can avoid those additives. It’s also extremely easy to make and can be made in minutes.
This coffee creamer is vegan and extremely healthy but can be made using your favorite flavors as well. Below are many variations you can try.
Start your morning off right with this healthy creamer or serve it to guests at your next brunch. You’ll love how easy it is to make and the versatile flavors and it pairs perfectly with this Vegan Banana Bread.
Ingredients Needed
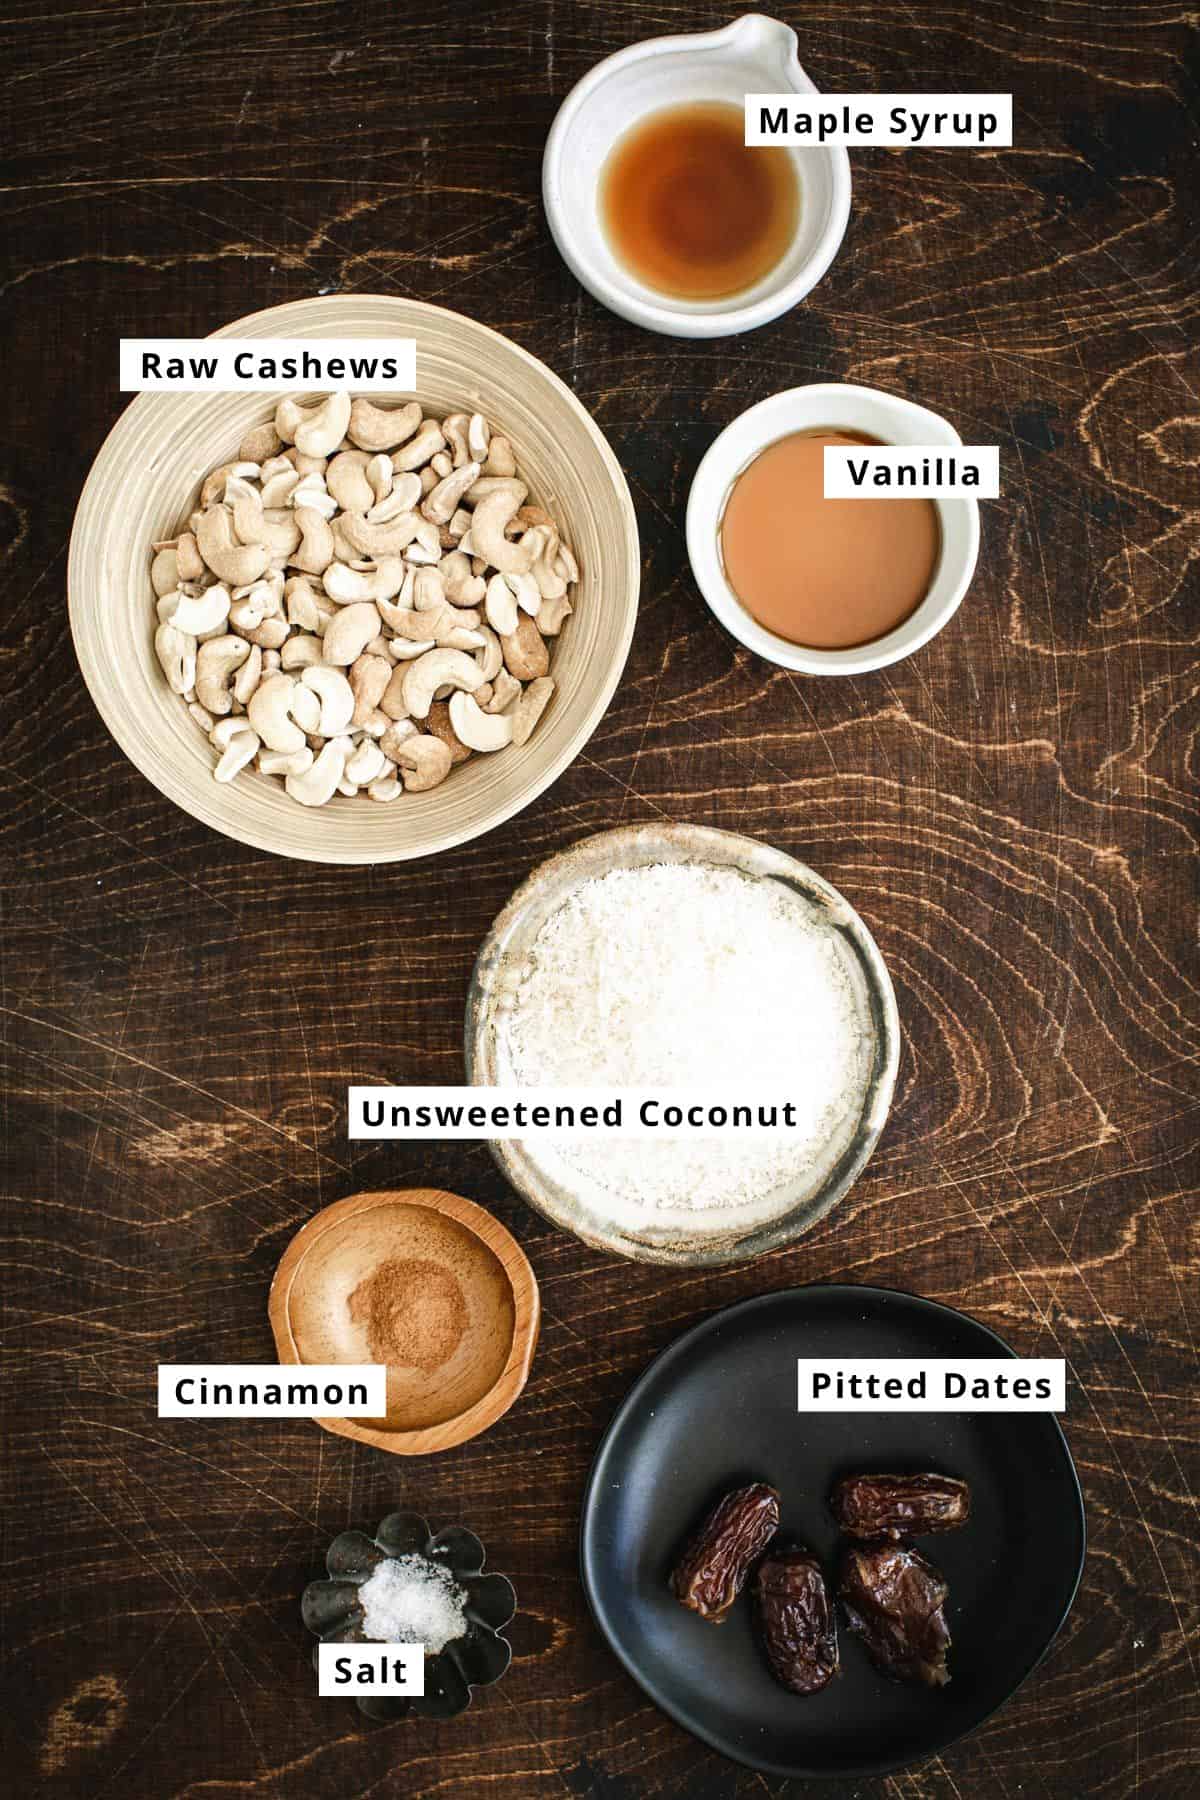
Ingredient Notes
- Raw Cashews: it is entirely up to you whether you want to soak the cashews or not, but it’s really not needed since you’ll be straining this creamer to remove any leftover bits. You will need unsalted cashews.
- Sea Salt: the salt helps to balance the final flavor of the creamer and I will usually add an additional pinch to the creamer after it has been strained.
- Water: I like to use filtered water, but you can also use tap or bottled water, just don’t use carbonated water of any kind.
- Flavors: you can prepare this creamer plain or add a simple flavor combination like I normally do. I always add 1 pitted Medjool date, cinnamon, and vanilla extract for a nice subtle flavor.
Recipe Variations
- Extra Creamy: to make an extra creamy version of this coffee creamer use 1/2 cup of gluten-free oats and decrease the coconut flakes to 1/2 cup. The oats give the liquid a little bit more creamy texture.
- Traditional Dairy: for a dairy version of this creamer swap the raw cashews for whole milk and the coconut flakes for cream. You can leave some coconut flakes if you’d prefer this as a flavor though. You will also need to omit to add the water.
Flavors
- French Vanilla: After straining the mixture through the nut milk bag add 2 tablespoons of vanilla extract or the seeds of 1 whole vanilla bean pod and sweeten using the desired sweetener.
- Hazelnut: Instead of using coconut flakes use raw hazelnuts. After straining the creamer through the nut milk bag add 2 tablespoons almond extract. Sweeten with desired sweeteners.
- Caramel: After straining the creamer through the nut milk bag add 2 tablespoons almond extract and 2 tablespoons of caramel sauce. Adjust as needed and sweeten with desired sweeteners.
- Peppermint Mocha: after you’ve strained the creamer through the nut milk bag add 1 tablespoon of peppermint extract, 1 tablespoon of vanilla extract, and 2 tablespoons of chocolate syrup or cocoa powder. Adjust the amount of each flavor to make it stronger or more subtle.
Step-by-Step Instructions
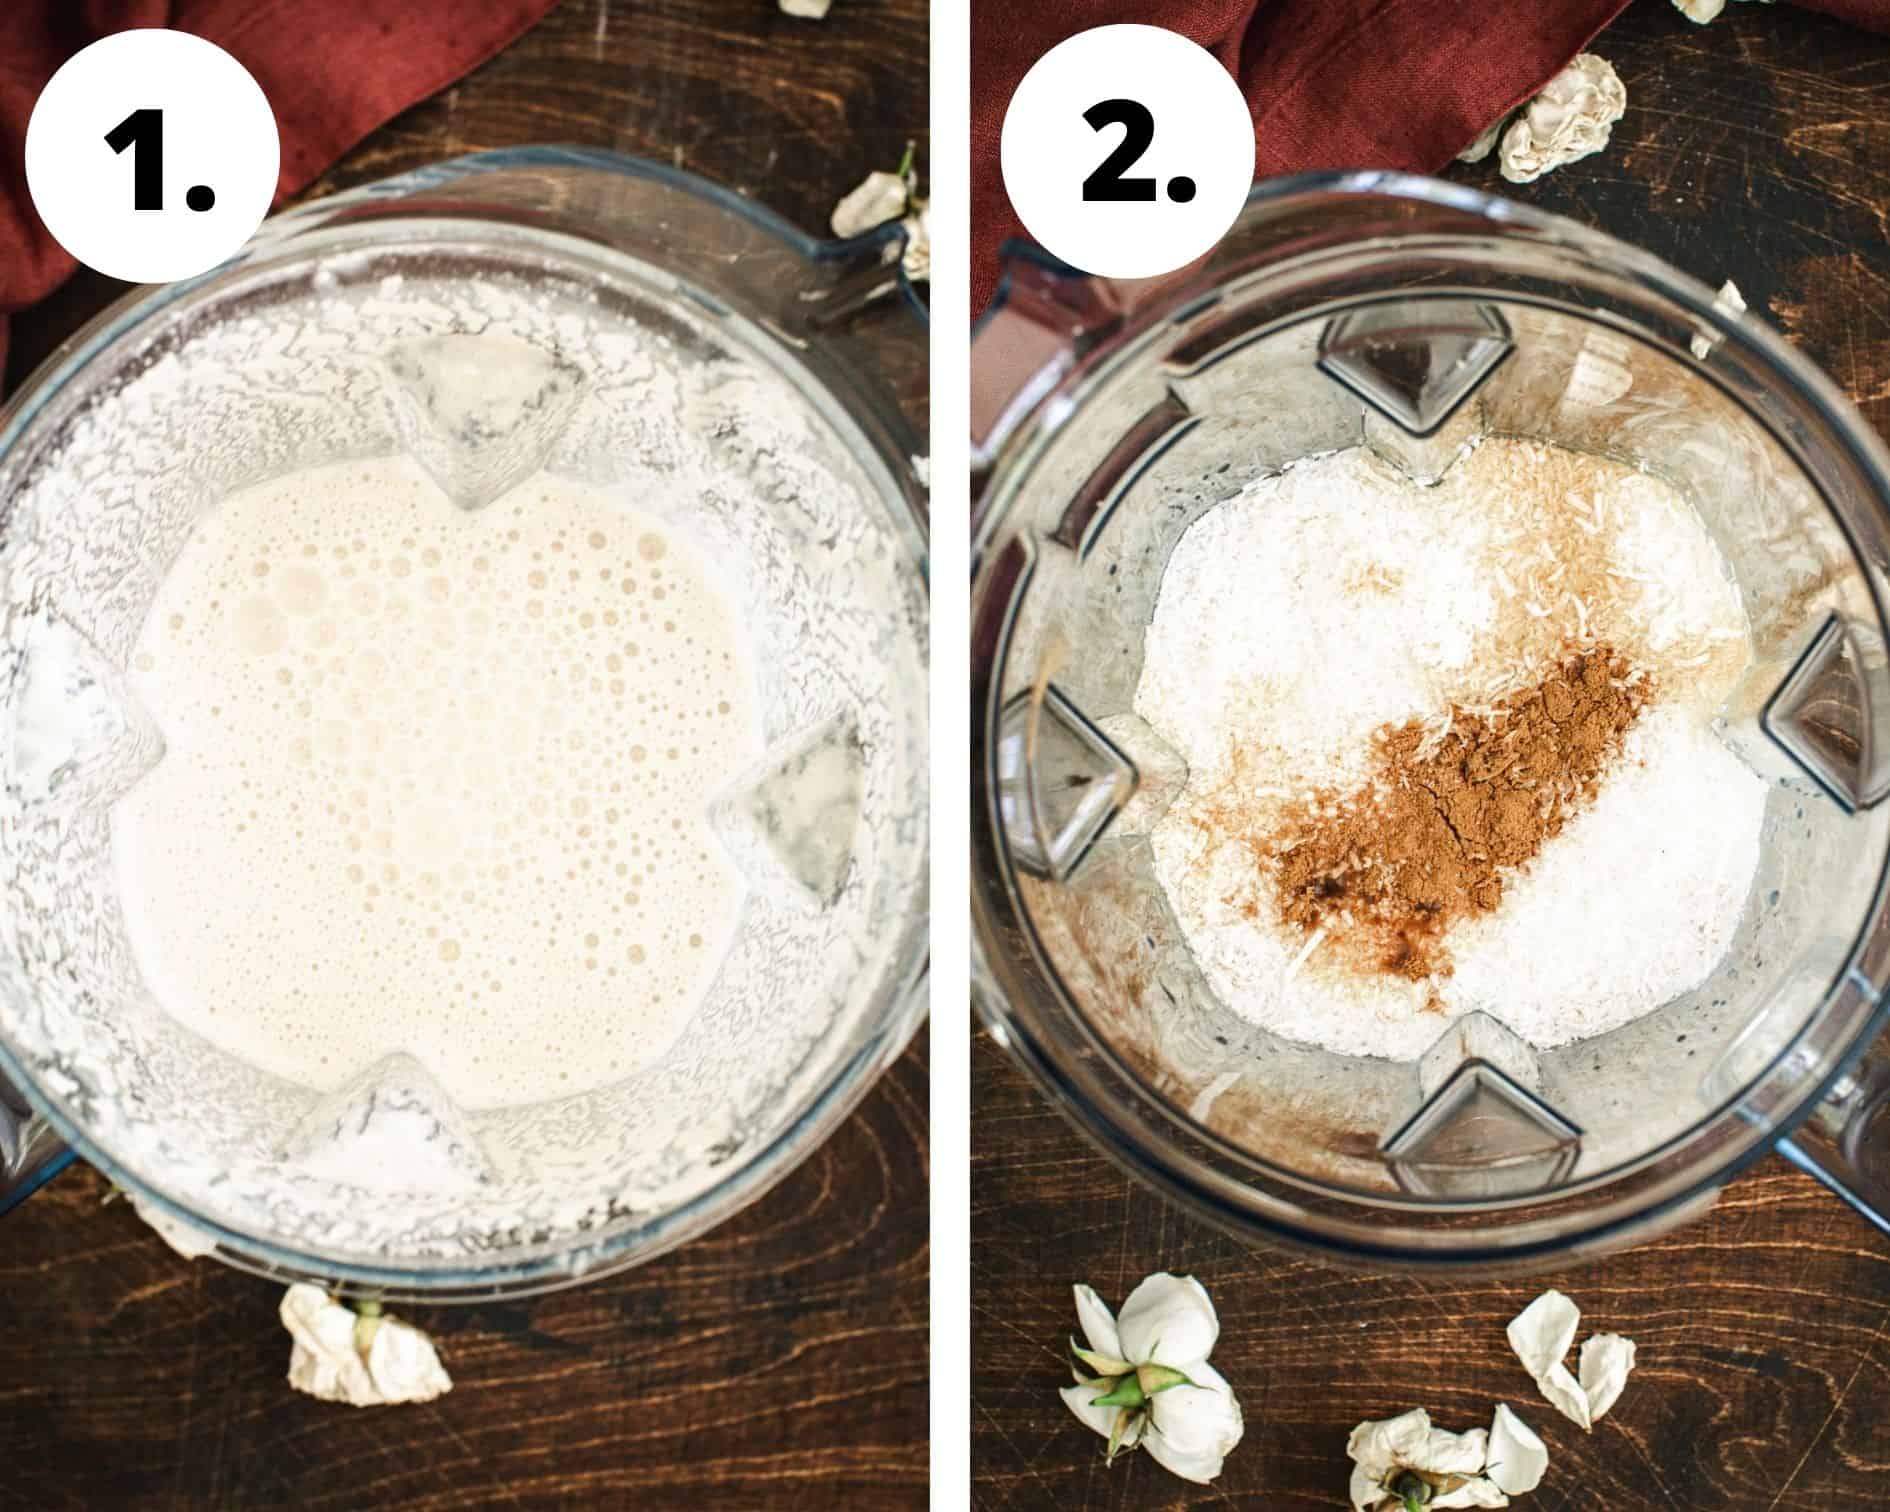
- Blend. Place the raw cashews, unsweetened coconut flakes, date, salt, and water into a high-powered blender and blend until smooth.
- Sweeten: Add your sweeteners of choice and blend again.
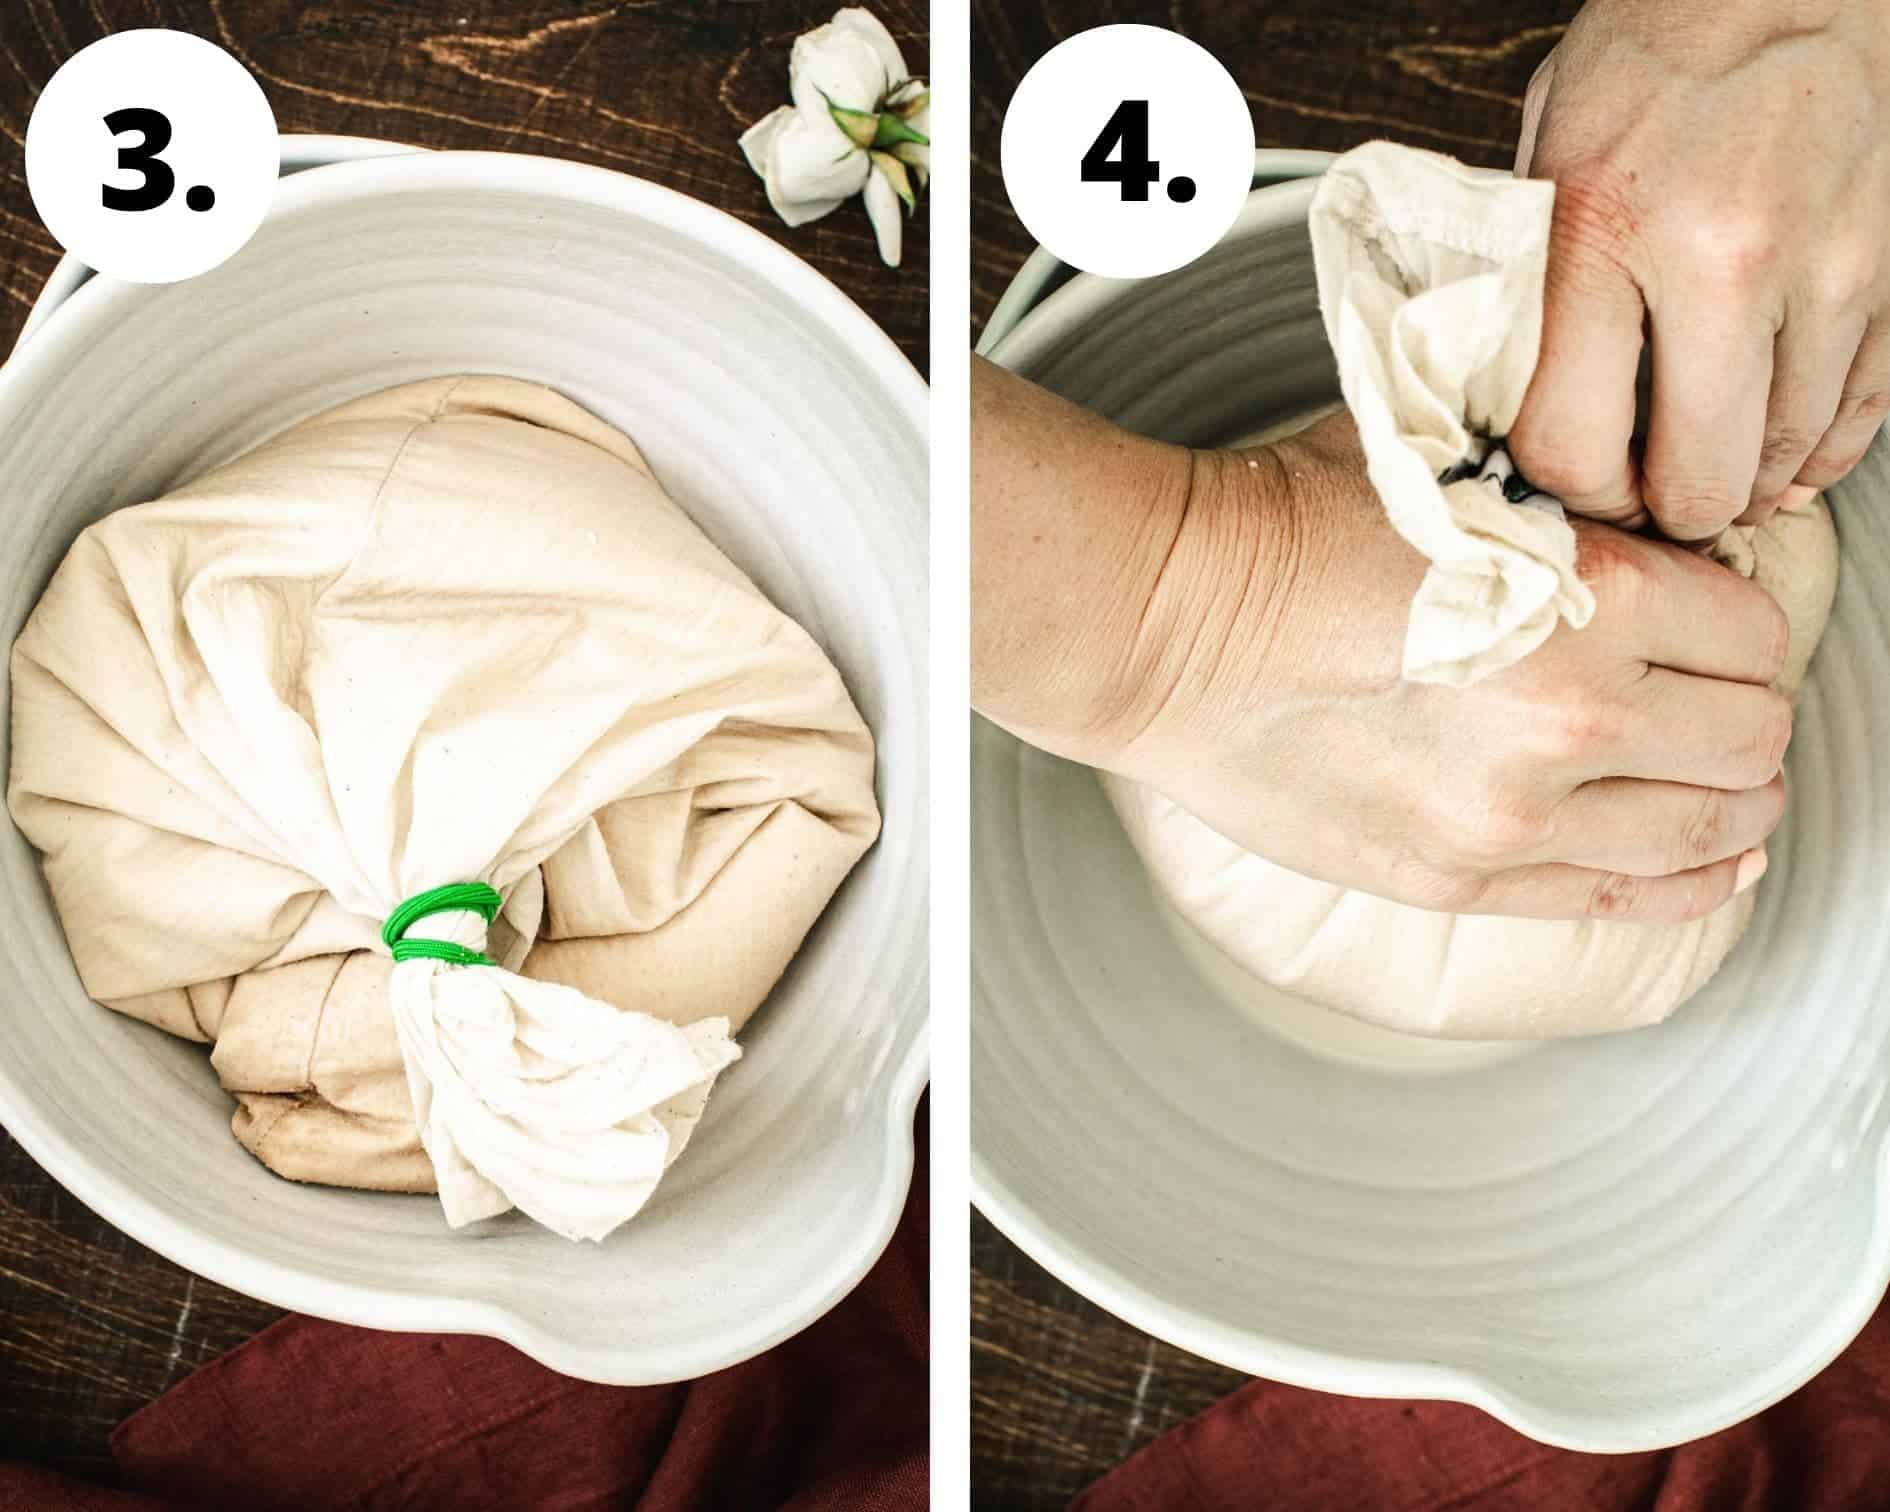
- Strain. Pour the mixture into a nut milk bag and strain until all the liquid is removed from the nut milk bag or strain through a fine-mesh sieve.
- Flavor. Add any additional flavors and sweeteners once the mixture has been strained and pour into an air-tight container.
Storage Information
Keep this homemade coffee creamer stored in an air-tight container in your fridge for up to 10 days. You can easily make as little or as much as you need for that timeframe by adjusting the serving size in the recipe card below.
Recipe Notes and Tips
- For a richer and creamier version use 1/2 cup of oats and 1/4 cup of coconut flakes instead. The oats create a super creamy texture.
- It’s not necessary to soak the cashews before blending them into the mixture. Since the creamer is strained through a nut milk bag or a mesh sieve it’s not necessary.
- Flavor and sweeten the creamer after you’ve strained it. Then adjust the flavors and sweetener to your liking.
FAQs
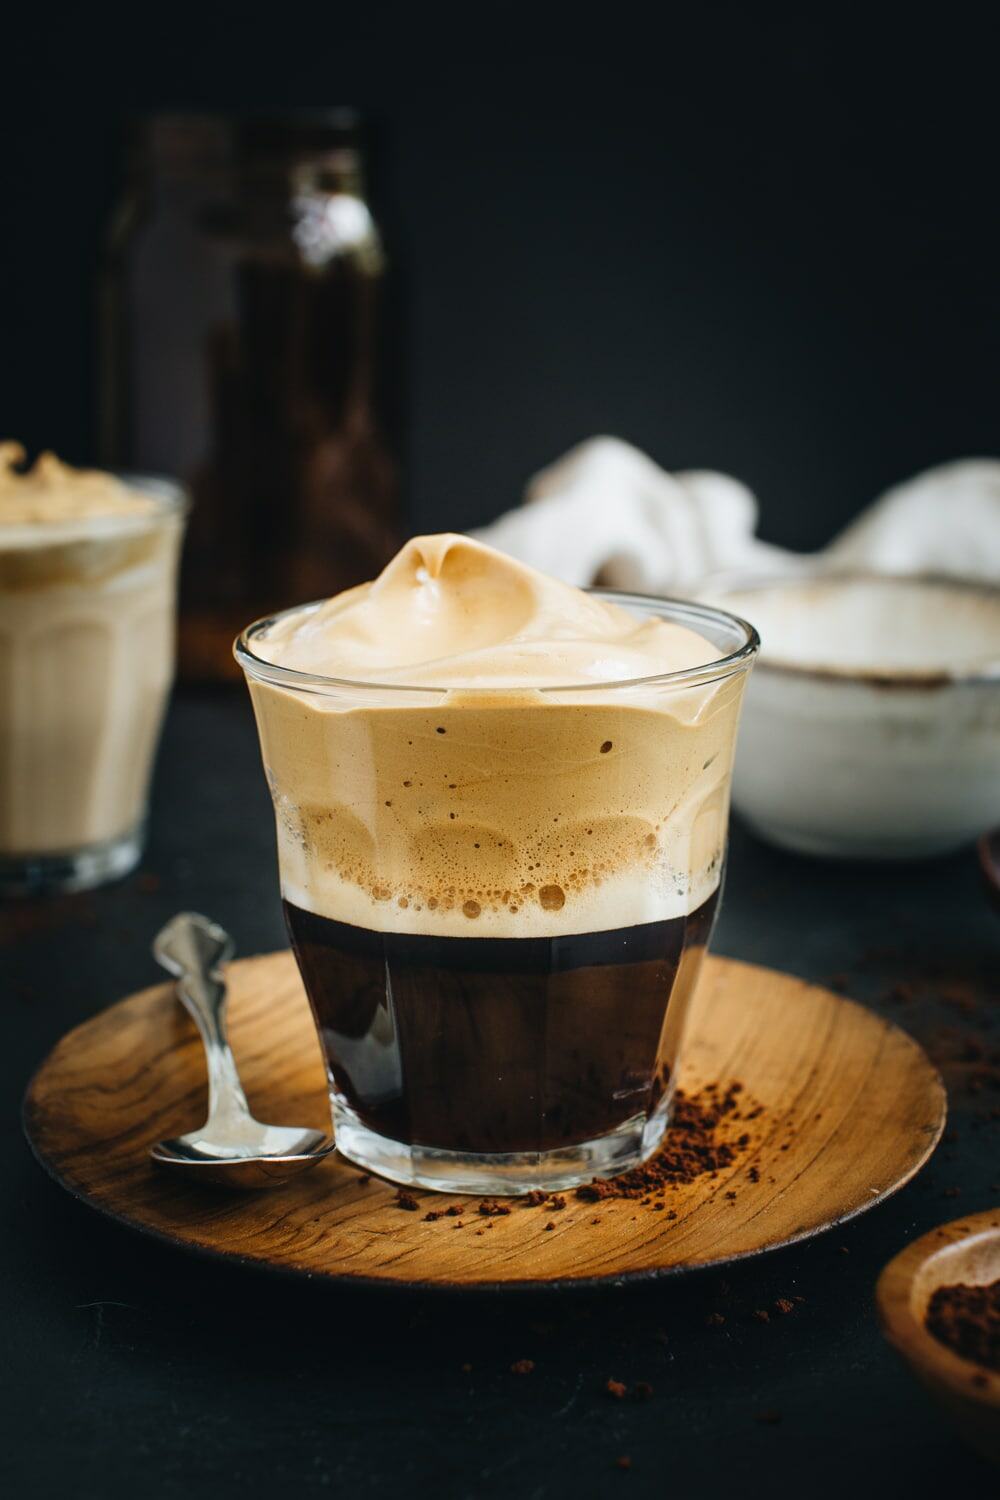
Yes. You can use this creamer in your favorite coffee beverage. To add some extra flavor to your iced coffee freeze some coffee ice cubes, which also look beautiful.
This creamer will last about 10 days. If you opt for the dairy version it will depend on the expiration dates of your milk and cream.
If you made this Homemade Coffee Creamer I want to hear all about it! Share a photo and tag me on Instagram using @AimeeMarsLiving and #AimeeMars so I can see your beautiful work. Enjoy!
Homemade Coffee Creamer
Equipment
- Nut Milk Bag or mesh sieve
- Jar with Lid
Ingredients
- 1 cup Raw Cashews
- 3/4 cup Unsweetened Coconut Flakes
- 1/2 teaspoon Salt
- 3 cups Water
- 1 Pitted Date optional
- 1 teaspoon Cinnamon
- 2 teaspoons Vanilla Extract
Instructions
- Place the raw cashews, unsweetened coconut flakes, salt, and water into a blender and blend until smooth.
- Add the date, cinnamon, and vanilla extract to the blender and blend again.
- Pour the mixture into a nut milk bag and strain into a medium-sized bowl or pour the mixture through a fine mesh sieve.
- Add any additional flavorings to the strained mixture and place it in an air-tight container and store it in the fridge.
Notes
- For a richer and creamier version use 1/2 cup of oats and 1/4 cup of coconut flakes instead. The oats create a super creamy texture.
- It’s not necessary to soak the cashews before blending them into the mixture. Since the creamer is strained through a nut milk bag or a mesh sieve it’s not necessary.
- Flavor and sweeten the creamer after you’ve strained it. Then adjust the flavors and sweetener to your liking.