All Recipes
 Beverages
 Breakfast
 Appetizers
 Dinner
 Sides
Sides
 Dessert
 Videos
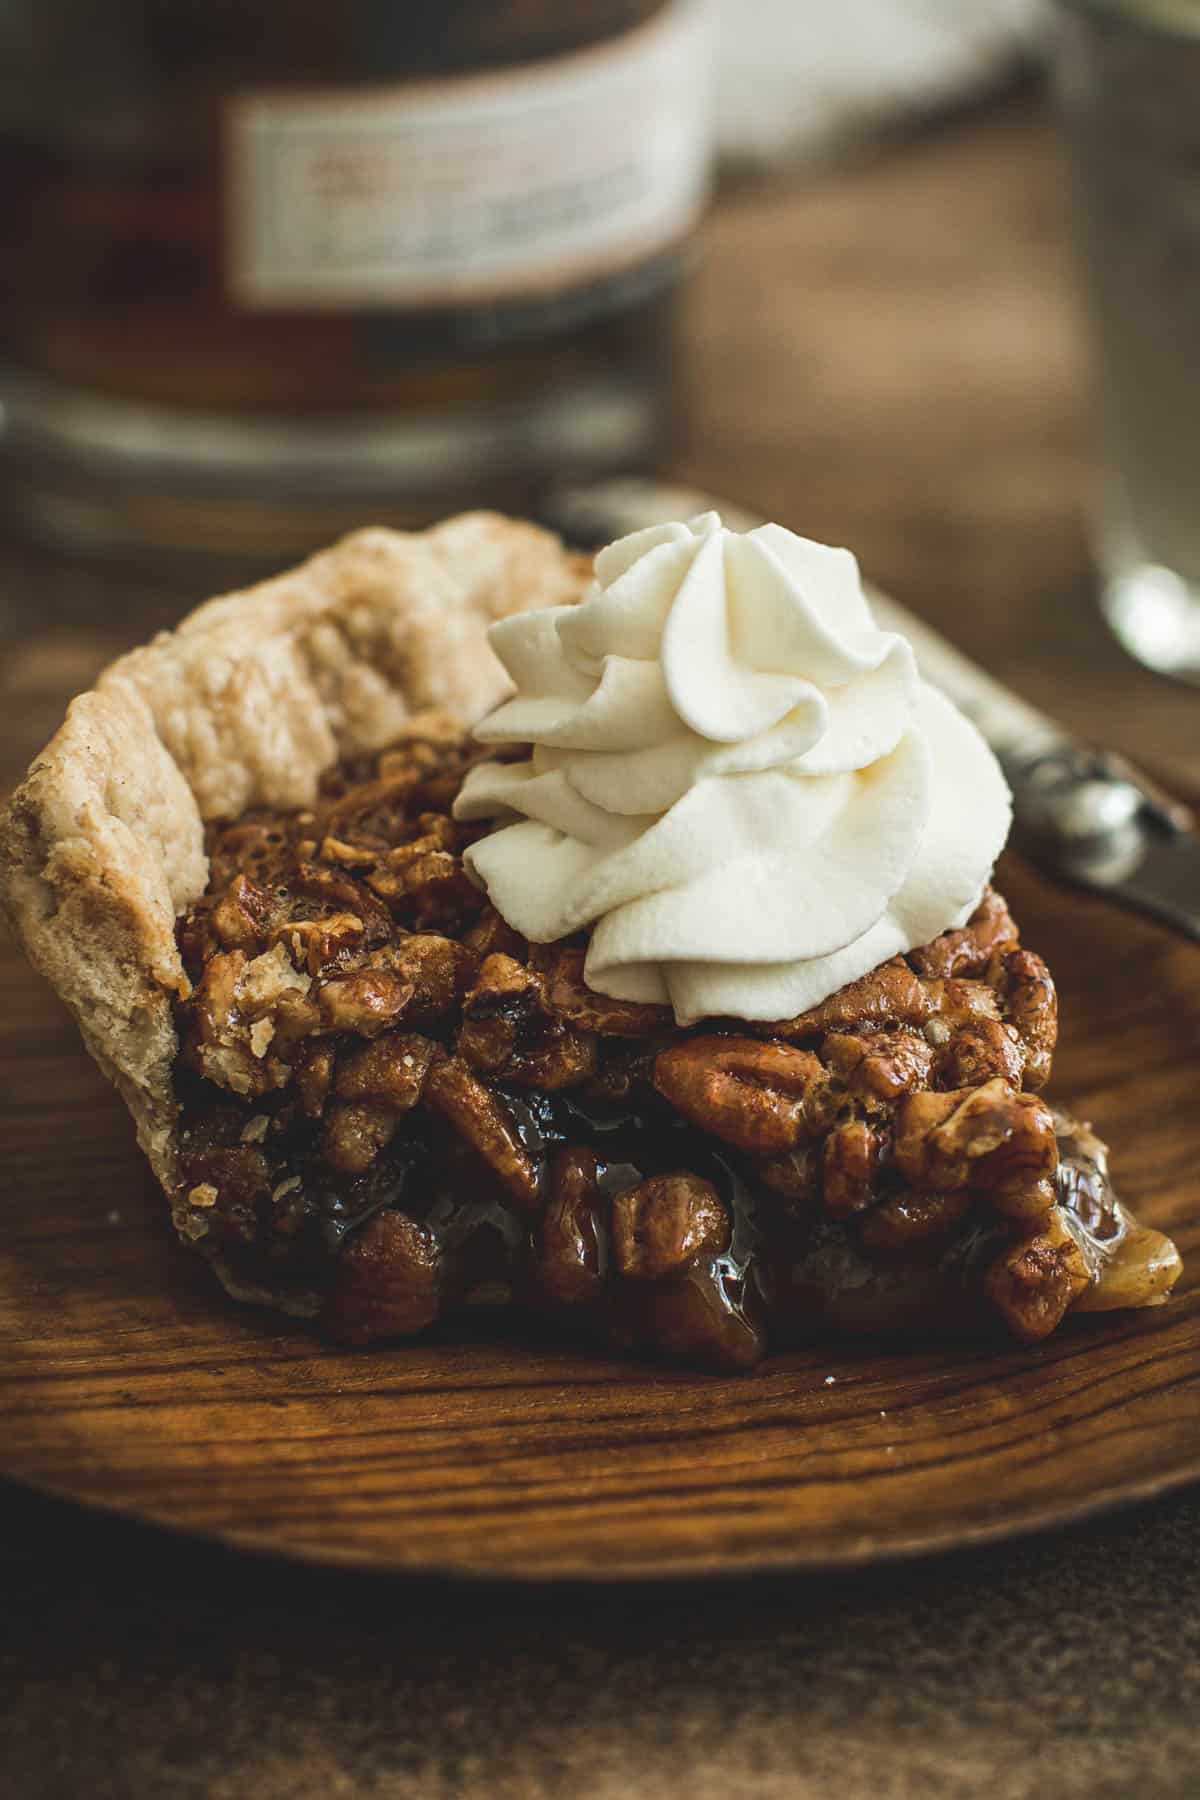
Homemade Whipped Cream is a heavenly creation that takes just a few simple ingredients and transforms them into a light, fluffy, and irresistibly creamy topping. With its delicate texture and melt-in-your-mouth flavor, homemade whipped cream adds a touch of decadence to any dessert.
Homemade whipped cream has a richer and fresher flavor compared to store-bought whipped toppings and it’s easy to make. It’s customizable with different flavors and sweeteners to suit your taste preferences. Making whipped cream at home also allows you to avoid preservatives and artificial ingredients that are often found in commercial whipped toppings.
What You Need
- Electric Mixer – you will need either a handheld mixer or a stand mixer fitted with the whisk attachment.
- Mixing bowl – only needed if you’re using a handheld mixer.
- Chilled heavy cream or heavy whipping cream. Both heavy cream and heavy whipping cream will work, but learn which is better Heavy Cream vs Heavy Whipping Cream.
- Sweetener – you can use granulated sugar, powdered sugar, or your preferred sweetener. You can also learn How to Make Powdered Sugar if you don’t have any.
- Flavor – the flavor helps to balance the sweetness of the whipped cream.
How to Make Homemade Whipped Cream
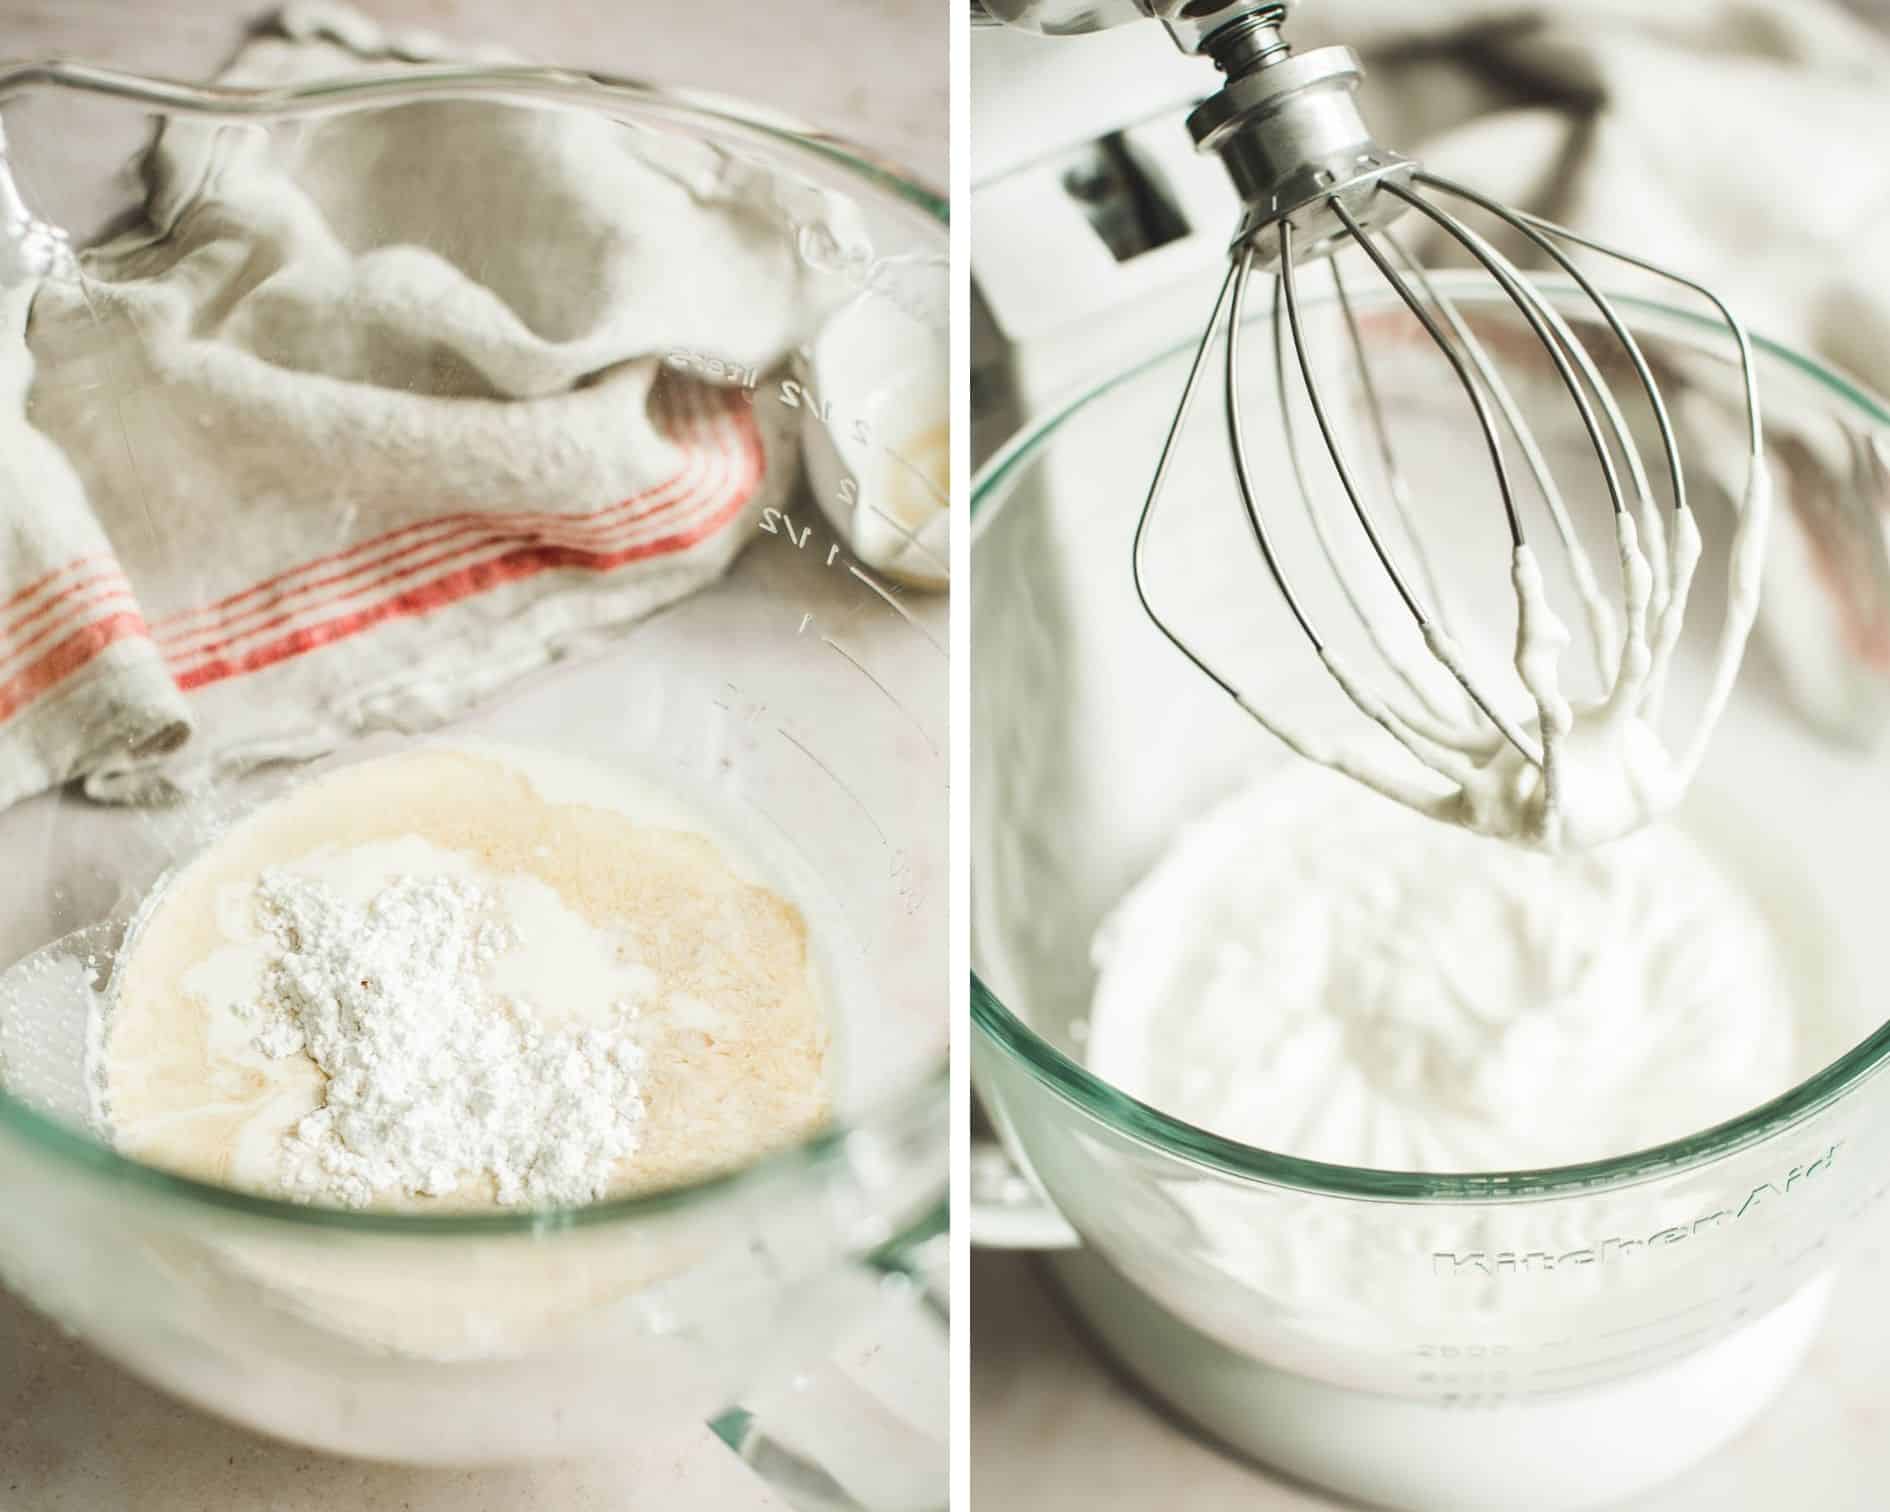
- Use chilled heavy cream. For the optimal whipped cream, it’s essential to start with chilled cream. The lower temperature makes it easier to achieve a light and fluffy texture while whipping. In fact, the temperature of the cream can make a significant difference in the quality of the finished product. It’s best to avoid using slightly warm or room-temperature cream since it won’t whip up properly.
- Pour the heavy cream, sugar, and vanilla into the bowl of your mixer or a mixing bowl. Whip the mixture at medium speed. It’s best to whip cream at a moderate pace to incorporate air. Whipping at a high speed can lead to over-whipped cream, while a low speed may result in under-whipped cream. By whipping at medium speed, you can achieve the perfect balance.
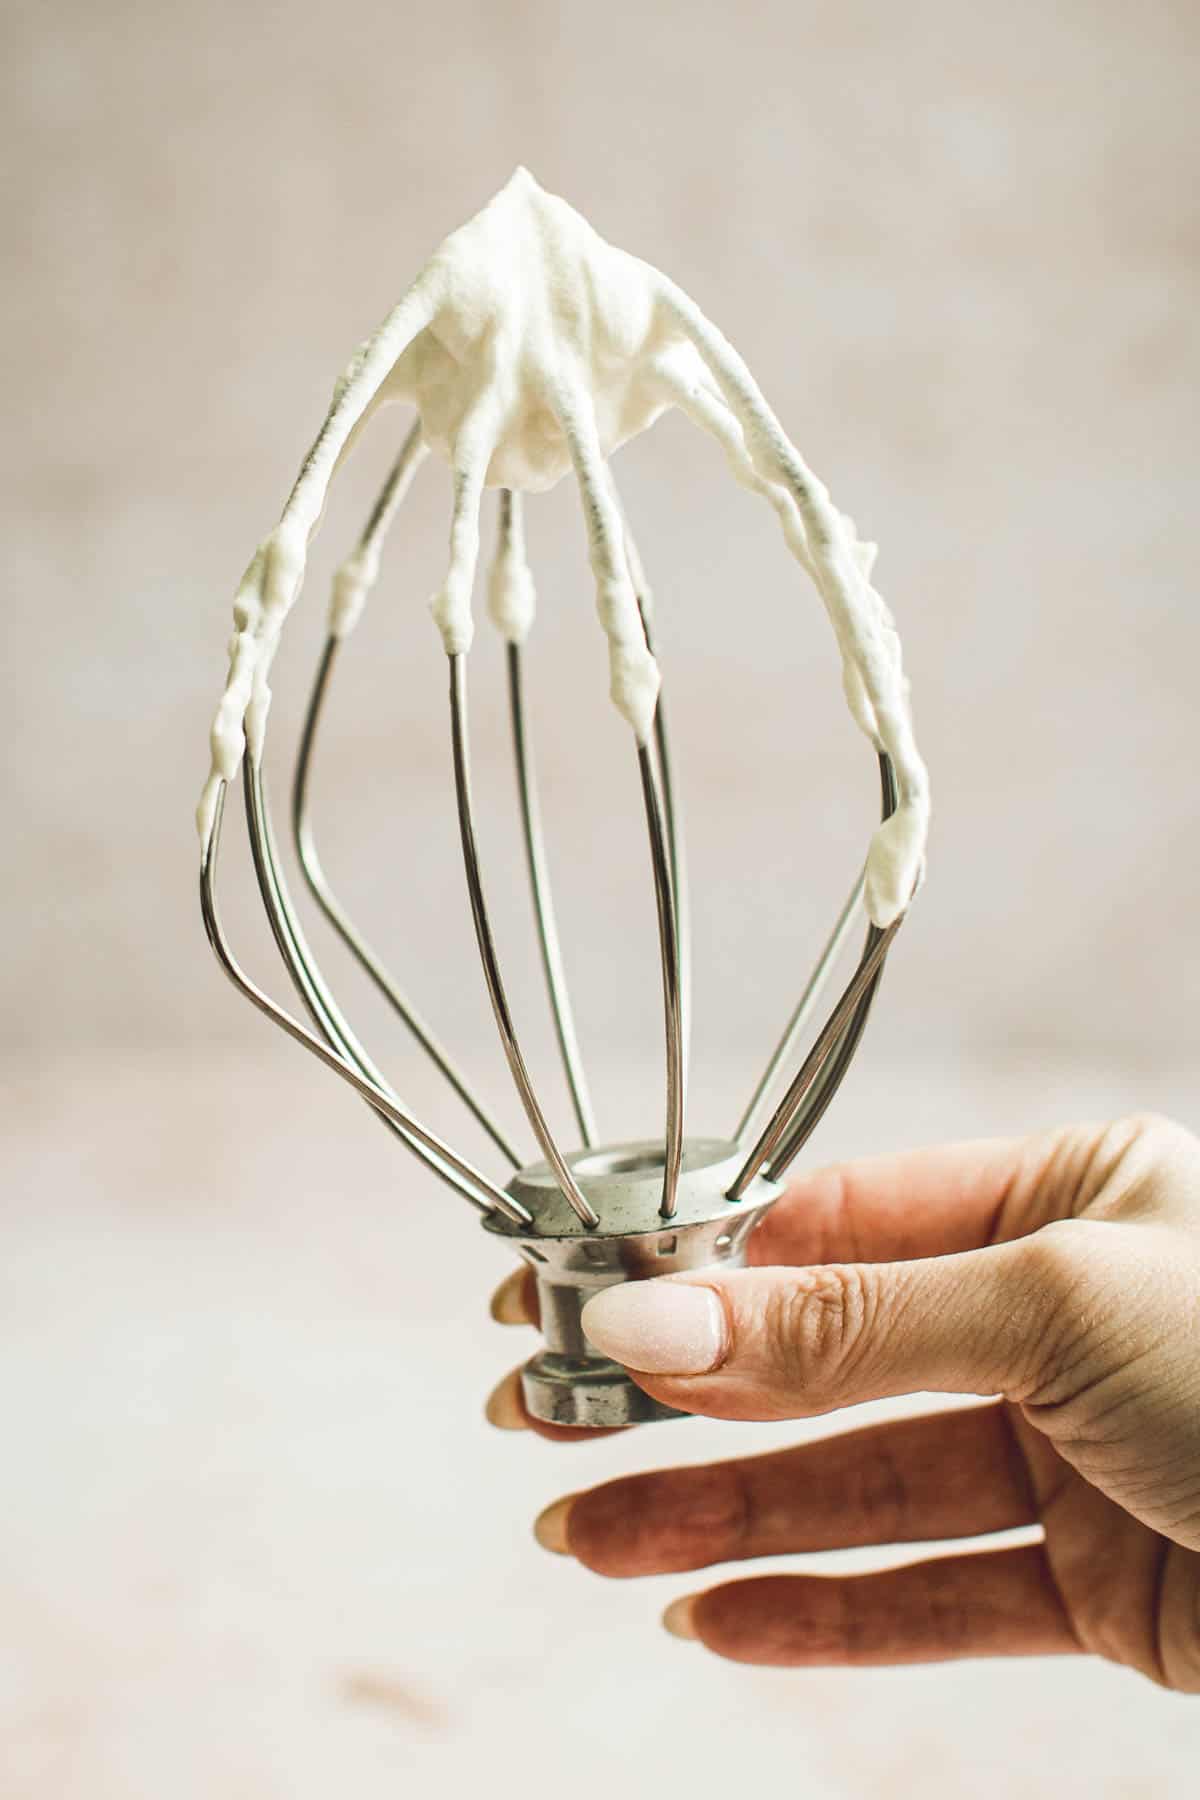
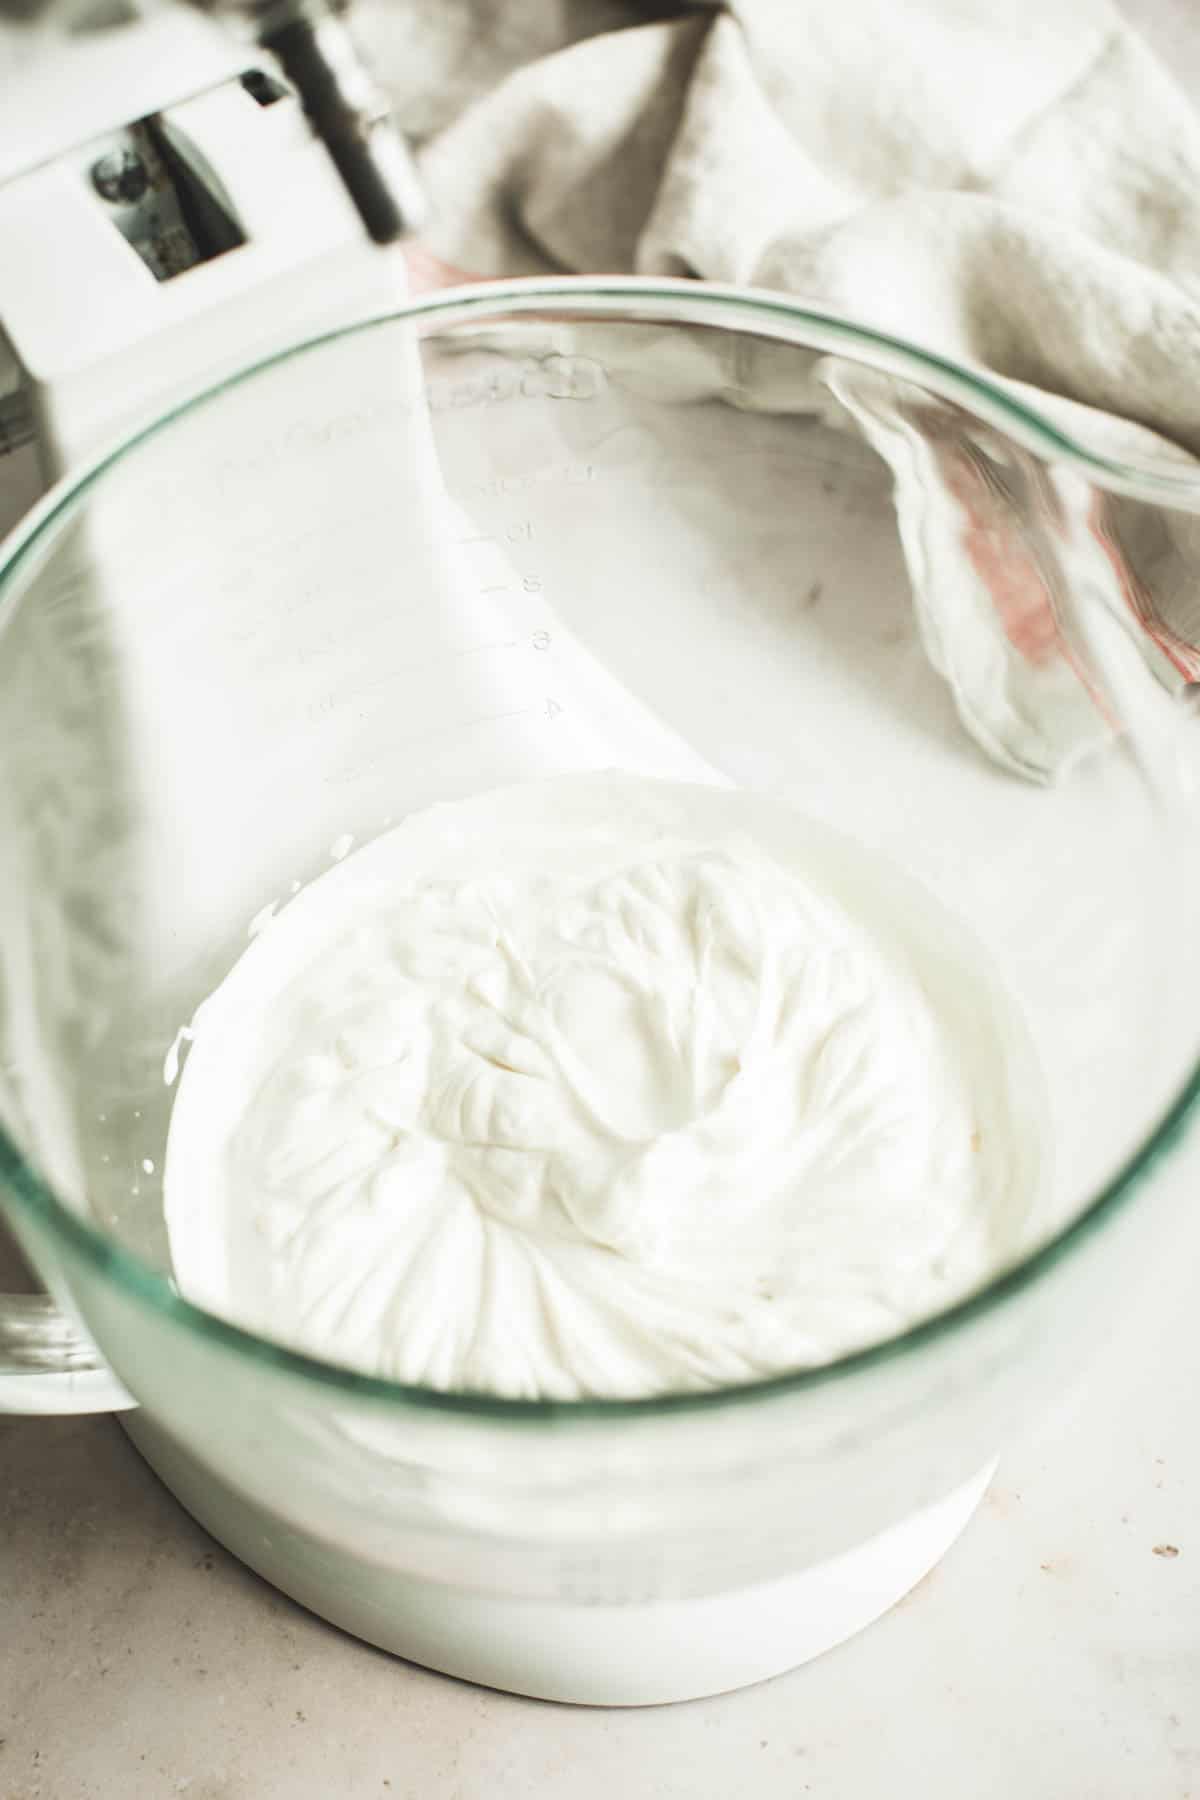
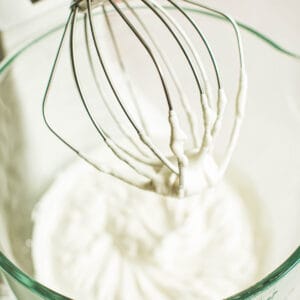
- Stay by your mixer. The perfect texture for homemade whipped cream is light, fluffy, and creamy. It should be smooth and hold its shape when piped or dolloped, but still, be easy to spread or spoon onto desserts. Over-whipping the cream can cause it to become excessively firm and lumpy, while under-whipping may result in a thin or watery consistency. Careful monitoring of the whipping process is key to achieving the ideal texture, stopping as soon as the cream reaches the desired consistency.
- Whip until medium peaks form. Medium peaks in homemade whipped cream refer to the stage in the whipping process where the cream forms peaks that stand upright when the beaters are lifted, but the tips of the peaks curl over slightly. It indicates that the cream is well-whipped but not overdone, with a light and fluffy consistency that’s ideal for most applications of whipped cream.
How to Fix Over-Whipped Cream
In case the cream is over-mixed and appears lumpy and dense, a possible solution is to add a small amount of heavy cream and fold it in gently by hand using a spatula until the mixture becomes smoother. This can help to restore the desired consistency of the cream and improve its texture.
FAQS
The main difference between heavy cream and heavy whipping cream is their fat content. Heavy cream contains about 36% fat, while heavy whipping cream has slightly more, with around 38% fat. This difference in fat content can affect the consistency and stability of the cream when whipped.
Because of its higher fat content, heavy whipping cream is generally easier to whip and produces a more stable whipped cream with firmer peaks. Heavy cream, on the other hand, is slightly more difficult to whip and can produce a slightly looser whipped cream with softer peaks.
Homemade whipped cream typically lasts for 2-3 days in the refrigerator if stored properly in an airtight container. It’s best to under whip the cream slightly if making it in advance and finish whipping it just before serving to maintain its texture and freshness.
Over time, whipped cream may lose volume and become thinner as air bubbles dissipate, but it can be re-whipped briefly to restore its texture.
Homemade whipped cream can be used as a substitute for Cool Whip in most recipes, but it’s important to note that Cool Whip is a stabilized whipped topping with additional ingredients that may affect the taste and texture of the final dish.
You can add sugar, powdered sugar, honey, maple syrup, or another sweetener of your choice. Powdered sugar or confectioners’ sugar is often preferred, but many swear by using granulated sugar.
Storage Information
To store homemade whipped cream, transfer it to an airtight container and refrigerate it immediately. It’s best to use a container with a tight-fitting lid to prevent air and moisture from getting in, which can cause the whipped cream to break down and lose its texture.
When refrigerated, homemade whipped cream will last for 2-3 days, but it’s important to keep it chilled at all times. If the whipped cream starts to separate or lose its texture, you can gently re-whip it by hand with a whisk or mixer to restore its fluffiness.
Recipe Notes and Tips
- Make Ahead Instructions: It’s best to underwhip the cream slightly if making it in advance and finish whipping it just before serving to maintain its texture and freshness. Over time, whipped cream may lose volume and become thinner as air bubbles dissipate, but it can be re-whipped briefly to restore its texture.
- Freezing Instructions: To freeze homemade whipped cream, you can first scoop it onto a parchment-lined baking sheet using an ice cream scoop or spoon. Then, place the baking sheet in the freezer until the whipped cream is frozen solid. Once frozen, you can transfer the whipped cream dollops to a freezer-safe container or bag, and store them in the freezer for up to 3 months. When ready to use, simply thaw the whipped cream in the refrigerator or at room temperature, and give it a quick stir to restore its texture. It’s important to note it may lose some of its creaminess.
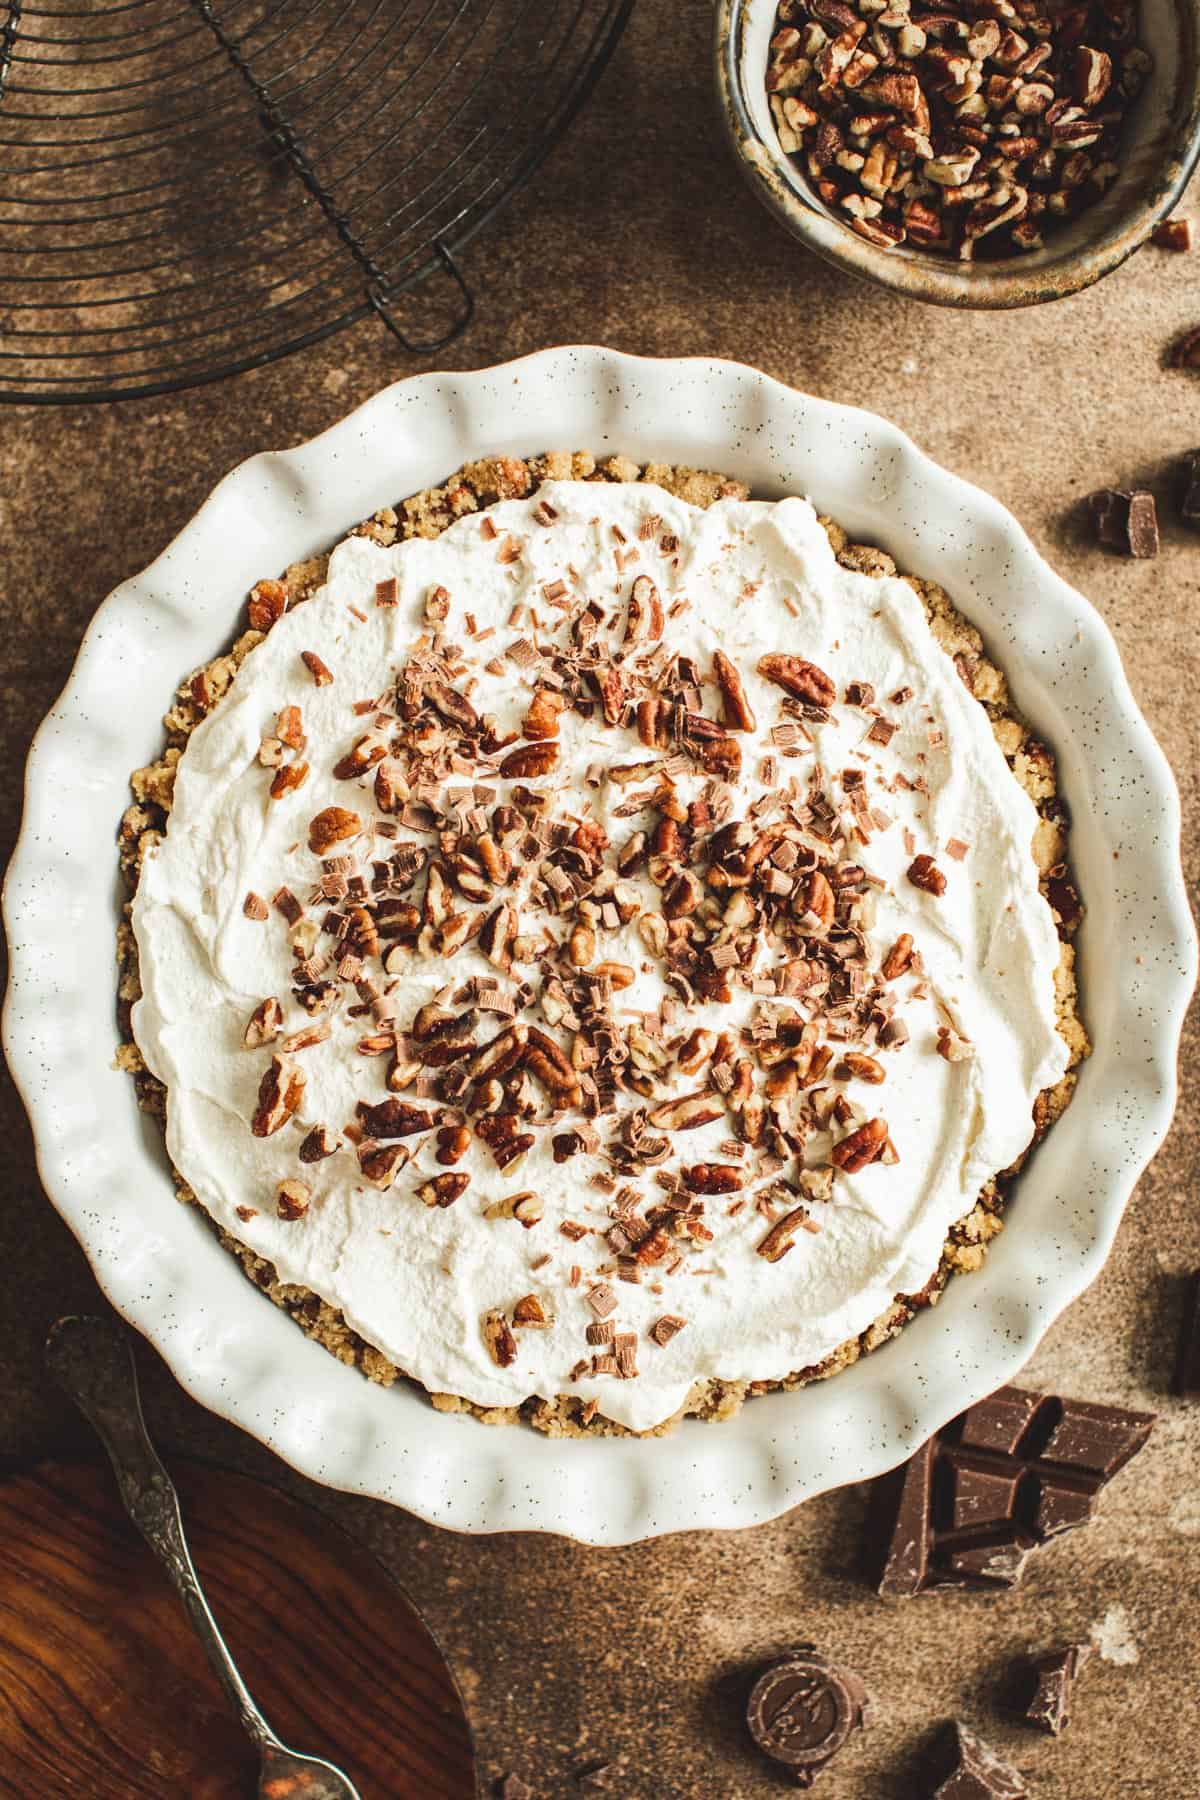
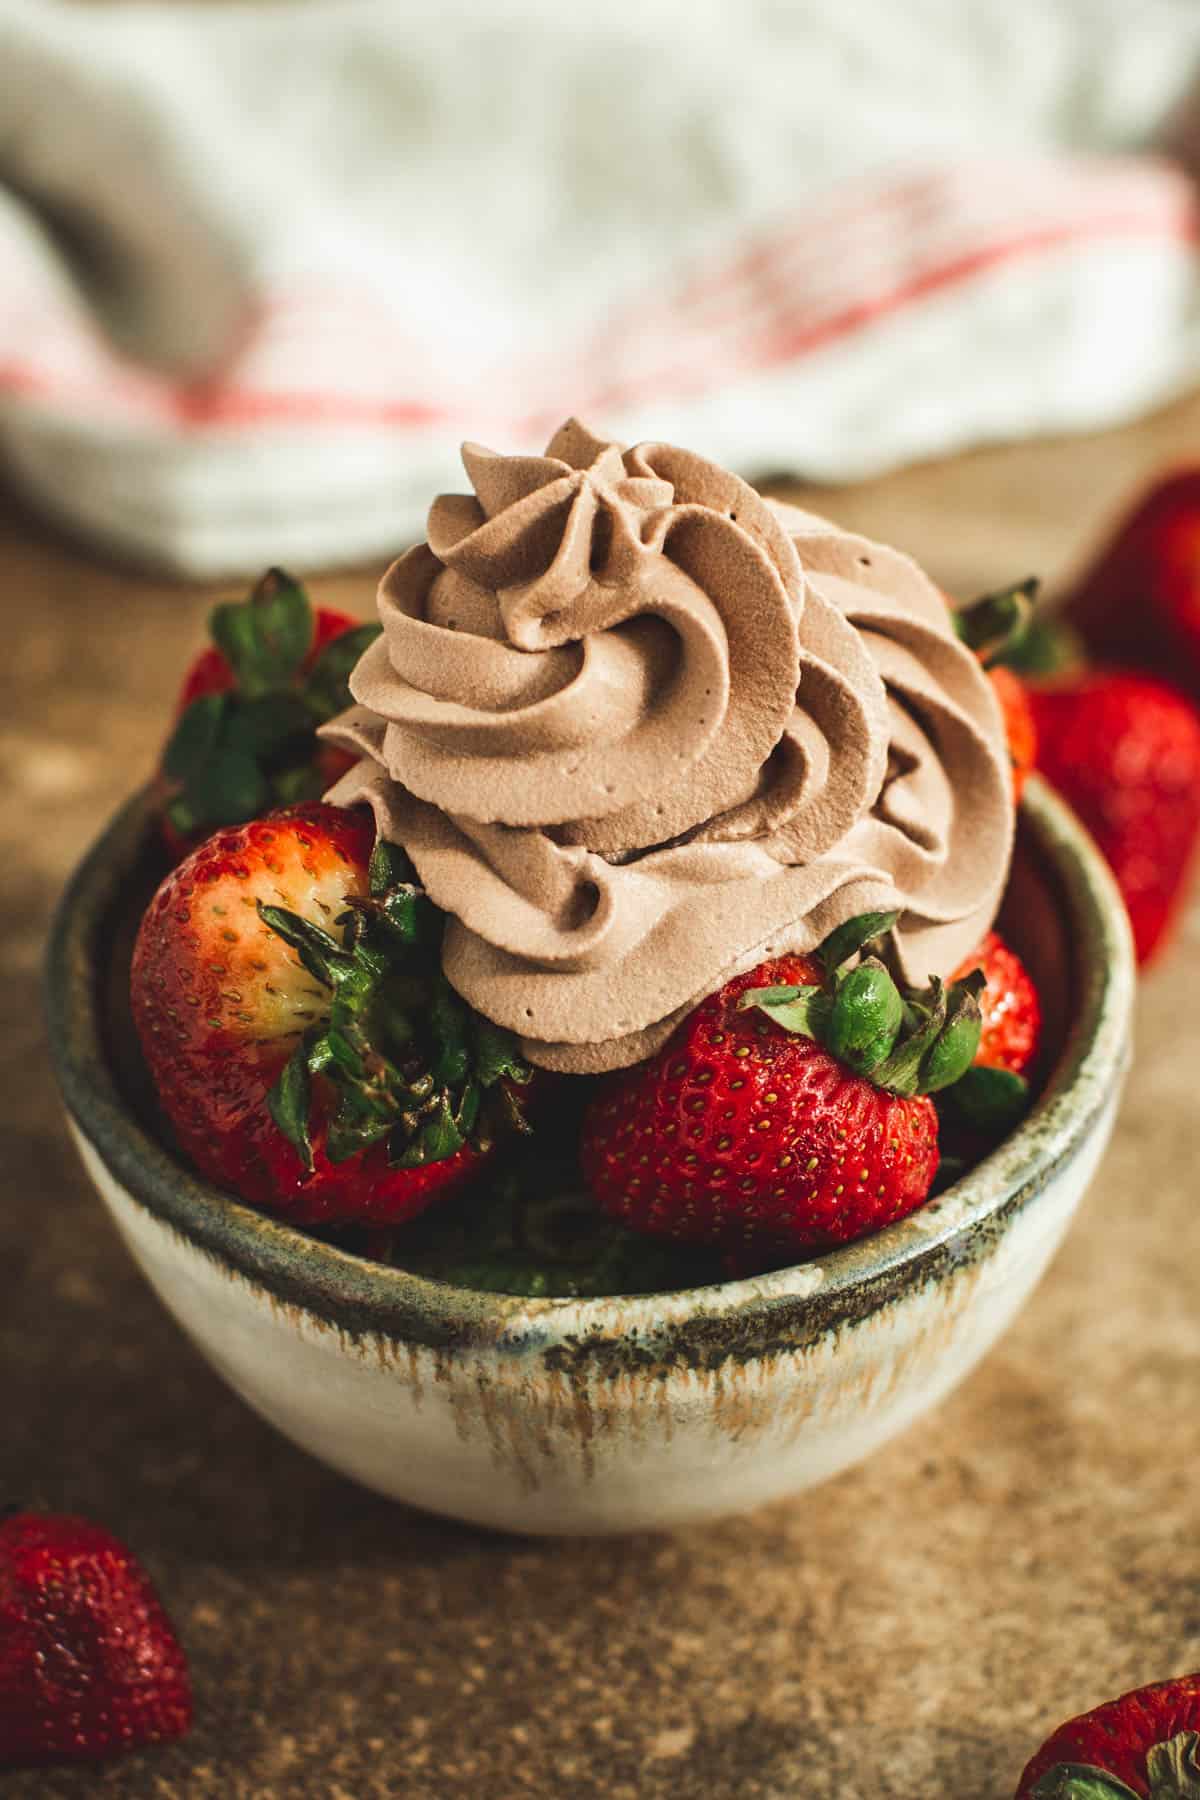
- Use it for piping. If you’re wondering can you pipe homemade whipped cream? The answer is yes! To pipe whipped cream, you will need a pastry bag fitted with a piping tip. You’ll want to use a larger star piping tip as well.
- Try other flavors. Experiment with different flavorings and add-ins to customize your whipped cream. Maple Extract or almond extract and liqueurs are popular options.
More Whipped Cream Recipes
Homemade Whipped Cream Recipe
Equipment
- Handheld or Electric Mixer
- Mixing Bowl if using a handheld mixer
Ingredients
- 2 cups Heavy Whipping Cream
- 1/2 cup Powdered Sugar
- 1 tablespoon Vanilla Extract
Instructions
- Use chilled heavy cream. For the optimal whipped cream, it's essential to start with chilled cream. The lower temperature makes it easier to achieve a light and fluffy texture while whipping. In fact, the temperature of the cream can make a significant difference in the quality of the finished product. It's best to avoid using slightly warm or room-temperature cream since it won't whip up properly.
- Pour the heavy cream, sugar, and vanilla into the bowl of your mixer or a mixing bowl. Whip the mixture at medium speed. It's best to whip cream at a moderate pace to incorporate air. Whipping at a high speed can lead to over-whipped cream, while a low speed may result in under-whipped cream. By whipping at medium speed, you can achieve the perfect balance.
- Stay by your mixer. The perfect texture for homemade whipped cream is light, fluffy, and creamy. It should be smooth and hold its shape when piped or dolloped, but still, be easy to spread or spoon onto desserts. Over-whipping the cream can cause it to become excessively firm and lumpy, while under-whipping may result in a thin or watery consistency. Careful monitoring of the whipping process is key to achieving the ideal texture, stopping as soon as the cream reaches the desired consistency.
- Whip until medium peaks form. Medium peaks in homemade whipped cream refer to the stage in the whipping process where the cream forms peaks that stand upright when the beaters are lifted, but the tips of the peaks curl over slightly. It indicates that the cream is well-whipped but not overdone, with a light and fluffy consistency that's ideal for most applications of whipped cream.
Notes
- Make Ahead Instructions: It’s best to underwhip the cream slightly if making it in advance and finish whipping it just before serving to maintain its texture and freshness. Over time, whipped cream may lose volume and become thinner as air bubbles dissipate, but it can be re-whipped briefly to restore its texture.
- Storage Information: To store homemade whipped cream, transfer it to an airtight container and refrigerate it immediately. It’s best to use a container with a tight-fitting lid to prevent air and moisture from getting in, which can cause the whipped cream to break down and lose its texture.
- Freezing Instructions: To freeze homemade whipped cream, you can first scoop it onto a parchment-lined baking sheet using an ice cream scoop or spoon. Then, place the baking sheet in the freezer until the whipped cream is frozen solid. Once frozen, you can transfer the whipped cream dollops to a freezer-safe container or bag, and store them in the freezer for up to 3 months. When ready to use, simply thaw the whipped cream in the refrigerator or at room temperature, and give it a quick stir to restore its texture. It’s important to note it may lose some of its creaminess.