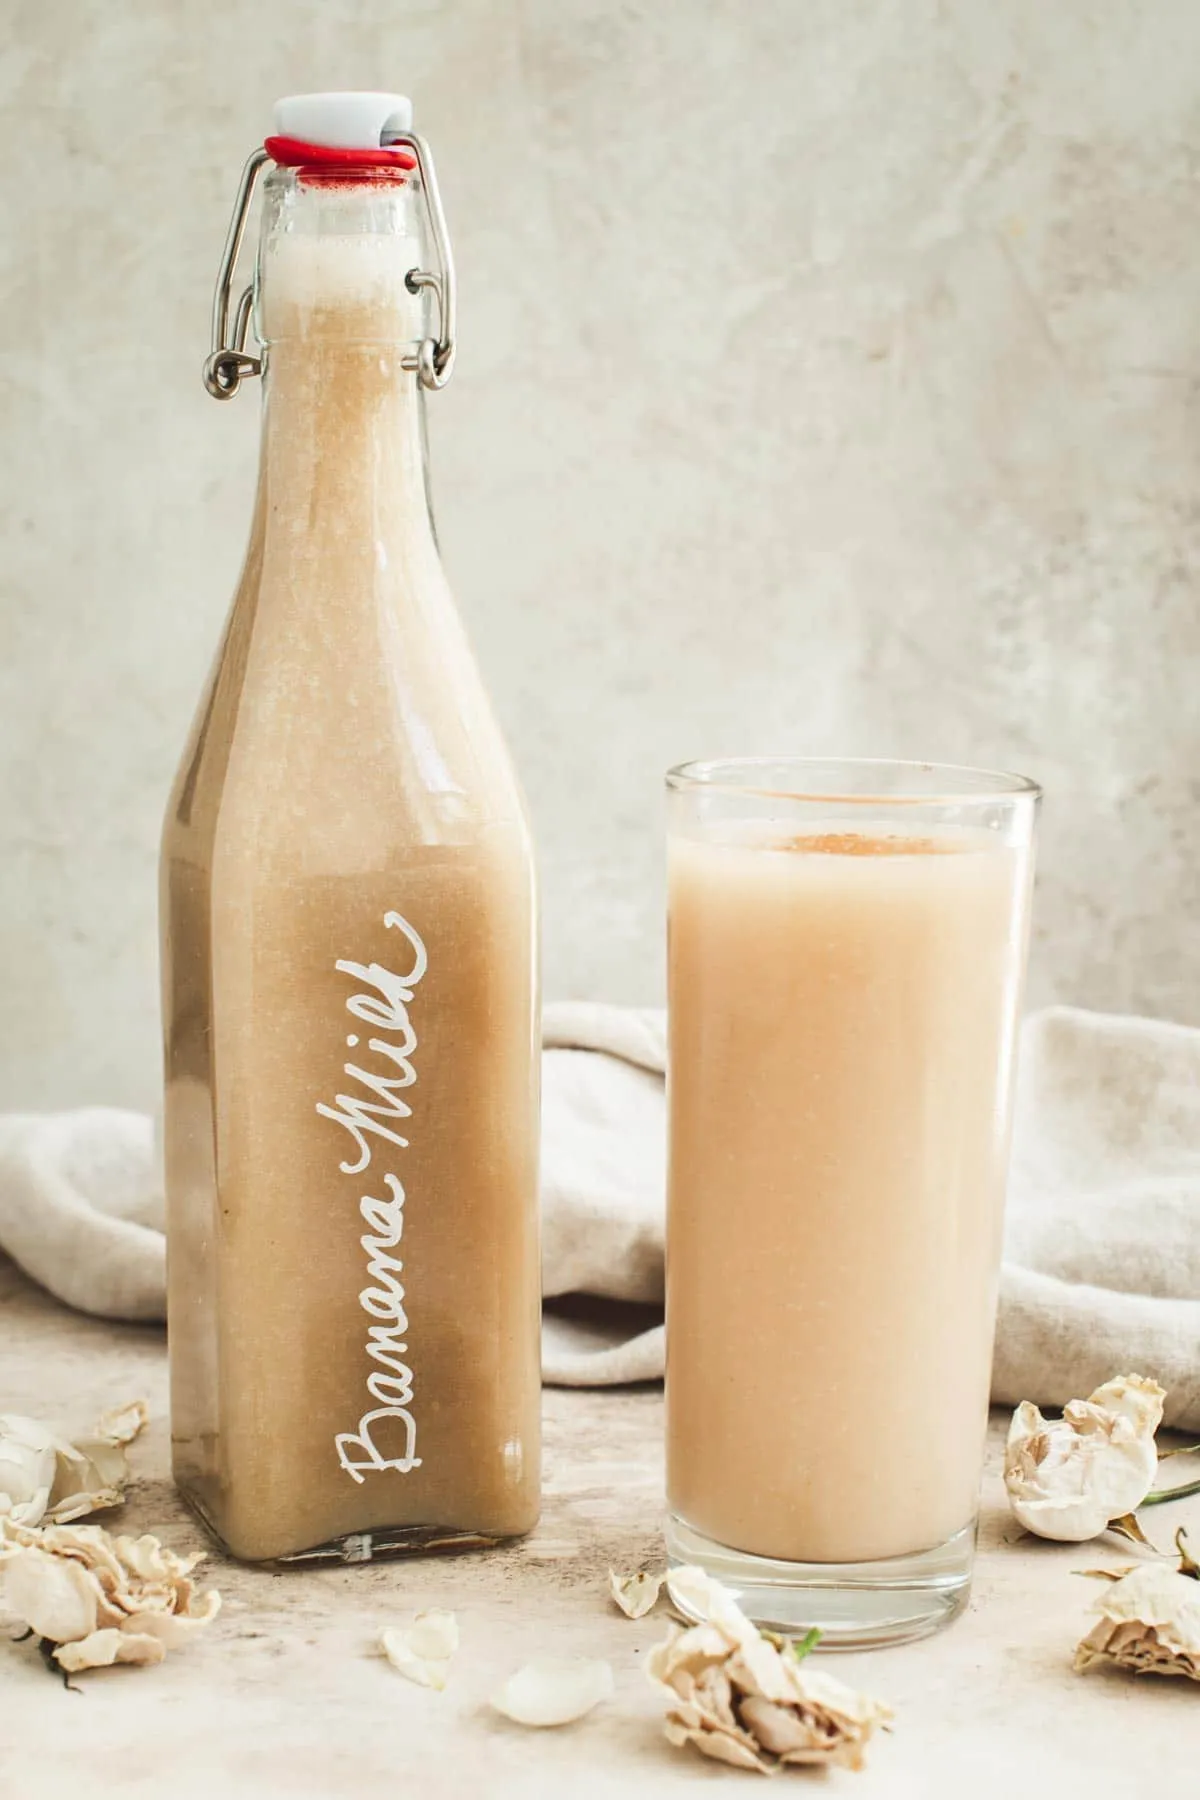
Banana Milk is smooth and creamy non-dairy and nut-free milk that is made using bananas, water, and a hint of lemon juice for freshness. It’s easy to make and is a great milk alternative for smoothies and baked goods, especially quick bread and cookies, but it’s also delicious to drink.
Why You’ll Love This Milk
Banana milk is a delicious and indulgent-tasting milk alternative. It’s great for those with a nut allergy or if you want creamy non-dairy milk. It’s great for just sipping and can be flavored as well as sweetened, though bananas are naturally sweet already.
With just a handful of ingredients, it’s extremely easy to make. It can be made with only 2 ingredients, bananas, and water if you plan on drinking it immediately. This recipe is for a larger batch to keep in the fridge. This is why it contains lemon juice to help with color and preservation.
You can also flavor the banana milk to your liking or enjoy it just the way it is. It can be used in many other recipes too, especially baking.
Ingredients Needed
You can easily prepare this recipe with just 3 ingredients, 2 if you plan on drinking it immediately. Those ingredients are bananas, water, and lemon juice. You can leave the lemon juice out if you plan on drinking it immediately. Below are the ingredients I like to use when I’m making a larger batch of milk. I also like to sweeten it a bit and flavor it to keep in the fridge.

Ingredient Notes
- Bananas: for this recipe, you’ll need fresh bananas. Frozen bananas will work but they need to thaw so they’re soft.
- Lemon Juice: adding lemon juice to the mixture will help preserve it as well as preserve the color so it doesn’t turn brown.
- Flavors: bananas are naturally sweet so you don’t need to add much flavoring if any at all. I like to add vanilla extract, cinnamon, nutmeg, and maple syrup.
- Salt: if you choose to add additional flavors mix in a pinch of salt to balance them out.
Step-by-Step Instructions
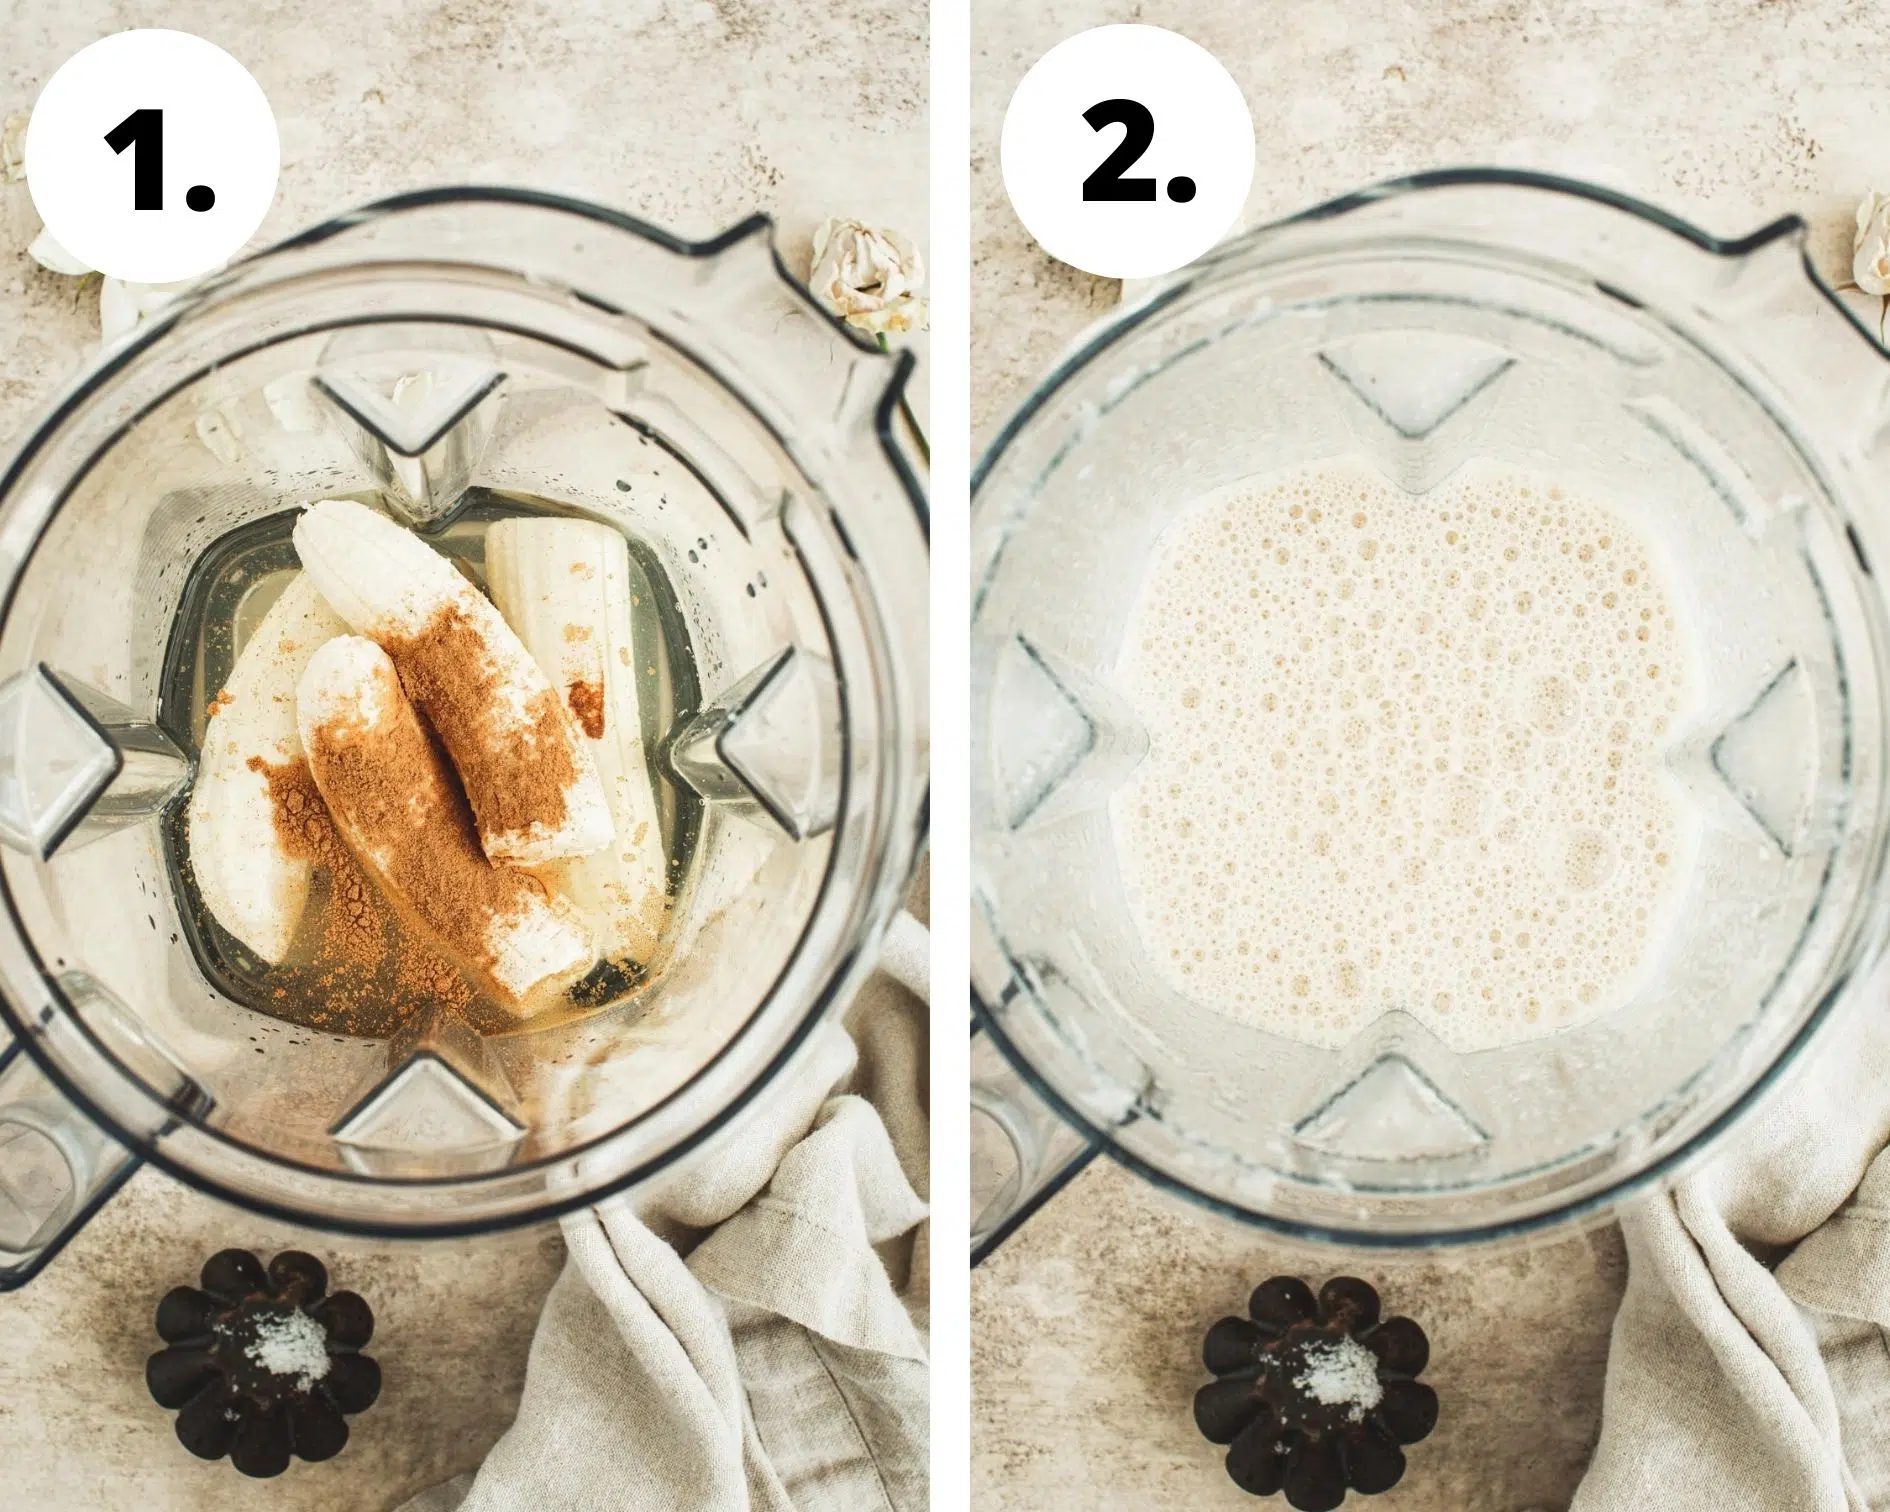
- Blend. Place the banana, water, and lemon juice as well as any flavorings into a blender and blend until smooth.
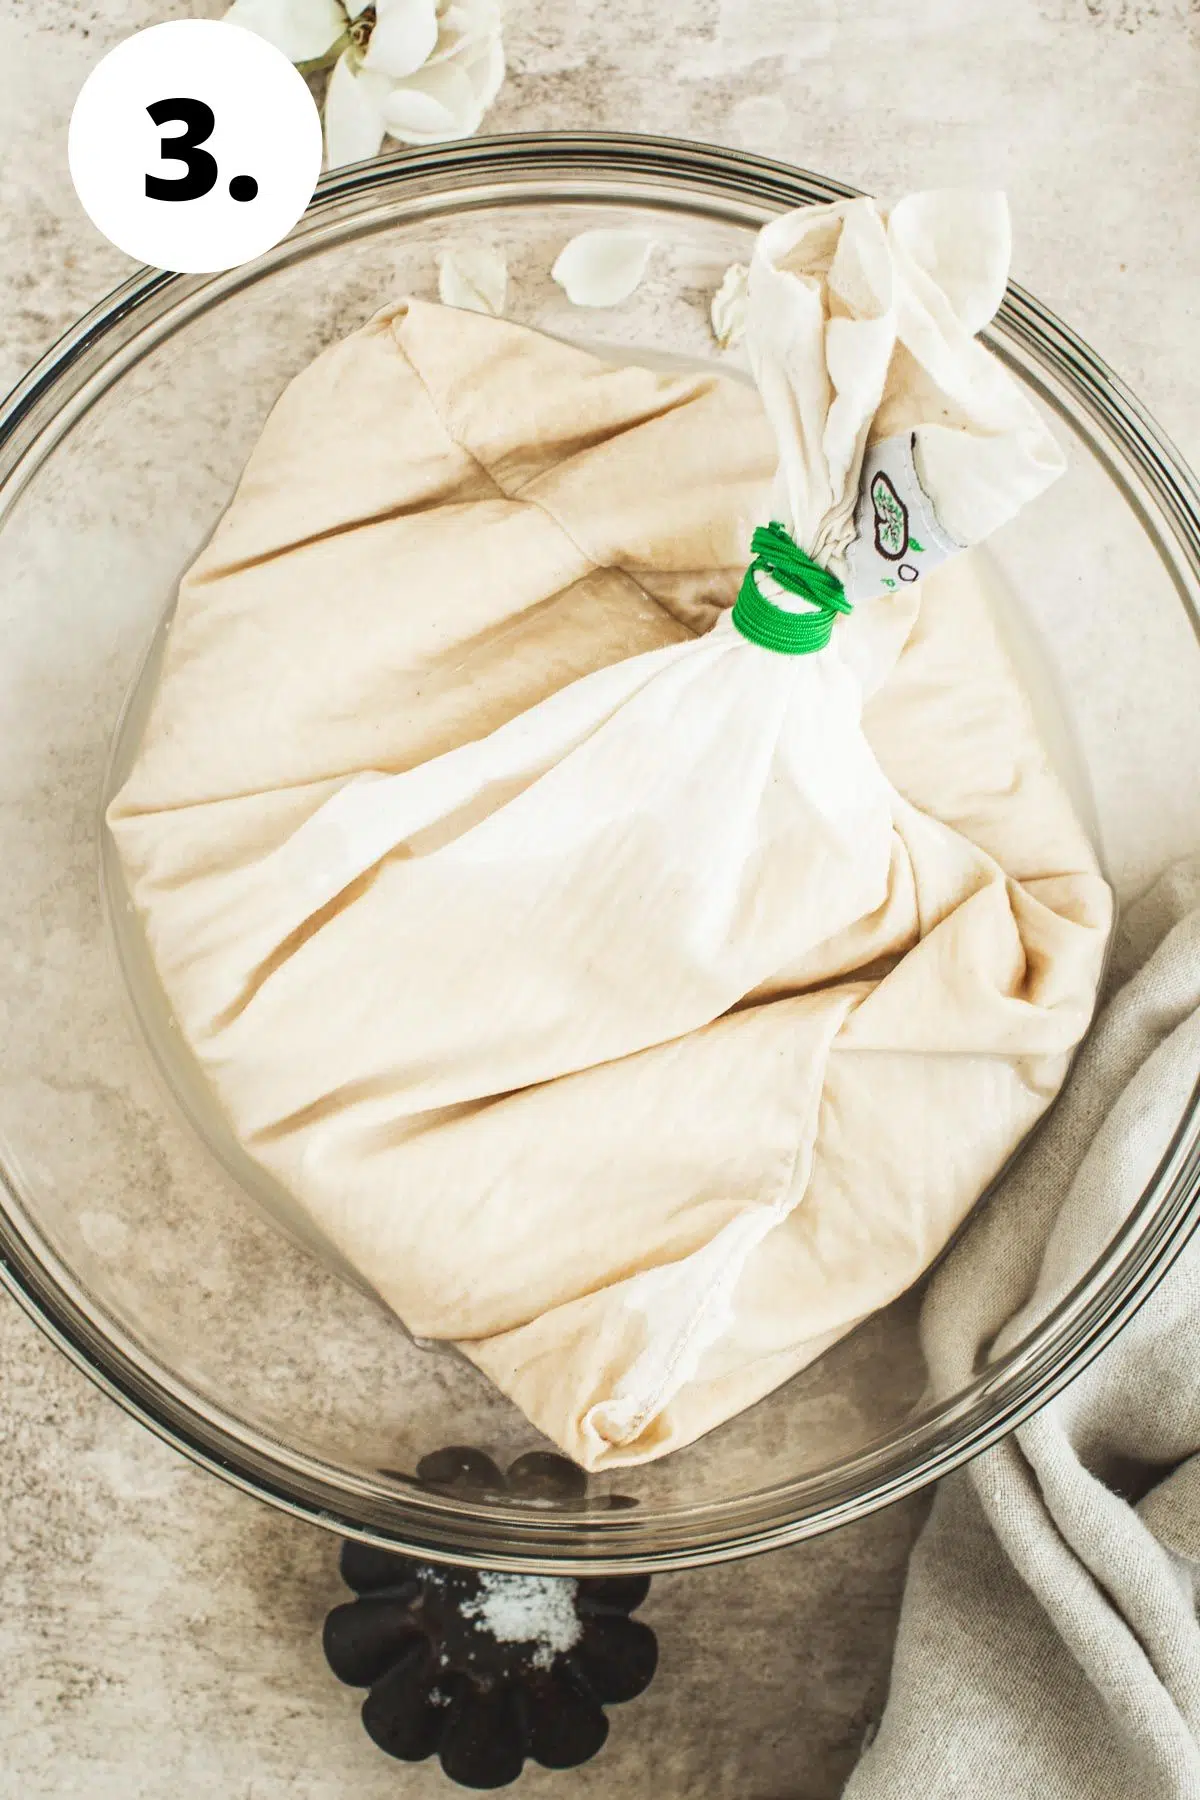
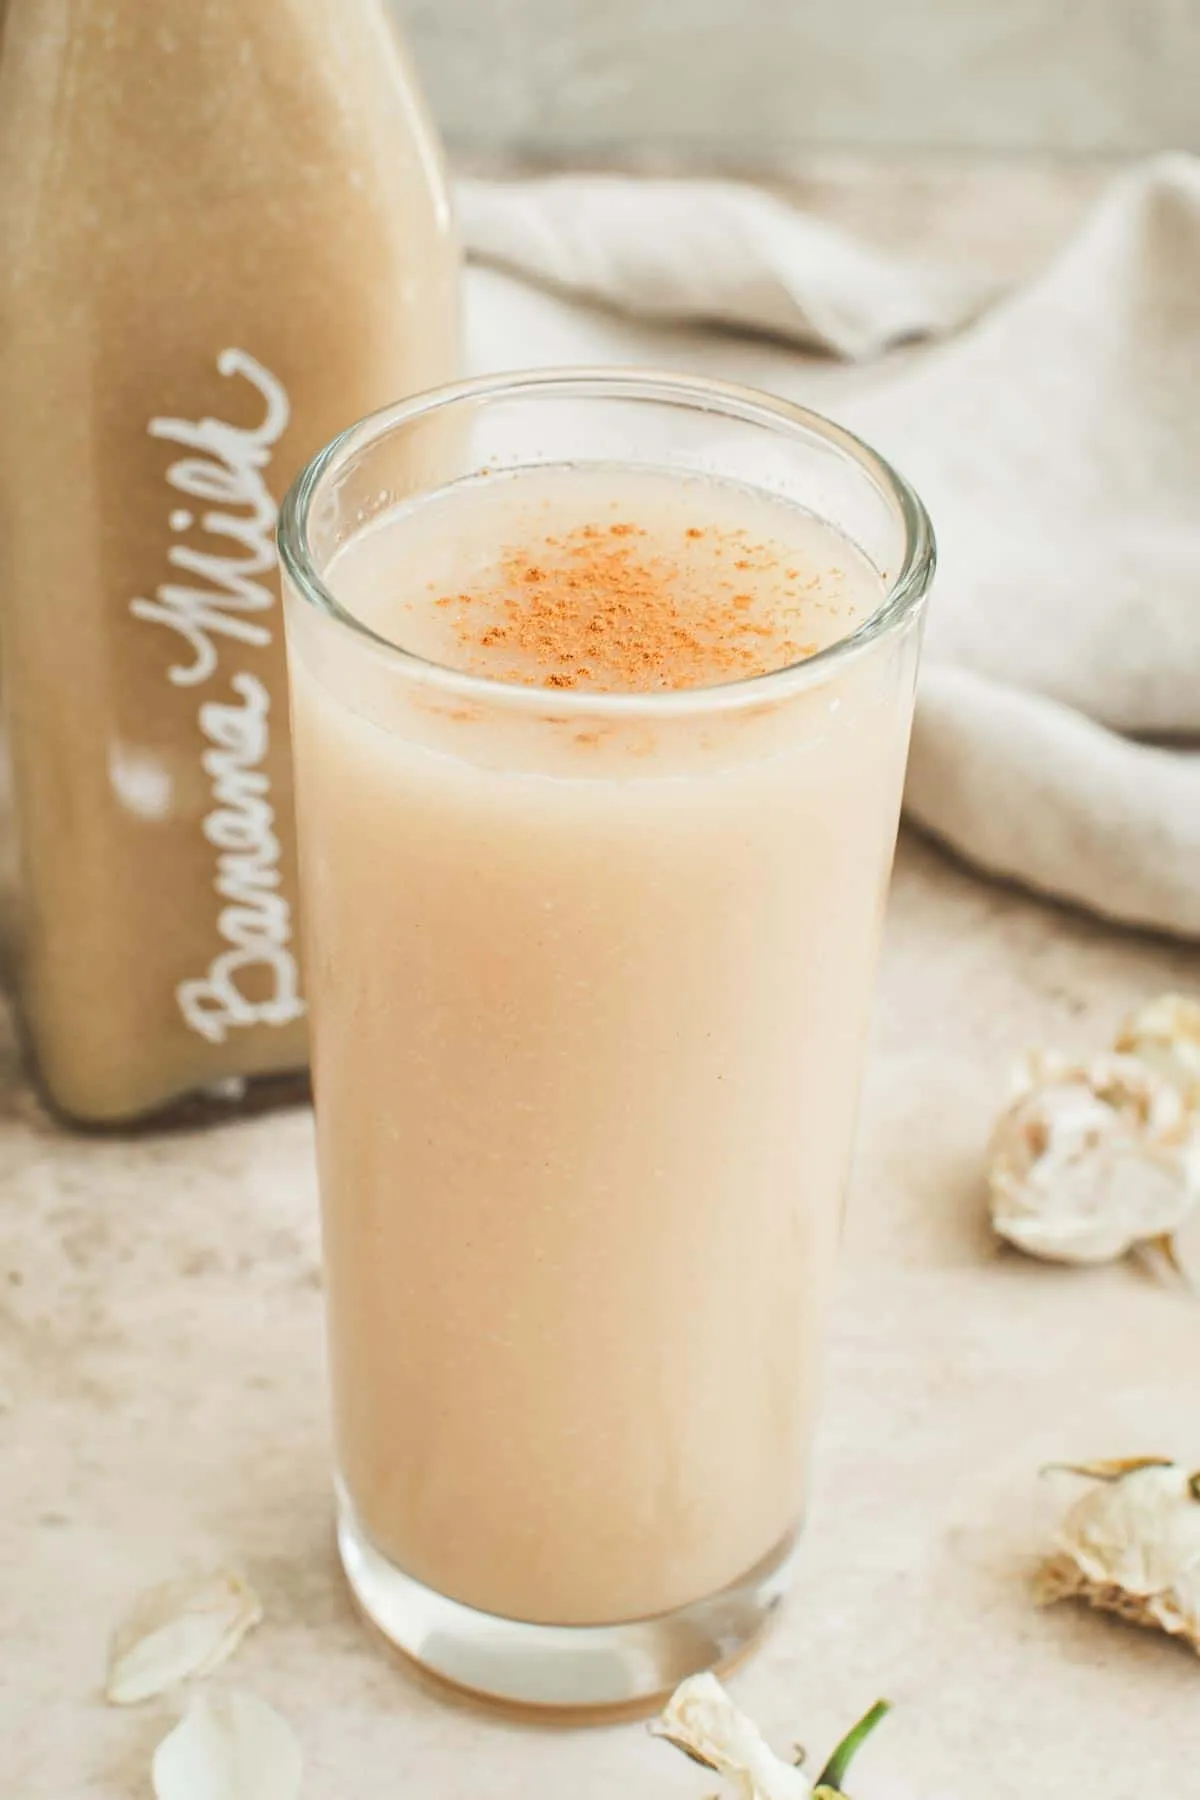
- Strain. For smoother milk pour the mixture through a mesh sieve or into a nut milk bag and strain.
- Store. Pour the mixture into a jug or bottle with an air-tight lid and keep it in the fridge.
What to Make
Banana Milk is as versatile as other milk alternatives and can be used in the same way. You can enjoy it as is or you can use it in baking, cooking, and even drinks. Smoothies or smoothie bowls are delicious with it.
- Quick Bread: bread recipes such as Banana Bread and Chocolate Banana Bread gain a richer flavor when you use banana milk instead of another milk alternative or milk itself.
- Cakes, Brownies, and Baked Goods: almost all baked goods are delicious when you use banana milk.
- Smoothies: any smoothie with a banana base such as fruity ones are richer using it.
Storage Instructions
After you’ve strained the banana milk pour it into a jar. The jar will need to have an air-tight lid and it will need to be stored in the fridge. It will last for 1 week up to 10 days. Before using the milk give the jar a good shake to ensure it’s evenly mixed.
Recipe Notes and Tips
- Adding lemon juice is key to maintaining the flavor as well as the color, but you won’t taste it at all in the milk.
- For thicker and creamier milk don’t strainer it through the nut milk bag. This is a great option if you want to just drink the milk as it is.
- To make chilled milk for sipping immediately use chopped frozen bananas and water only. It makes a sort of thinner smoothie-like banana drink.
- The milk will separate if kept in the fridge so shake it up before you serve it or use it in a recipe.
FAQs
Banana milk is freshly made and is generally considered a healthy addition to a balanced diet as suggested by the HealthLine website.
Absolutely not! I prefer smoother milk, which is why I like to strain it, but you definitely don’t have to. It will result in creamier thicker milk if you don’t.
Related Recipes
If you enjoyed this recipe, please leave a ⭐️⭐️⭐️⭐️⭐️ rating and a comment below. You can also share a photo and tag me on Instagram using @AimeeMarsLiving and #AimeeMars.
Banana Milk
Equipment
- Nut Milk Bag or Mesh Sieve if using
Ingredients
- 1 large Banana
- 1 cup Water
- 2 teaspoons Lemon Juice
Optional Flavoring
- 1 tablespoon Maple Syrup
- 1 teaspoon Vanilla Extract optional
- 1/2 teaspoon Cinnamon optional
- 1/4 teaspoon Nutmeg optional
- 1/8 teaspoon Salt
Instructions
- Place the banana, water, and lemon juice as well as any flavorings into a blender and blend until smooth.
- For a smoother milk pour the mixture into a nut milk bag and strain or pour through a mesh sieve.
- Pour the milk into a jug with an air-tight lid and store in the fridge.
Notes
- Adding lemon juice is key to maintaining the flavor as well as the color, but you won’t taste it at all in the milk.
- For thicker and creamier milk don’t strainer it through the nut milk bag. This is a great option if you want to just drink the milk as it is.
- To make chilled milk for sipping immediately use chopped frozen bananas and water only. It makes a sort of thinner smoothie-like banana drink.
- The milk will separate if kept in the fridge so shake it up before you serve it or use it in a recipe.

