You can achieve perfectly frothed milk without breaking the bank on an espresso machine. Discover How to Froth Milk using a whisk, frother, or even a French Press with these simple methods.

You don’t need an expensive espresso machine with a built-in milk steamer to froth milk. Becoming a home barista is simple. Just follow a brief tutorial on milk frothing techniques using one of three useful tools you probably already have on hand.
What’s the easiest way to froth milk?
The easiest way to froth milk at home is to use a handheld milk frother or a steam wand on an espresso machine. Simply immerse the frother or steam wand into a container of milk, turn it on, and move it around until you achieve your desired level of frothiness. This method is quick, efficient, and doesn’t require any special skills or equipment beyond the frother or espresso machine.
But what if you don’t have an espresso machine? Don’t worry, you can follow the methods below to froth milk perfectly.
Notes and Tips on How to Froth Milk
Before you embark on your frothing journey, consider these essential guidelines.
- Use fresh milk. Having fresh milk is essential for achieving the finest foam. If your milk has been sitting in the fridge for a few weeks, it may not froth to your satisfaction. To guarantee superb foam, opt for the freshest milk you can find.
- Whole milk works best for dairy and oat milk works best for non-dairy. Whole milk is the top choice because of its high milk fat content, but 2% milk can also do the job well. If you’re exploring non-dairy alternatives like oat milk, be aware that it’s a bit more challenging to froth due to its lower fat content.
- The milk must be scalding. Before you start frothing, heat the milk to scalding. Regardless of your chosen method, warming the milk yields the best results. Place the milk in a saucepan and heat it until it reaches scalding temperature, or approximately 150 degrees Fahrenheit (you can verify this with a food thermometer). It should be hot to the touch but not quite simmering.
- Choose different bubble sizes for different drinks. For a latte, aim for smaller bubbles and thicker milk. If you’re whipping up a cappuccino or macchiato, opt for larger bubbles, though keep in mind that this may require slightly more frothing time.
Method 1: How to Froth Milk with a Frother
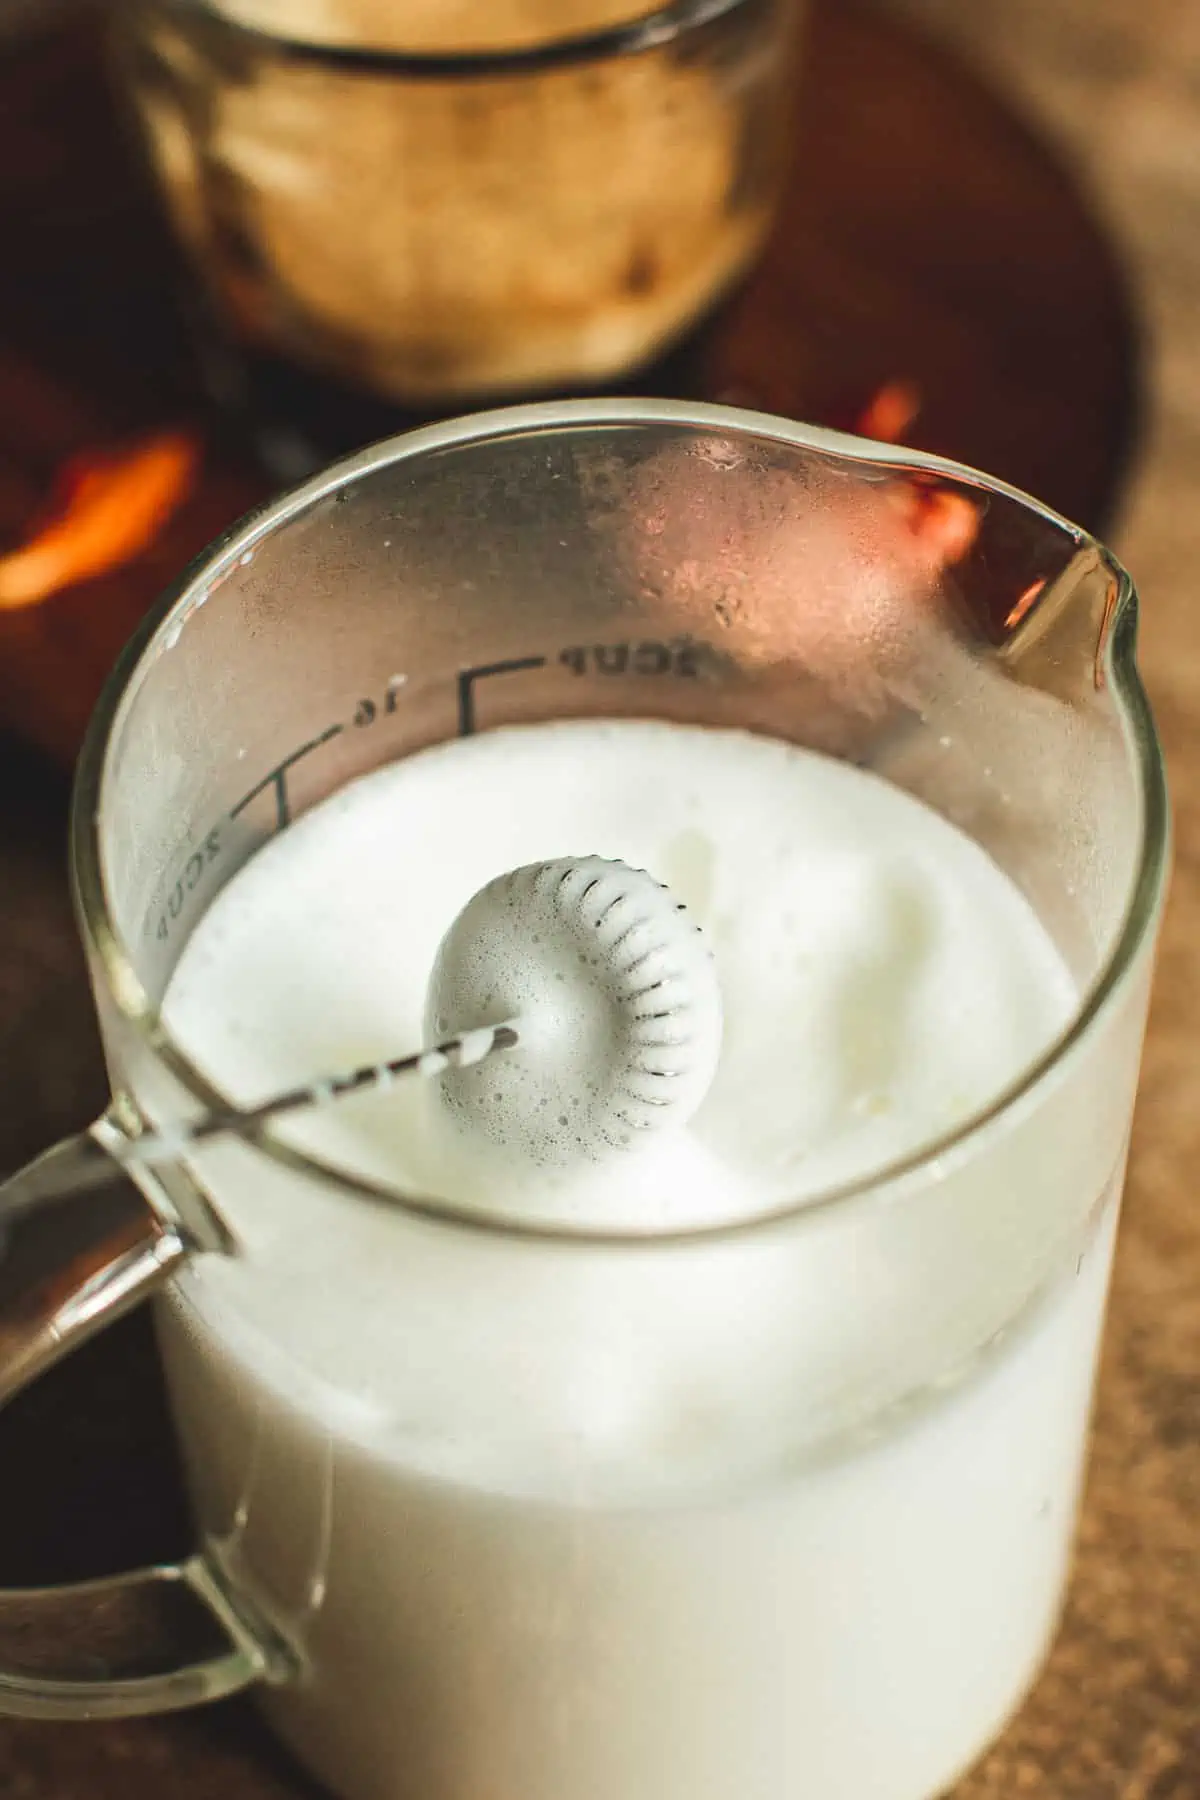
You will need a handheld milk frother for this method, but it’s the easiest way to froth milk and results in the best bubbles. It does cost money, but you will definitely get your money’s worth out of it.

- Scald your milk. Pour your milk into a small saucepan and bring it to 150º F.
- Transfer the scalded milk into a tall jar or container such as a large measuring cup. Tilt the container slightly and activate the frother.
- Move the frother around in an up-and-down motion. Maneuver the frother up and down within the milk until you see a layer of frothy bubbles forming, which should take roughly 20 seconds. Afterward, give the container a light tap on the countertop to disperse any sizable bubbles.
Important Note: When making a latte, you aim for the milk to blend smoothly with the coffee, so excessive froth is unnecessary. For a cappuccino or macchiato, lots of foam is the goal! With a latte, allow the foam to settle for about 30 seconds so it integrates into the milk while maintaining a slight separation.
Method 2: How to Froth Milk with a French Press
Not only can use use a French Press for making coffee or even drinks such as French Press Iced Coffee, but you can also use it to make foam. While this technique is effective, it doesn’t offer the same speed and simplicity as the frother. Additionally, it can be somewhat finicky, especially when dealing with non-dairy milk. If you’re using oat milk, exercise caution to avoid over-whipping it.

- Heat your milk to a scalding temperature. Transfer your milk into a small saucepan and warm it until it reaches 150º F. You will also need 1 cup of milk for the best results.
- Pour the scalded milk into the French press. Vigorously pump with short plunges until you see foamy bubbles forming, which usually takes around 30 seconds. However, when working with oat milk, be mindful and limit the pumping to about 25 times to prevent over-whipping, which can cause the foam to deflate.
- Transfer the mixture into a pitcher and gently tap it on the countertop to disperse any sizable bubbles.
Method 3: How to Froth Milk with a Whisk
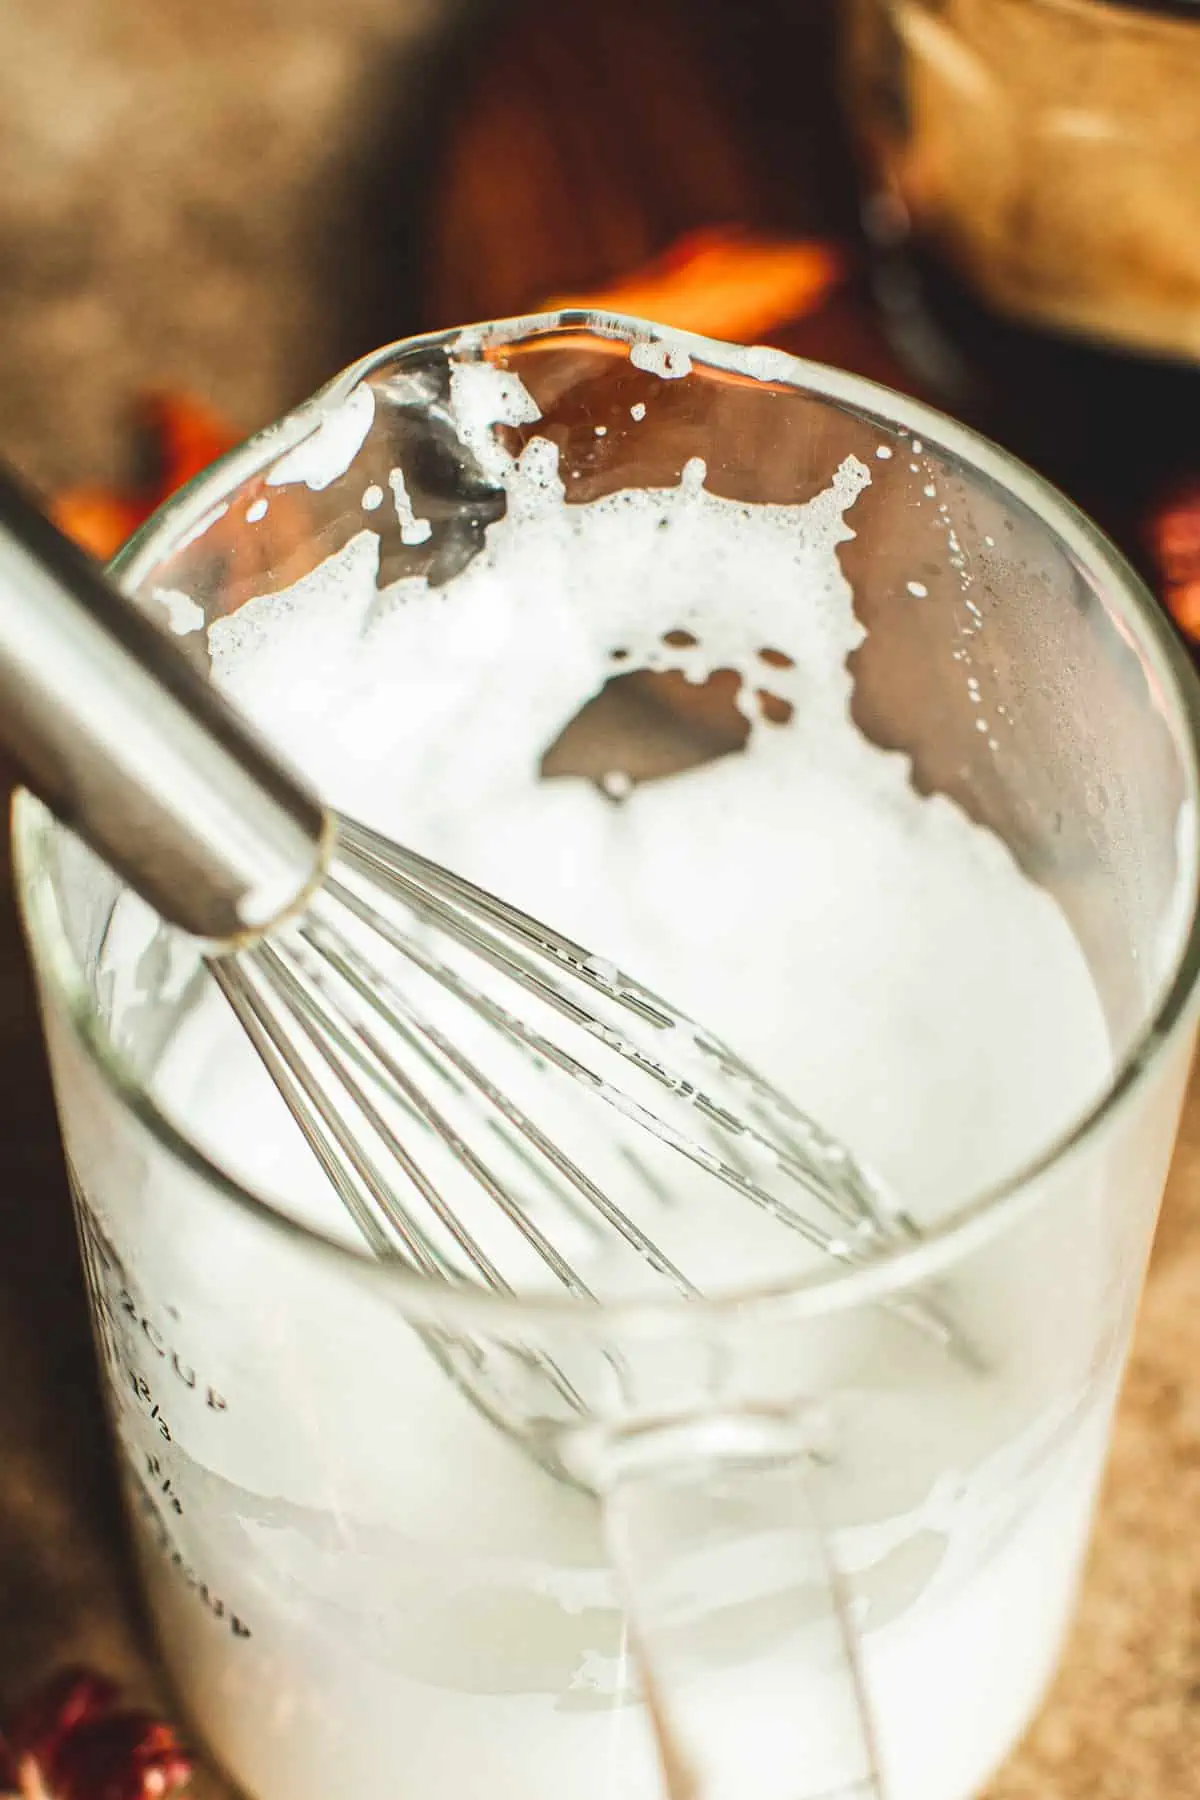
You have the option to froth milk using a whisk, although there are some considerations to keep in mind. It’s a method that demands more time, and the foam produced may not be as rich and frothy as with other techniques. You’ll also yield a slightly smaller amount of foam. However, if these trade-offs don’t bother you, it’s a worthwhile method since it doesn’t require any specialized equipment purchases.

- Heat your milk until it reaches a scalding temperature. Gently pour the milk into a small saucepan and warm it to 150º F.
- Grab the whisk. Employ a whisk to vigorously stir until you achieve the formation of foamy bubbles.
- Transfer the mixture to a pitcher. Gently tap it on the countertop to disperse any sizable bubbles.
Recipes Using Frothed Milk

How to Froth Milk
Equipment
- 1 Frother you only need one of these items.
- 1 French Press
- 1 Whisk
Ingredients
- 1 cup Whole Milk or milk of choice.
Instructions
How to Froth Milk with a Frother
- Scald your milk. Pour your milk into a small saucepan and bring it to 150º F.
- Transfer the scalded milk into a tall jar or container such as a large measuring cup. Tilt the container slightly and activate the frother.
- Move the frother around in an up-and-down motion. Maneuver the frother up and down within the milk until you see a layer of frothy bubbles forming, which should take roughly 20 seconds. Afterward, give the container a light tap on the countertop to disperse any sizable bubbles.
How to Froth Milk with a French Press
- Heat your milk to a scalding temperature. Transfer your milk into a small saucepan and warm it until it reaches 150º F. You will also need 1 cup of milk for the best results.
- Pour the scalded milk into the French press. Vigorously pump with short plunges until you see foamy bubbles forming, which usually takes around 30 seconds. However, when working with oat milk, be mindful and limit the pumping to about 25 times to prevent over-whipping, which can cause the foam to deflate.
- Transfer the mixture into a pitcher and gently tap it on the countertop to disperse any sizable bubbles.
How to Froth Milk with a Whisk
- Heat your milk until it reaches a scalding temperature. Gently pour the milk into a small saucepan and warm it to 150º F.
- Grab the whisk. Employ a whisk to vigorously stir until you achieve the formation of foamy bubbles.
- Transfer the mixture to a pitcher. Gently tap it on the countertop to disperse any sizable bubbles.
Notes
- Use fresh milk. Having fresh milk is essential for achieving the finest foam. If your milk has been sitting in the fridge for a few weeks, it may not froth to your satisfaction. To guarantee superb foam, opt for the freshest milk you can find.
- Whole milk works best for dairy and oat milk works best for non-dairy. Whole milk is the top choice because of its high milk fat content, but 2% milk can also do the job well. If you’re exploring non-dairy alternatives like oat milk, be aware that it’s a bit more challenging to froth due to its lower fat content.
- The milk must be scalding. Before you start frothing, heat the milk to scalding. Regardless of your chosen method, warming the milk yields the best results. Place the milk in a saucepan and heat it until it reaches scalding temperature, or approximately 150 degrees Fahrenheit (you can verify this with a food thermometer). It should be hot to the touch but not quite simmering.
- Choose different bubble sizes for different drinks. For a latte, aim for smaller bubbles and thicker milk. If you’re whipping up a cappuccino or macchiato, opt for larger bubbles, though keep in mind that this may require slightly more frothing time.


