All Recipes
 Beverages
 Breakfast
 Appetizers
 Dinner
 Sides
Sides
 Dessert
 Videos
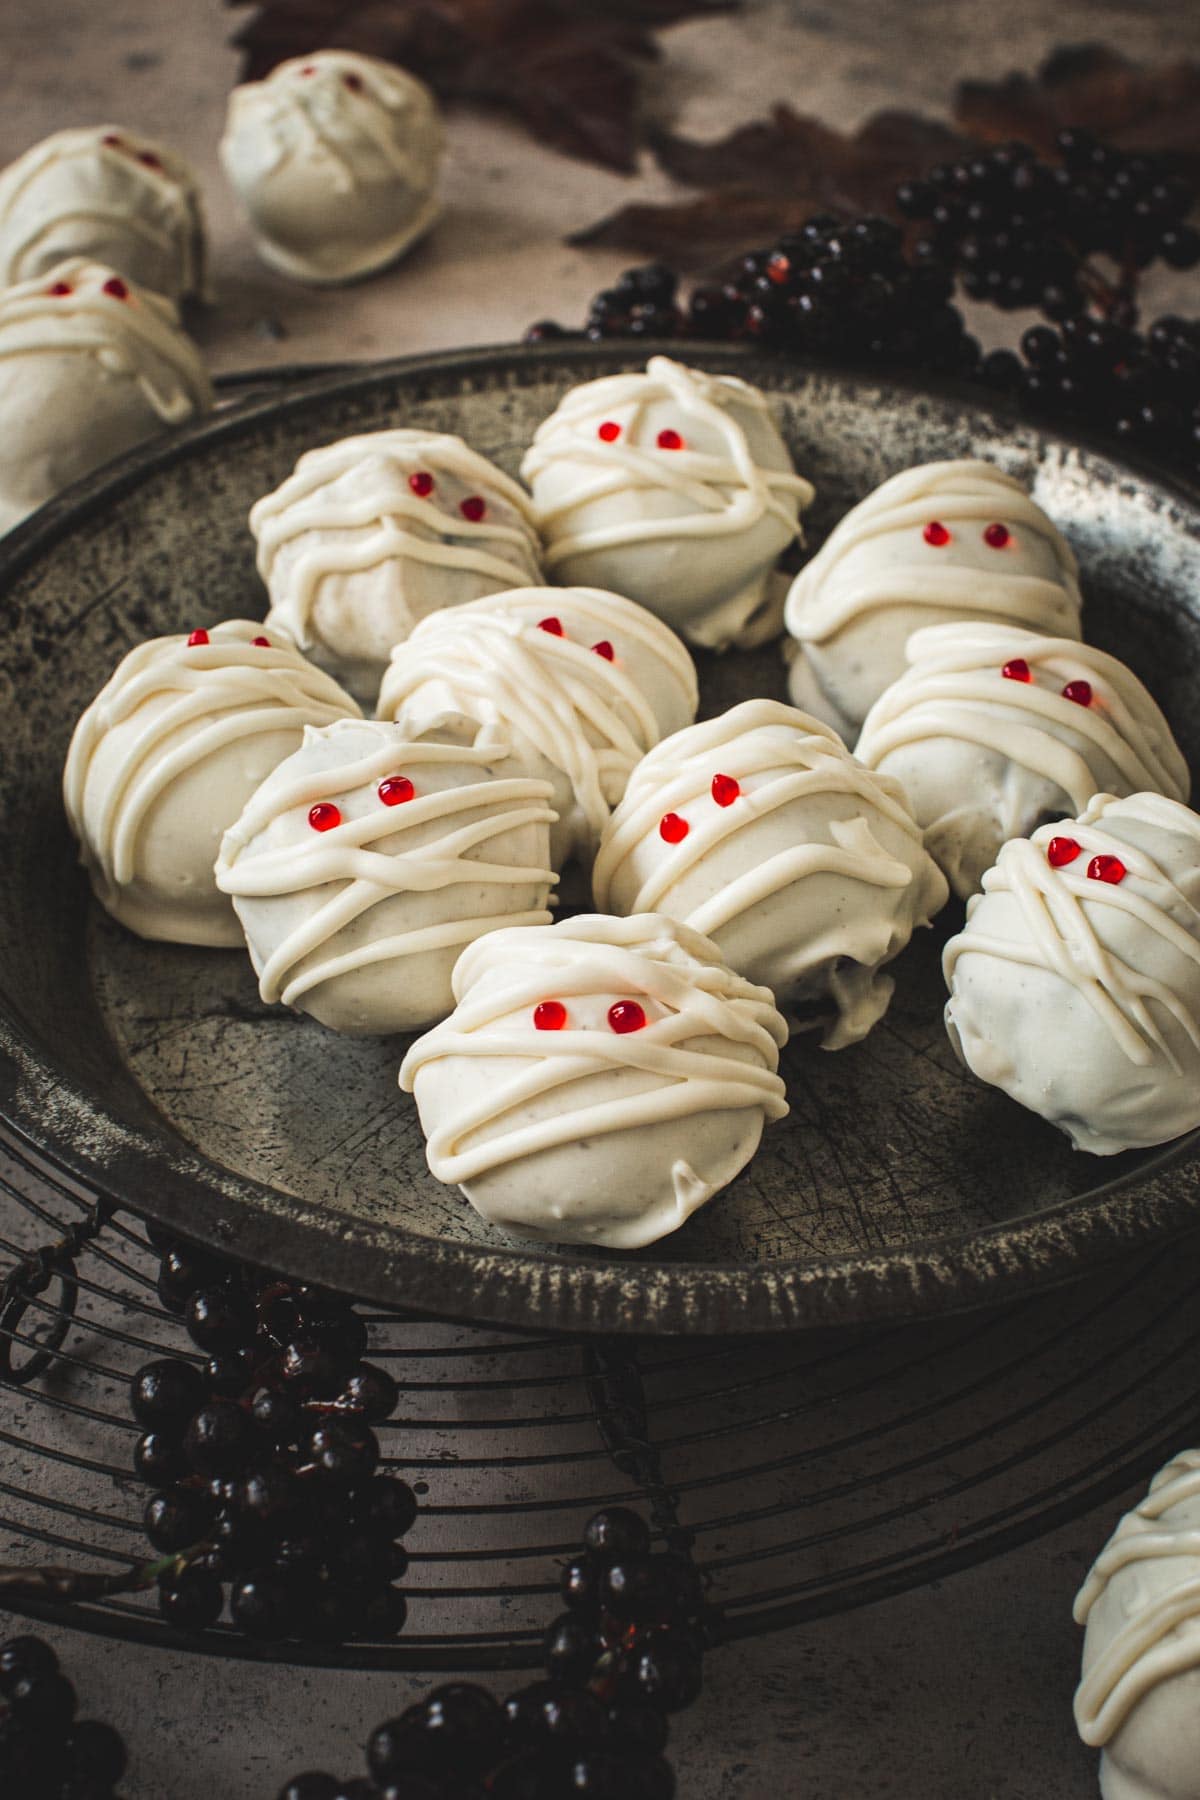
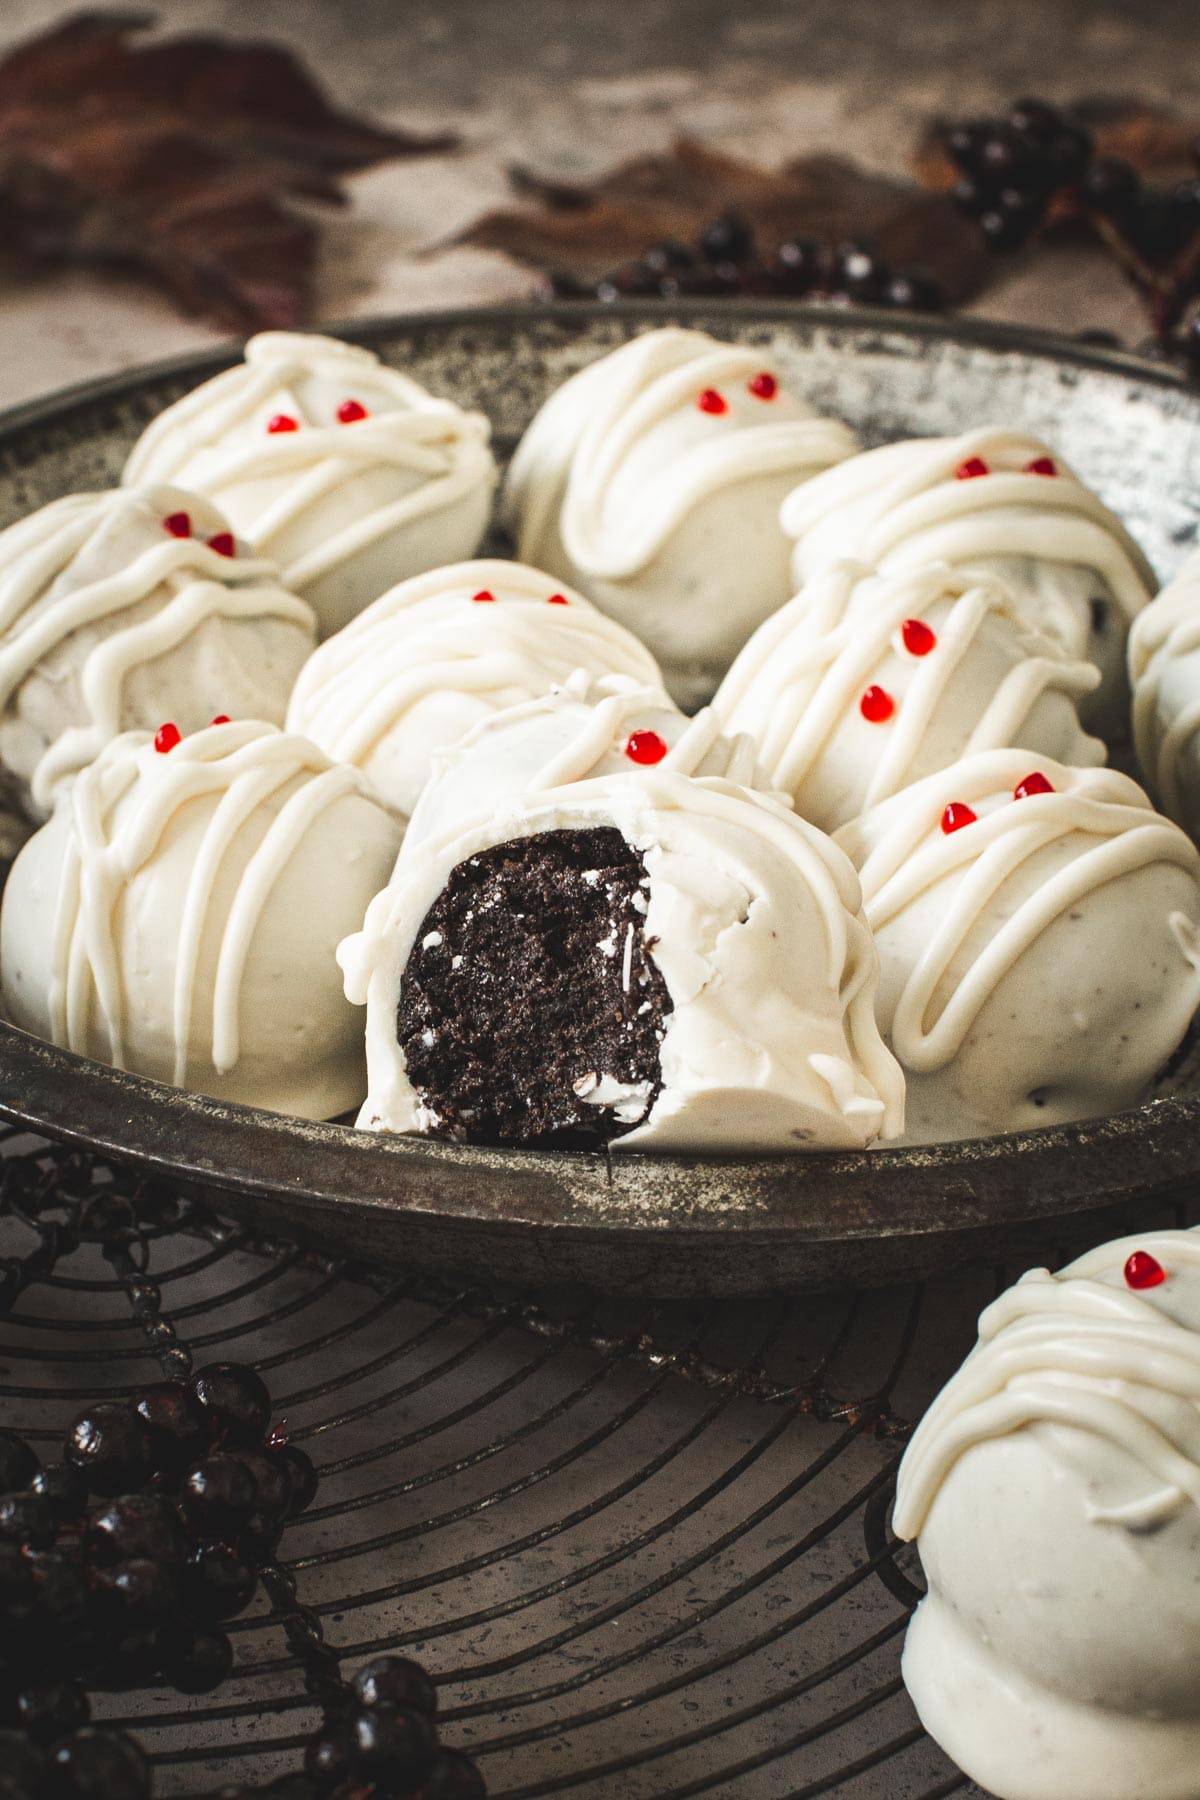
Irresistible and rich, these spooktacular Mummy Oreo Cookie Balls are a wickedly good Halloween treat and are easy to make. Coated in vanilla almond bark and filled with cream cheese and crushed Oreos they’re perfect for a party, especially a Halloween charcuterie board.
Why This Recipe Works
Moments after I set these spooky Oreo balls out on a plate they almost completely disappeared. Everyone was grabbing for them and didn’t stop at just one.
We love Oreos in my family and since my kids beg me to make them an Oreo Milkshake often I knew these would be a hit too. I made them for an after-school treat and my kids loved them then the next day I added them to their school lunch too.
These truffles are super easy to make too, with very few ingredients. The best part is that they don’t have to look perfect since they’re mummies you want them to have an odd shape so there’s no need to worry about making them look picture-perfect.
If you’re planning on making these Oreo mummy cookie balls for a Halloween party then consider placing them on a haunted charcuterie board. They’re a super fun addition and are addictingly delicious. They also pair perfectly with Pumpkin Hot Chocolate or Halloween Pumpkin Punch.
Ingredients You’ll Need
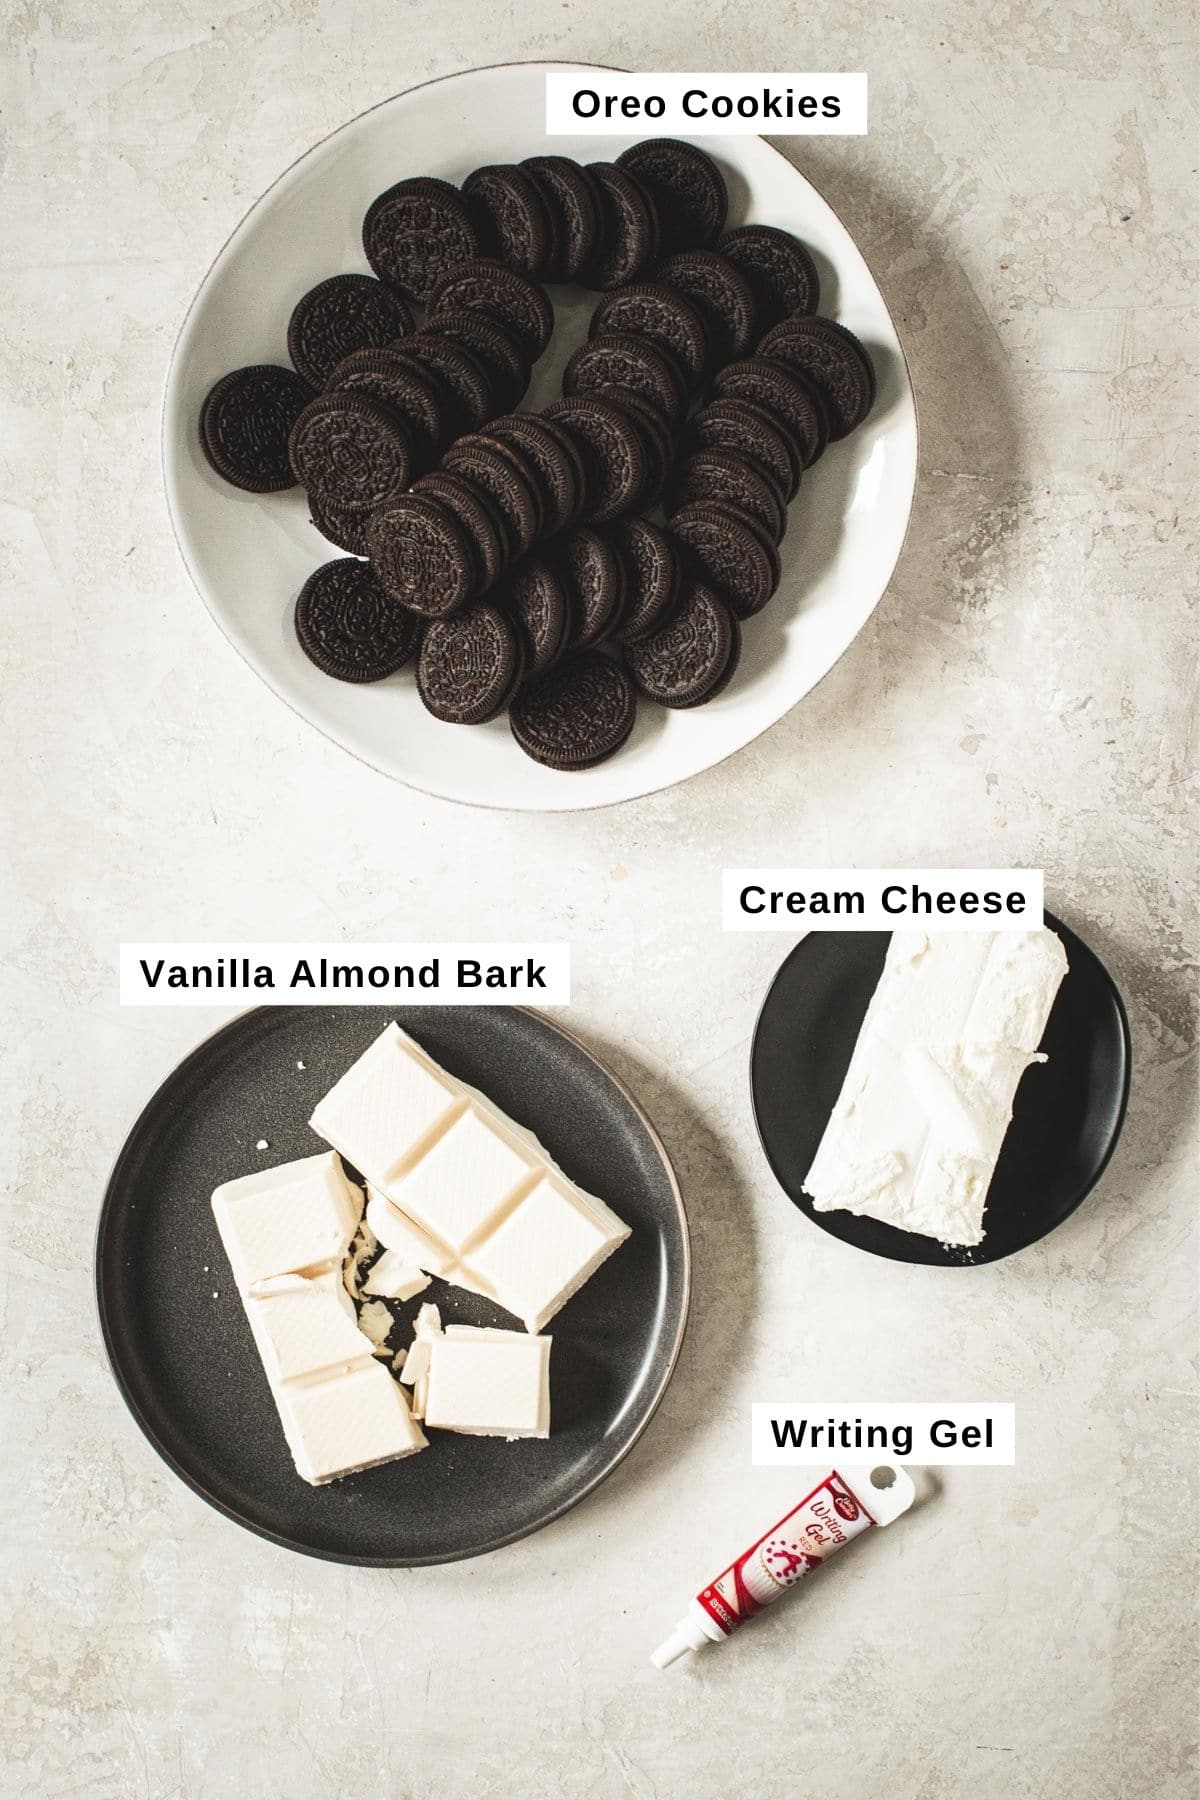
Ingredient Notes
- Oreos: for this recipe, I choose to use regular Oreos, but you can also use Golden Oreos too for a slightly different taste.
- Gel Food Coloring: you can choose whichever color eyes you would like. I liked the look of the red eyes, but black and also green would look great too. The gel coloring also works best to give it a glowing look.
- Almond Bark: you can find almond bark in the baking section of most grocery stores (I bought mine at Walmart), or you can use candy melts and will need 1 16-ounce bags.
Step-by-Step Instructions
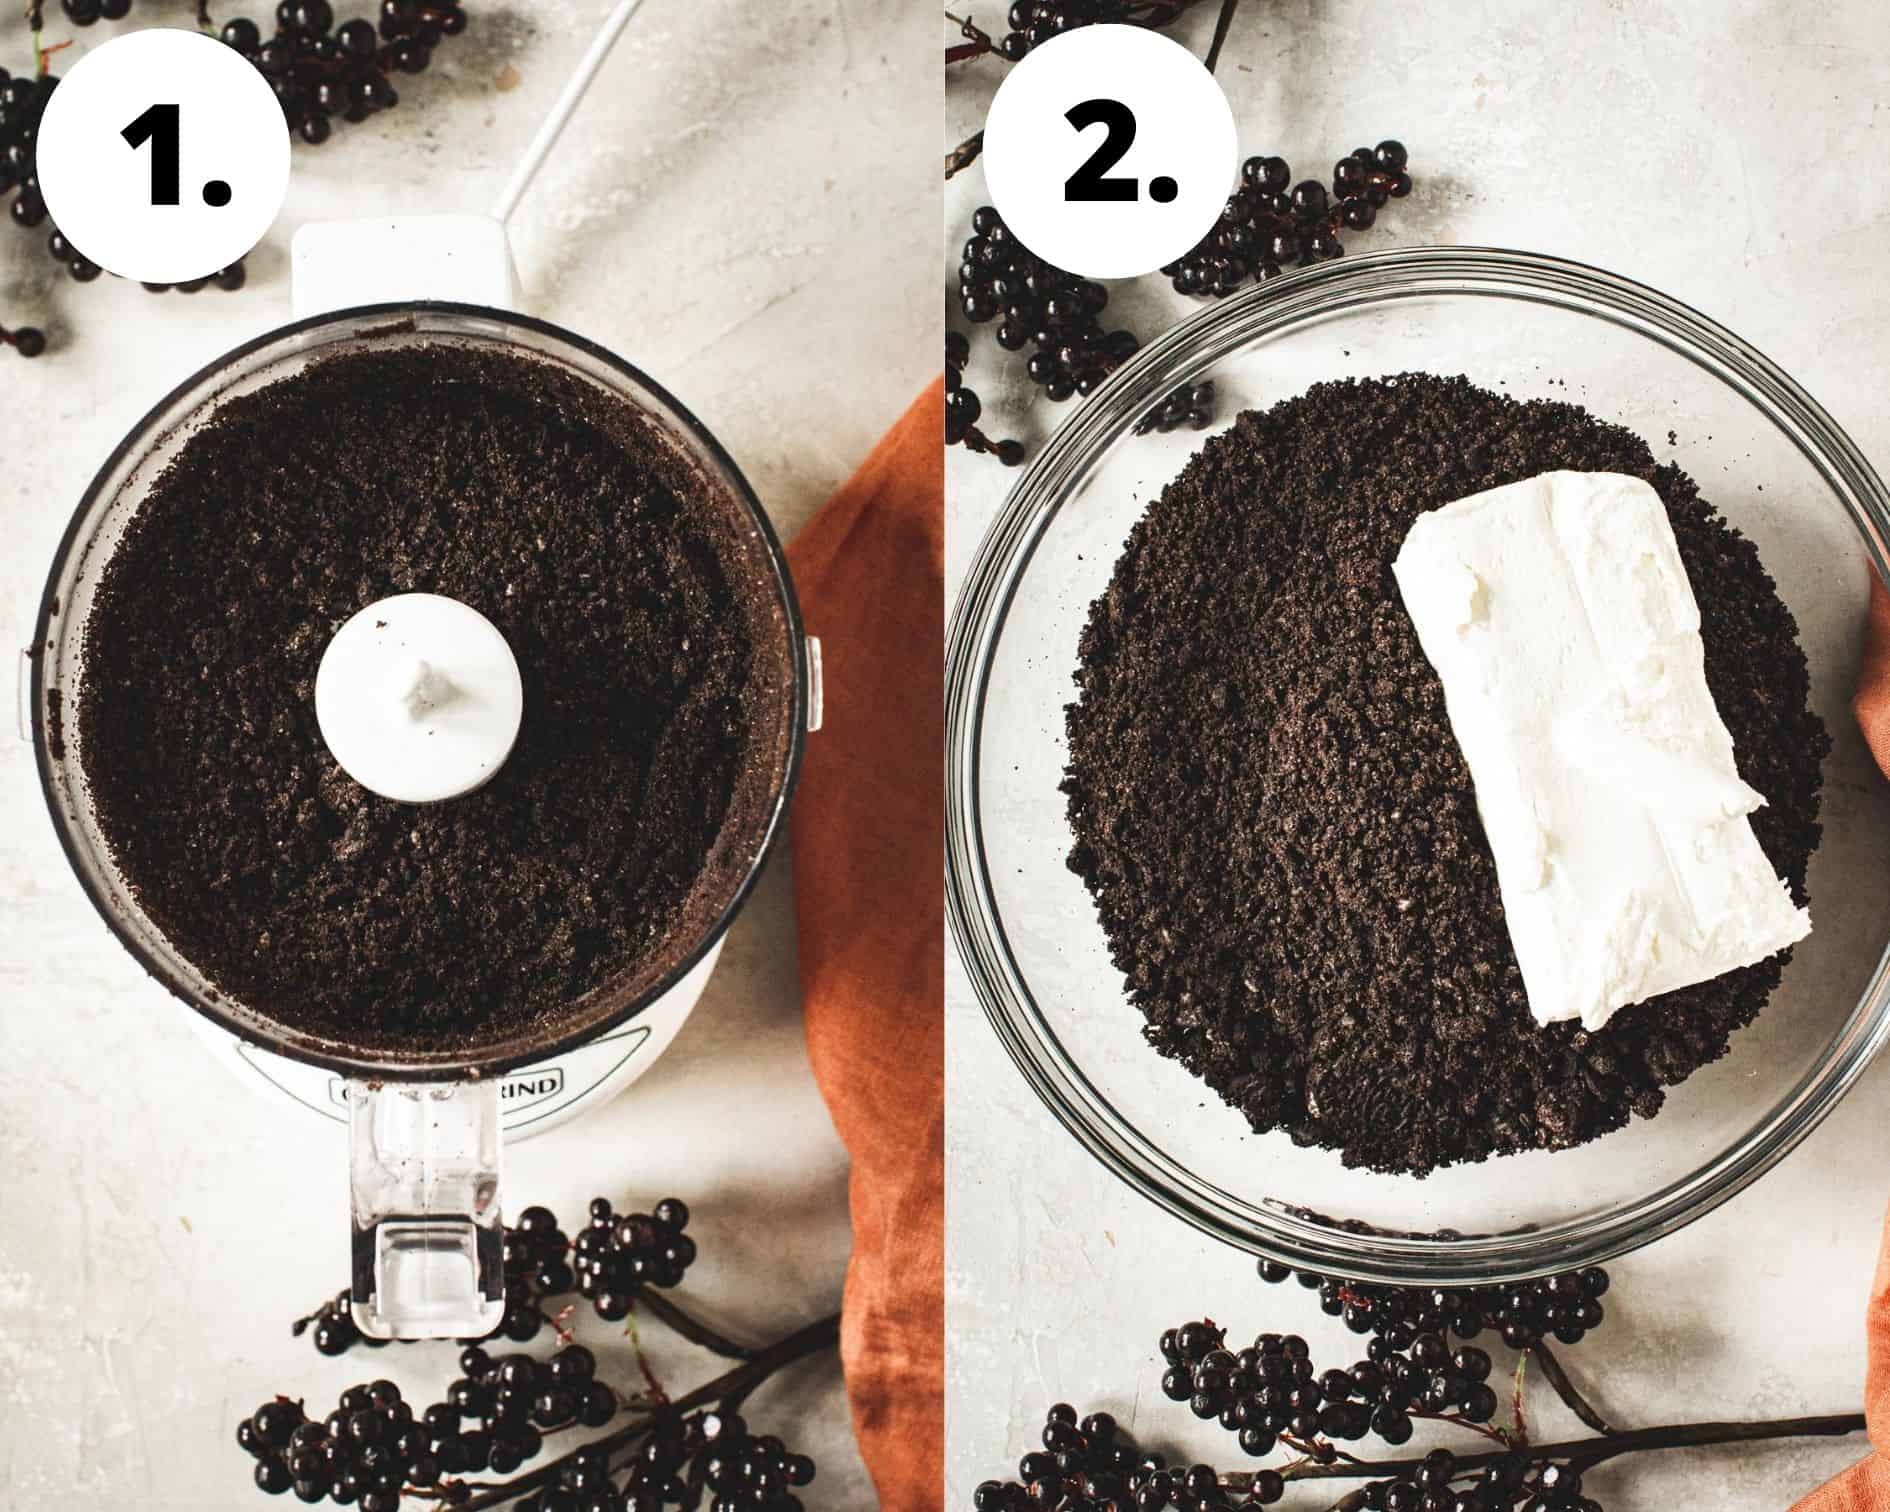
- Crush the cookies. Place the entire bag of Oreo cookies into a food processor and pulse until there are nothing but small crumbs or place them in a Ziplock back and crush using a rolling pin.
- Mixing the filling. Pour the Oreo crumbs into a large mixing bowl and add the cream cheese. Using a handheld mixer or a stand mixer, combine the ingredients until even.
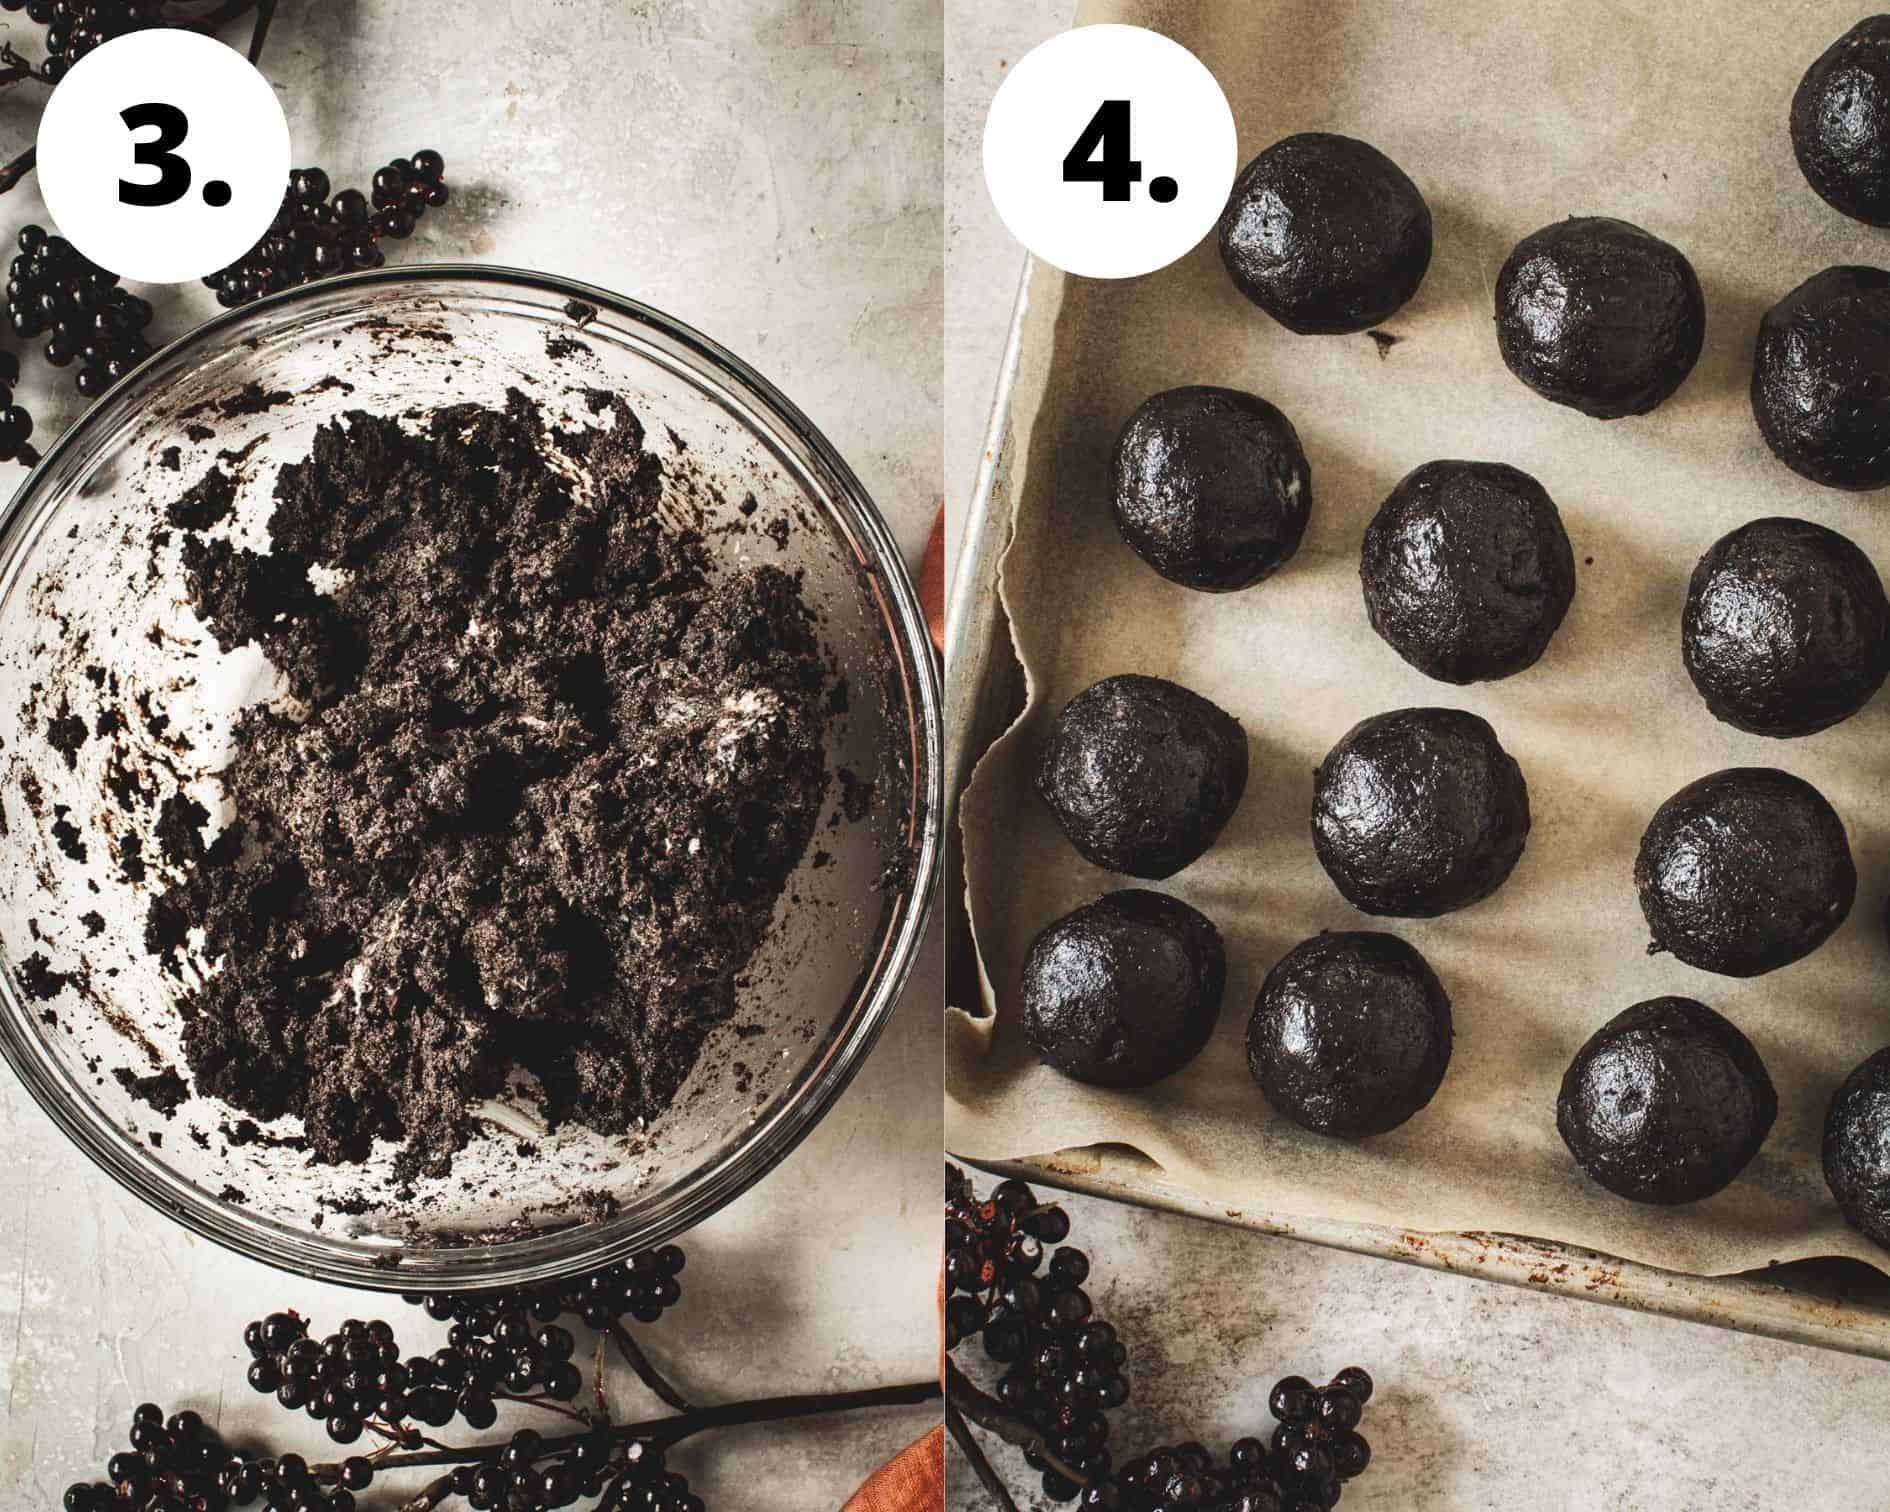
- Chill. Place the bowl in the fridge to chill for 20 minutes so the dough can firm up making it easier to roll into balls.
- Form the balls. Roll the dough into about 20 1.5-inch-sized balls and place on a parchment-lined baking sheet.
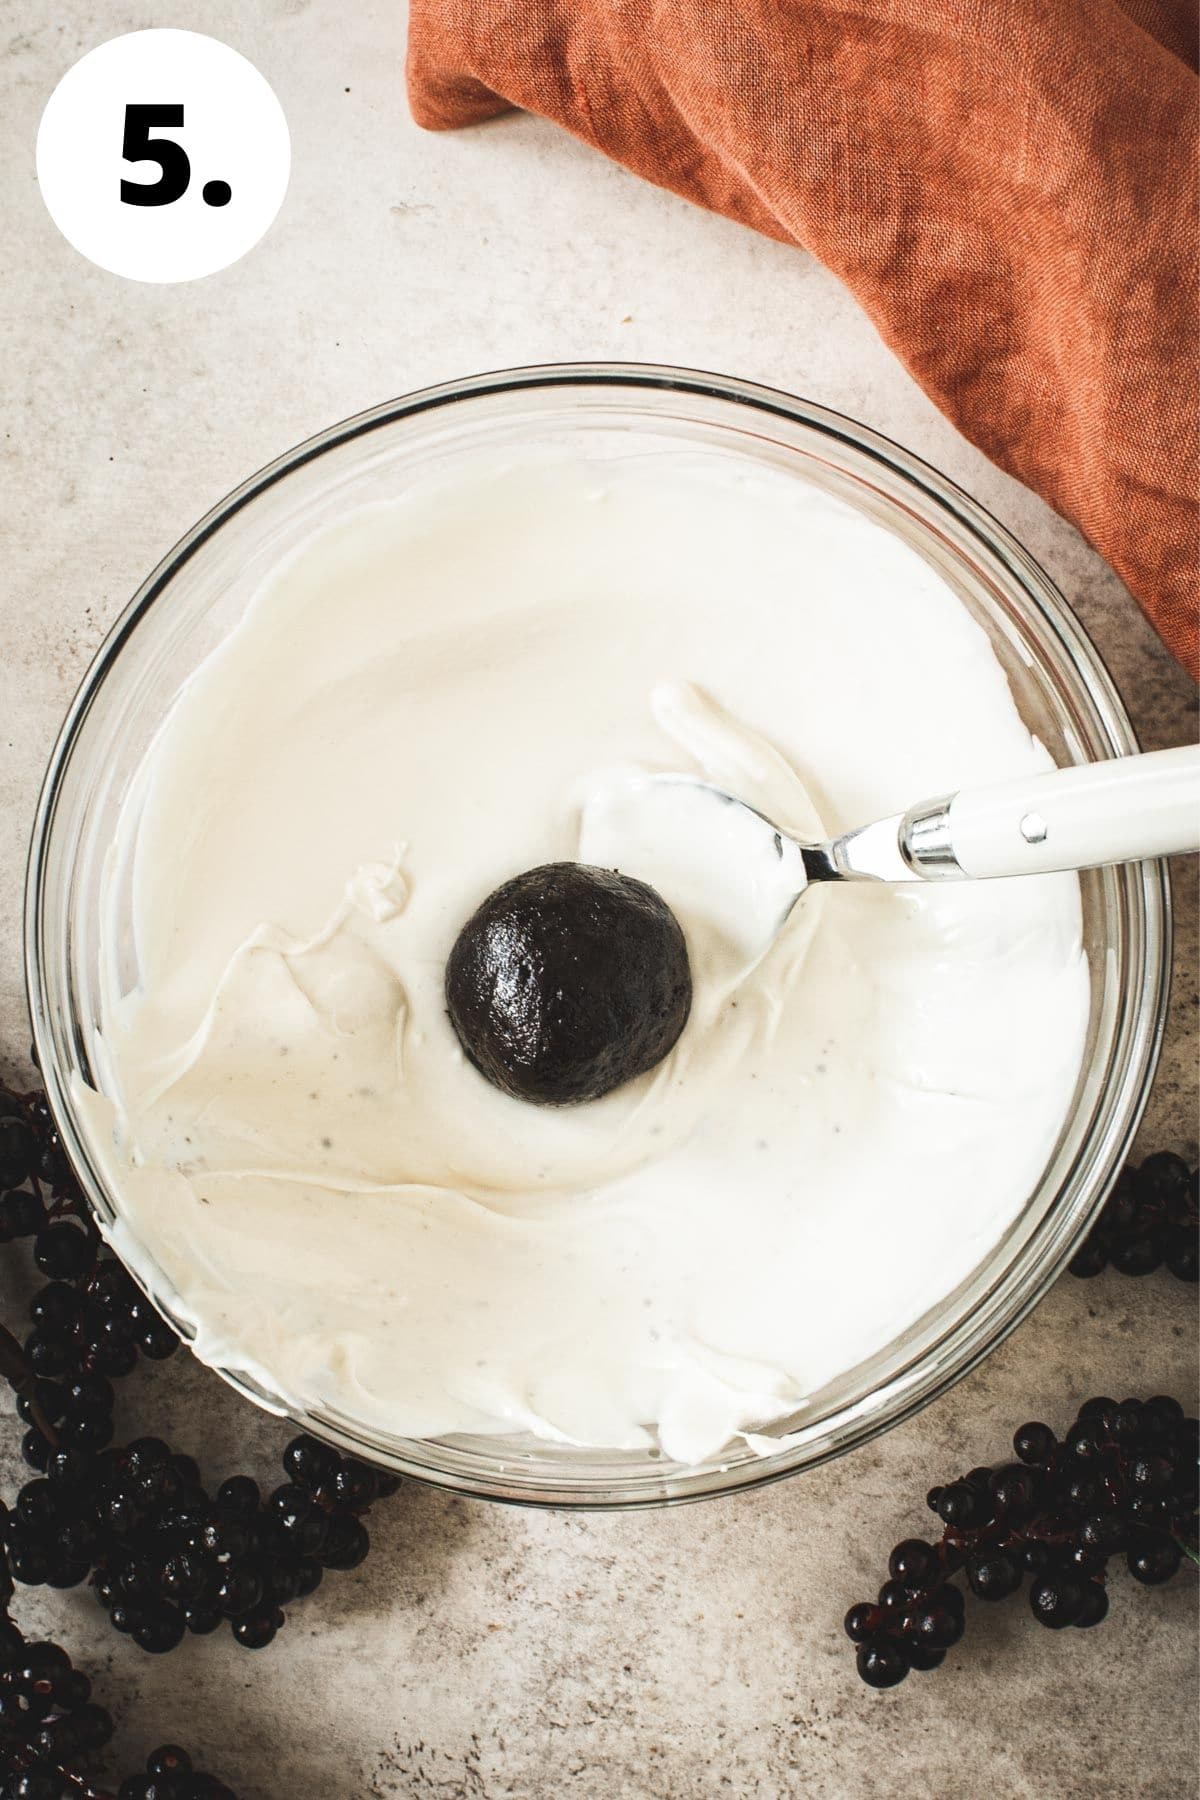
- Melt the bark. Place the almond bark into a microwave-safe mixing bowl and melt in 30-second intervals stirring after each time until smooth or according to package directions.
- Coat the truffles. Drop each ball, one at a time, into the melted bark and use a spoon to roll it around and fully cover it. Place the ball back onto the baking sheet. Once all have been coated place the baking sheet into your fridge for 10 minutes to harden.
- Decorate the truffles. Place the remaining melted almond bark into a piping bag fitted with a small circular tip. Drizzle over the coated balls and then use the red icing or gel to dot some eyes on each ball.
Helpful Equipment
- Food Processor: you can crush the Oreos by hand, but using a food processor makes it easier and quicker.
- Large Mixing Bowl: mostly like you have some good mixing bowls, but I love this set and think they’re adorable in any kitchen.
- Electric Stand Mixer or Handheld Mixer: these are my favorite mixers and I use them all the time.
- Baking Sheet
- Piping Bag and Tips: using a piping bag with a small round tip helps to get that drizzle on top of the truffles that look like the mummy bandages.
Recipe Notes and Tips
- I recommend using the Writing Gel for adding the eyes to the balls because it will give it a glowing appearance and will also harden easily.
- After you’ve mixed the cream cheese and crushed cookies place the dough into the refrigerator for about 15 to 20 minutes to chill and firm up, which will make it easier to roll into balls.
- If you don’t have a piping bag with tips for drizzling the melted almond bark you can use a plastic Ziplock bag and cut a very small hole in the bottom corner.
- When you first dip the balls into the melted bark some of the Oreos may mix into the bark. I didn’t mind this, however, you can re-dip them after they’ve hardened for perfectly white mummies. You’ll likely need an extra package of almond bark to do this.
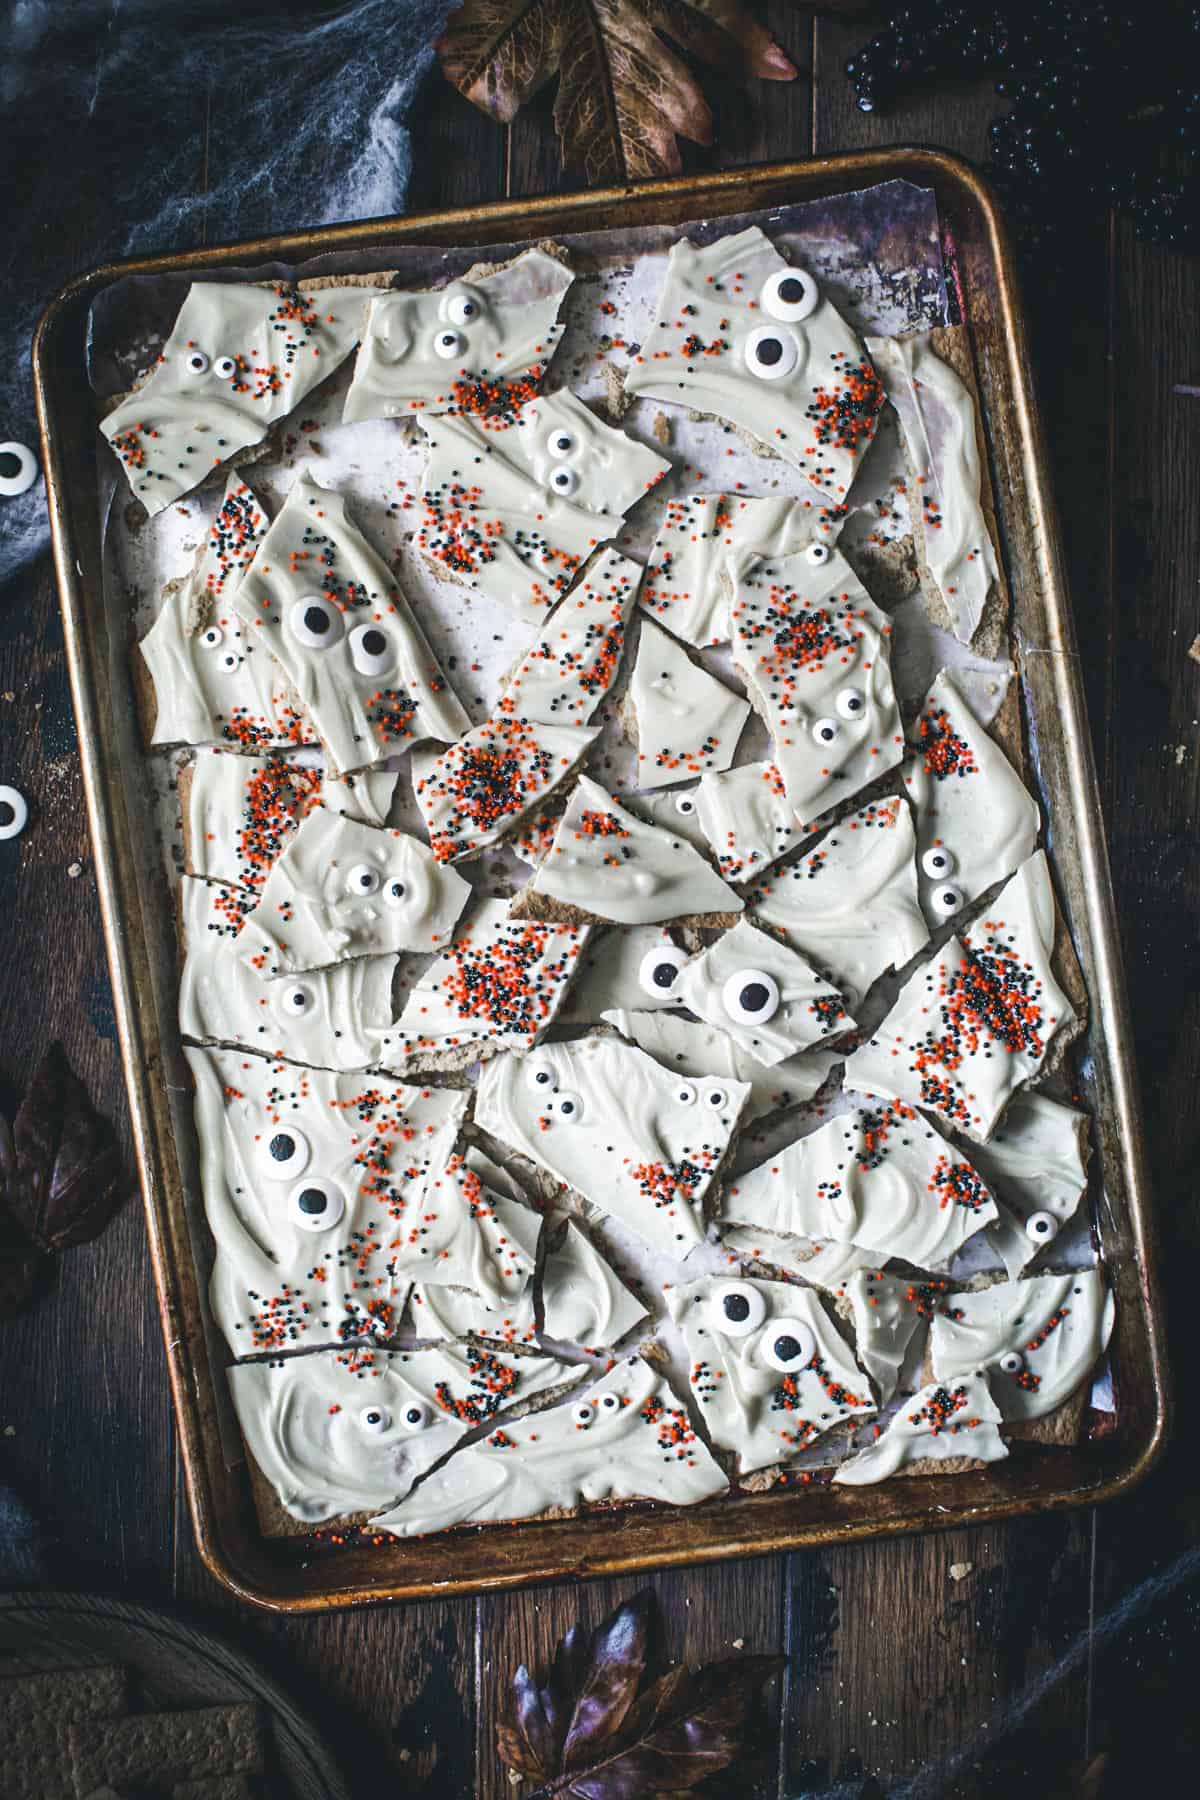
- Place these on a Halloween Dessert Board. Kids will love them and they’re the perfect treat.
FAQs
Yes, once the truffles have hardened you can place them in a freezer-safe container and store them in the freezer for up to 3 months. Place them in the fridge overnight to let thaw.

Mummy Oreo Cookie Balls
Equipment
- Mixing Bowl
- Stand Mixer or Handheld Mixer
- Baking Sheet
- Piping Bag and Small Round Tip
Ingredients
- 1 10.7 ounce package Oreo Cookies
- 8 ounces Cream Cheese room temperature
- 24 ounces Vanilla Almond Bark or candy melts
- 1 Red Writing Gel
Instructions
- Place the entire bag of Oreo cookies into a food processor and pulse until there's nothing but small crumbs (if you don't have a food processor place the cookies into a Ziplock bag and crush with a rolling pin).
- Pour the Oreo crumbs into a large mixing bowl and add the cream cheese. Using a handheld mixer or a stand mixer, combine the ingredients until even.
- Place the bowl in the fridge to chill for 20 minutes so the dough can firm up making it easier to roll into balls.
- Roll the dough into about 20 1.5 inch-sized balls and place on a parchment-lined baking sheet.
- Place the almond bark into a microwave-safe mixing bowl and melt in 30-second intervals stiring after each time until smooth or according to package directions.
- Drop each ball, one at a time, into the melted bark and use a spoon to roll it around and fully cover it. Place the ball back onto the baking sheet. Once all have been coated place the baking sheet into your fridge for 10 minutes to harden.
- Place the remaining melted almond bark into a piping bag fitted with a small circular tip. Drizzle over the coated balls and then use the red icing or gel to dot some eyes on each ball.
Notes
- I recommend using the Writing Gel for adding the eyes to the balls because it will give it a glowing appearance and will also harden easily.
- After you’ve mixed the cream cheese and crushed cookies place the dough into the refrigerator for about 15 to 20 minutes to chill and firm up, which will make it easier to roll into balls.
- If you don’t have a piping bag with tips for drizzling the melted almond bark you can use a plastic Ziplock bag and cut a very small hole in the bottom corner.
- When you first dip the balls into the melted bark some of the Oreo may mix into the bark. I didn’t mind this, however, you can re-dip them after they’ve hardened for perfectly white mummies. You’ll likely need an extra package of almond bark to do this.