All Recipes
 Beverages
 Breakfast
 Appetizers
 Dinner
 Sides
Sides
 Dessert
 Videos
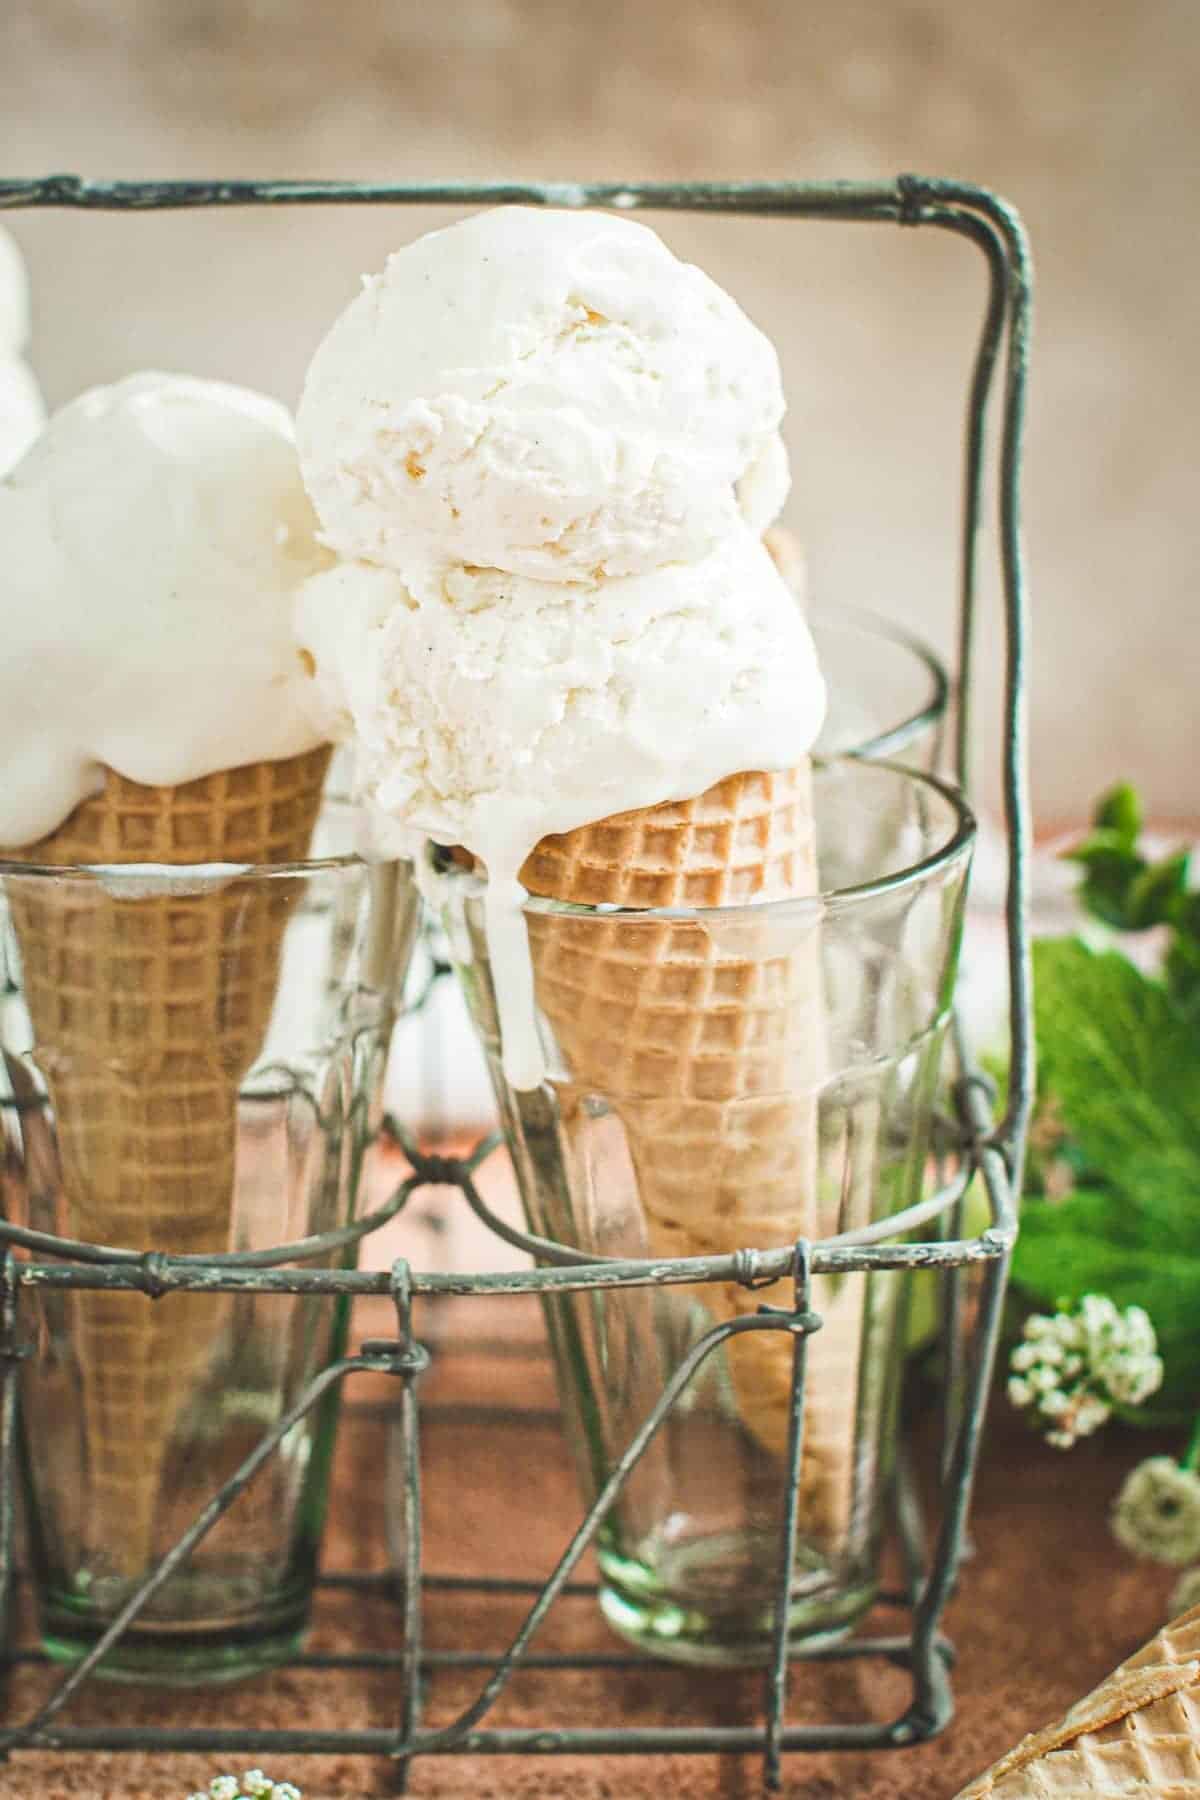
Homemade Vanilla Bean Ice Cream is such a delicious treat — and you don’t need an ice cream machine to make it! Nothing beats the creamy rich flavor of this no churn version of ice cream.

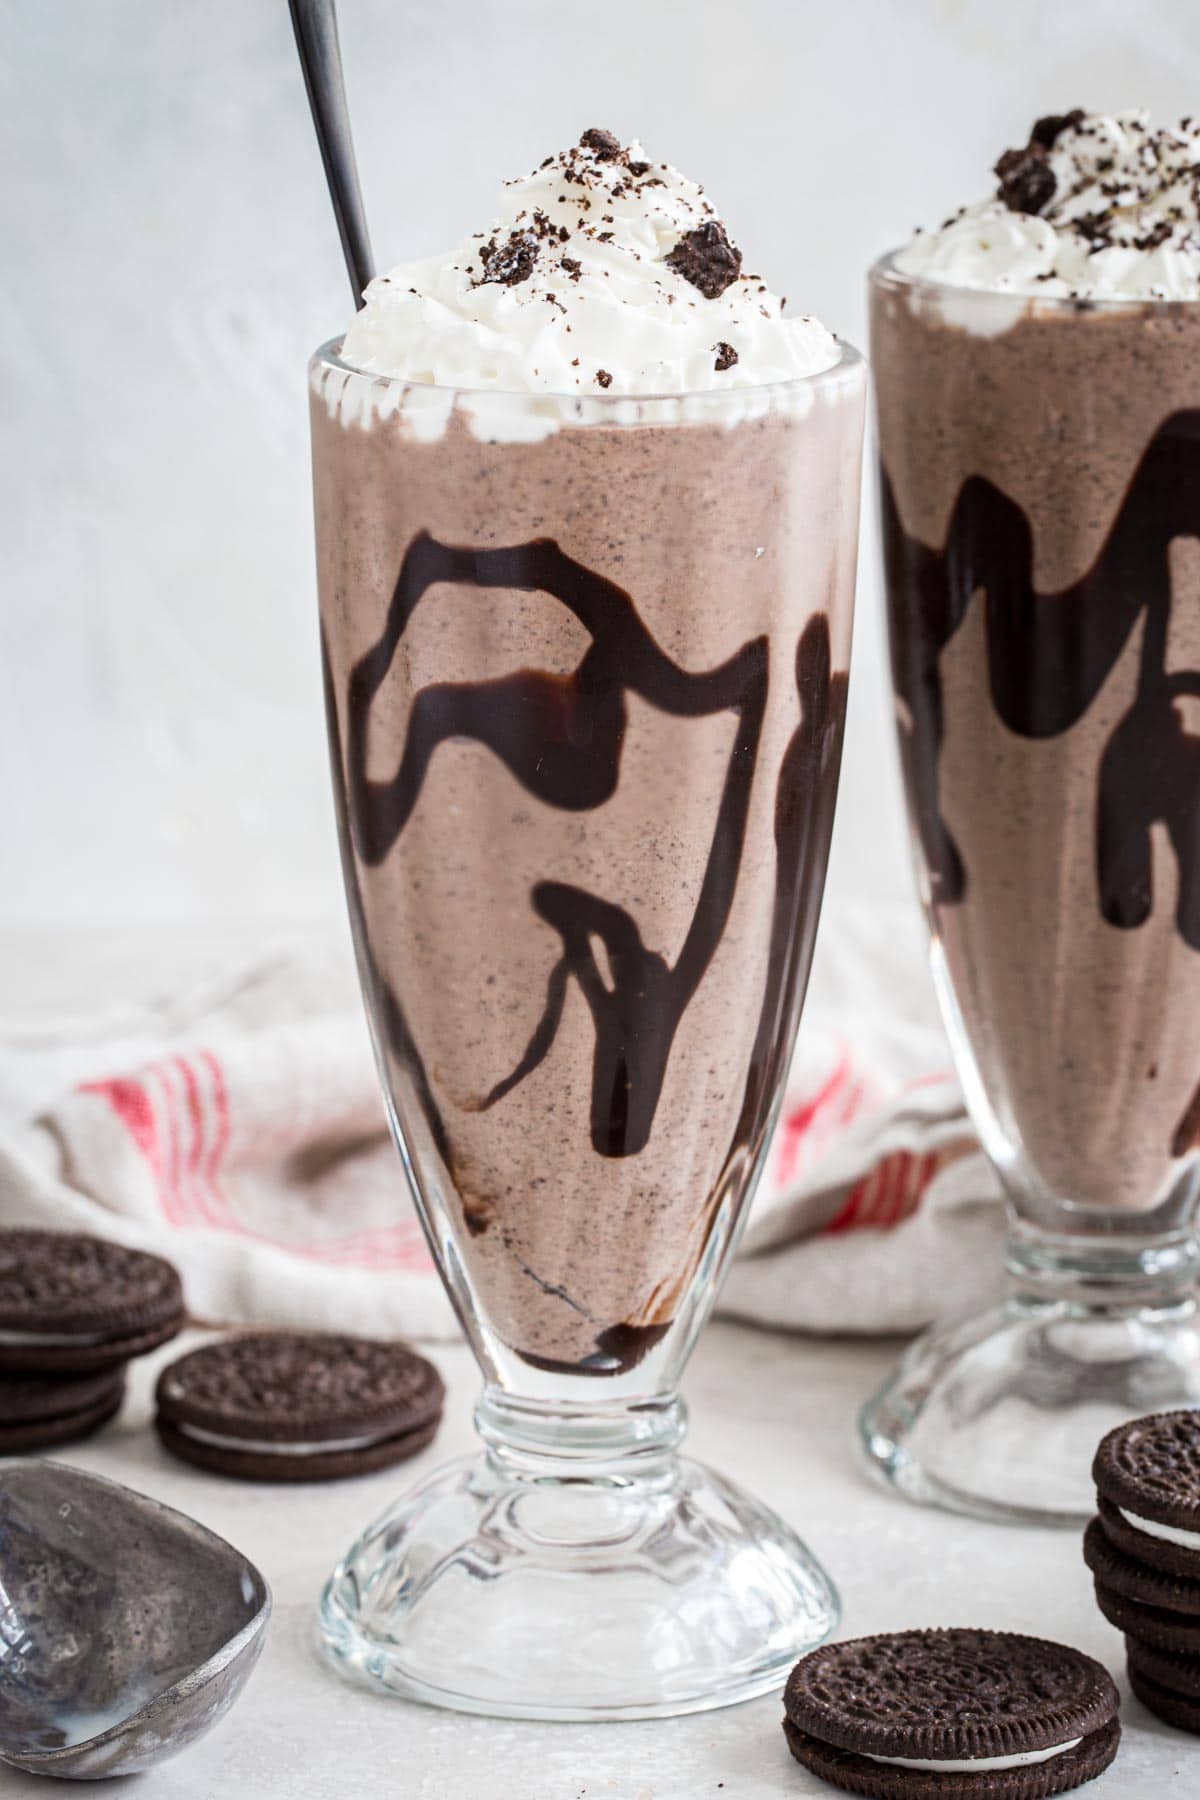
One of my favorite parts of cooking at home is the ability to make dishes that I would normally buy at a restaurant, diner, or café. Recipes like these Sour Cream Cake Donuts, this Eggnog Milkshake, or my Oreo Shake are just a handful of the restaurant-quality desserts I’ve made myself.
Why This Recipe Works
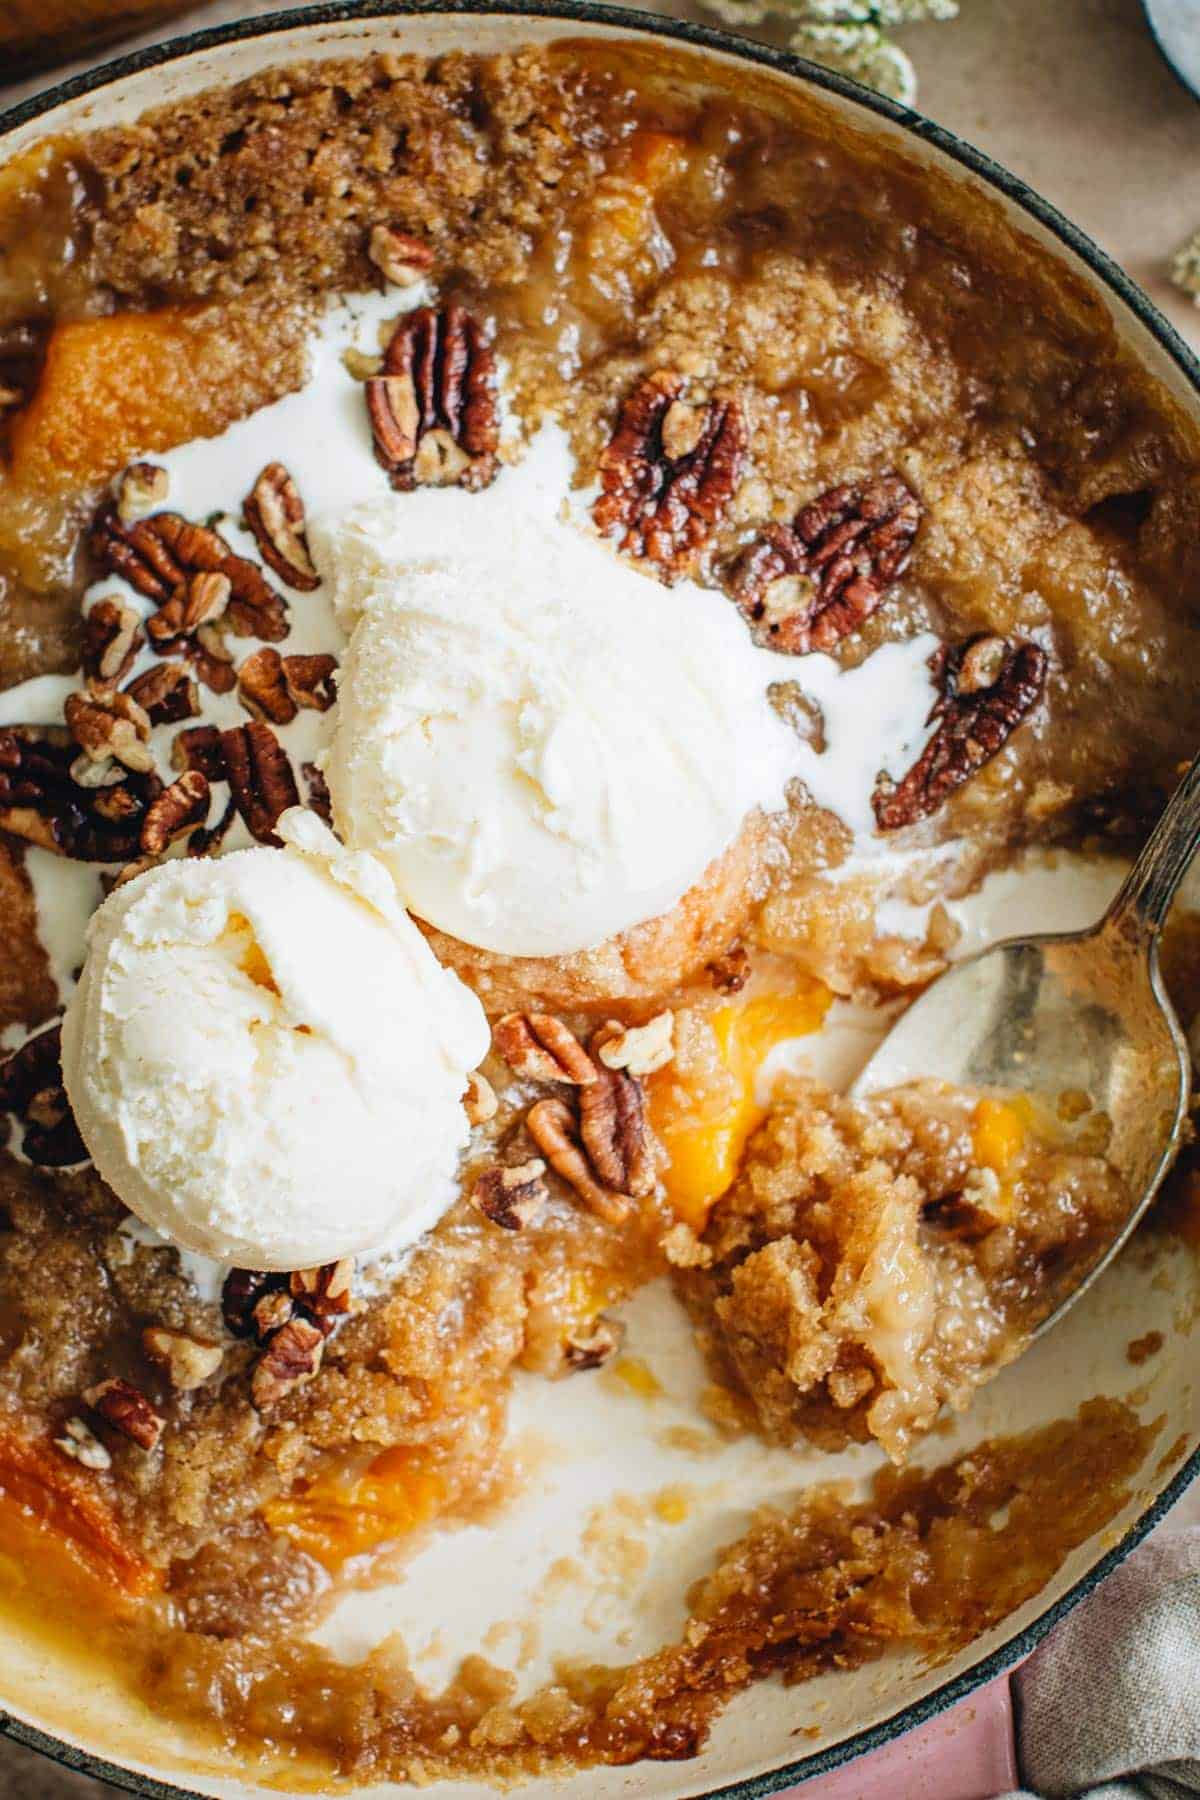
- It goes with just about every dessert. Ice cream can brighten up nearly any type of dessert. It’s divine when paired with a slice of pie or cake. And, of course, it’s tasty all on its own.
- Easy to make. When I discovered just how easy it is to make homemade vanilla bean ice cream, I was thrilled. It’s such a classic flavor option and is a real crowd-pleaser. And one of the best parts is that you’ll only need 5 ingredients.
- Better than store-bought. Say goodbye to store-bought cartons when you discover for yourselves just how easy (and delicious) this vanilla bean ice cream recipe is! It’s a no-churn vanilla ice cream too, which means all you need is a mixer.
Ingredient Notes
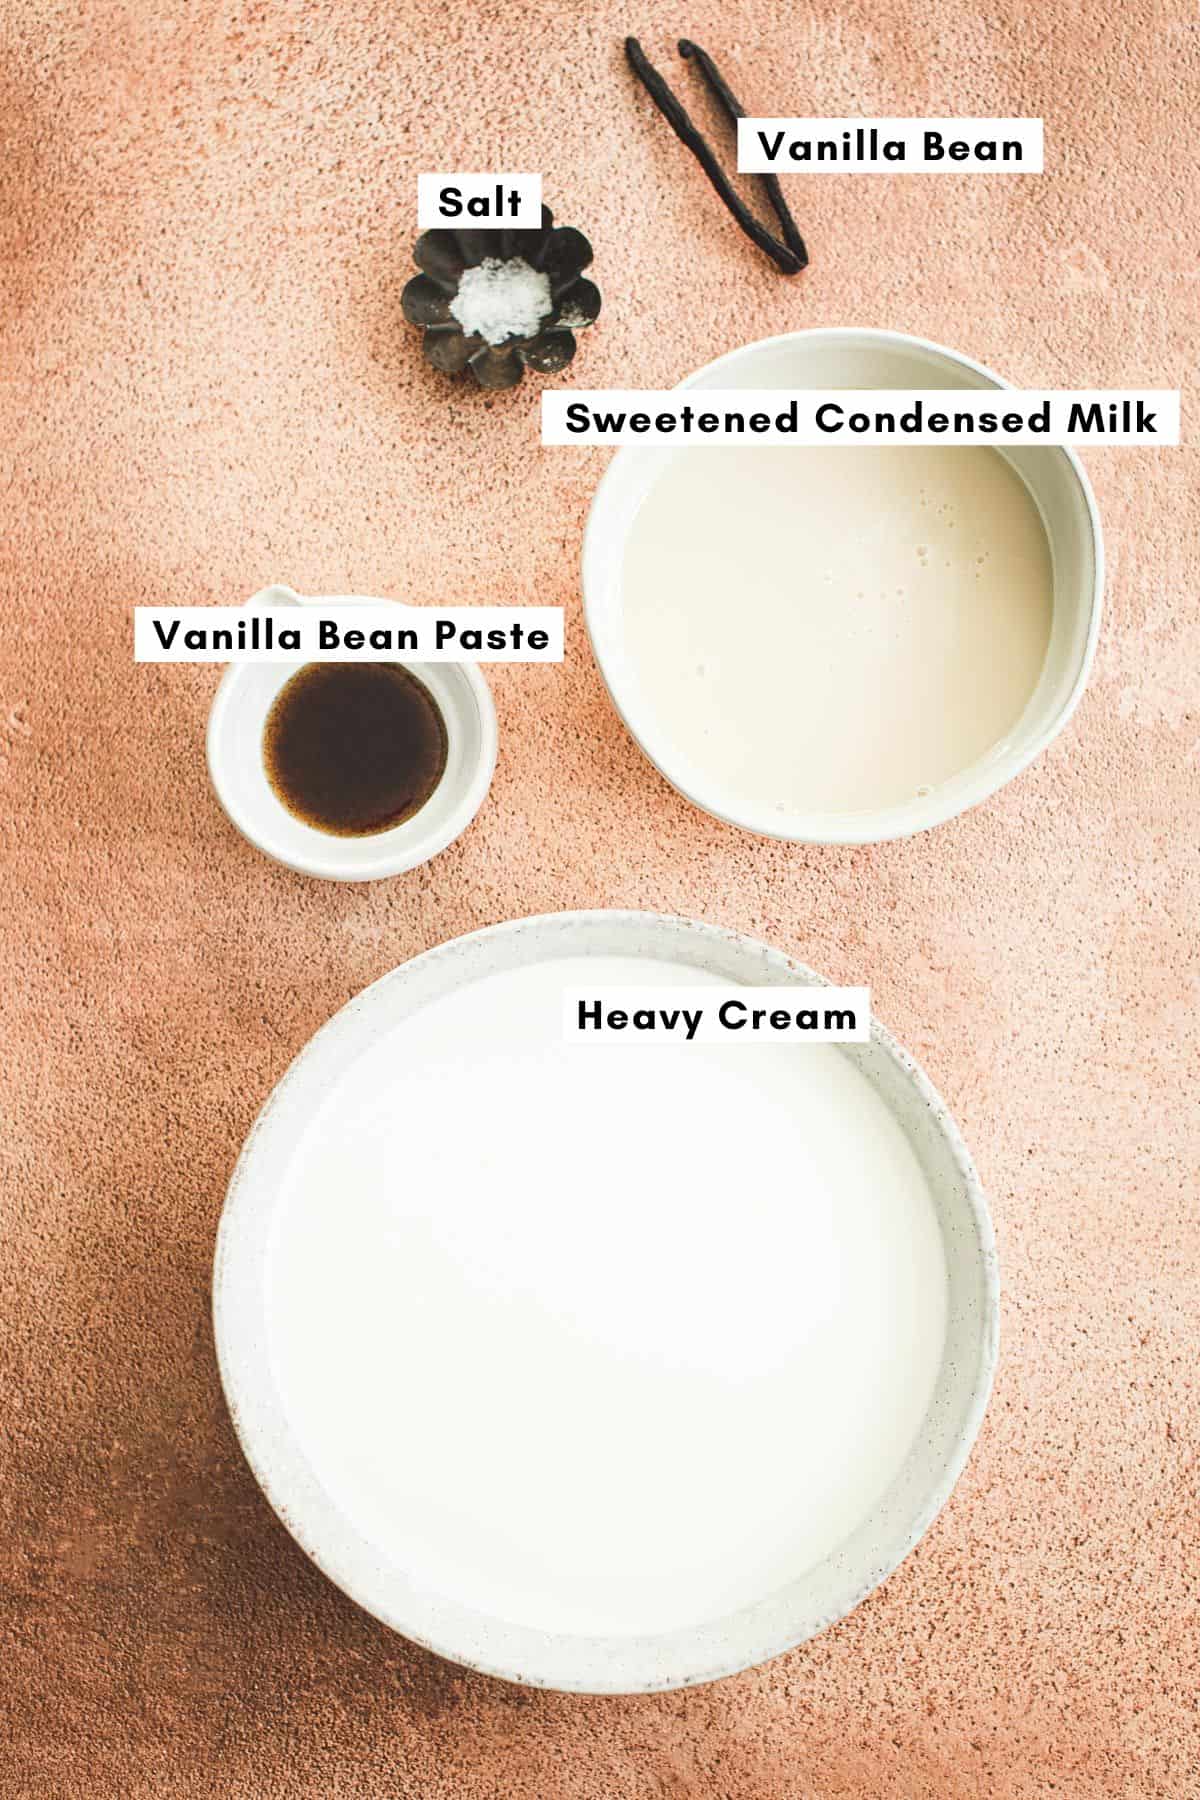
- Sweetened Condensed Milk: Much of the consistency and sweetness in this homemade ice cream recipe comes from 1 can of sweetened condensed milk.
- Vanilla Bean Paste: This ingredient is bursting with vanilla flavor. It also boasts a lot more flavor than traditional vanilla extract.
- Heavy Cream: In order to get the creamy and smooth texture you’re after, use heavy cream.
- Vanilla Bean Pod: There are, of course, vanilla beans in the paste mentioned above, but I recommend that you use the seeds from one pod for even more flavor. This is purely optional though.
How to Make Vanilla Bean Ice Cream
This no-churn vanilla ice cream is one of the easiest versions of ice cream to make and also one of the most delicious.
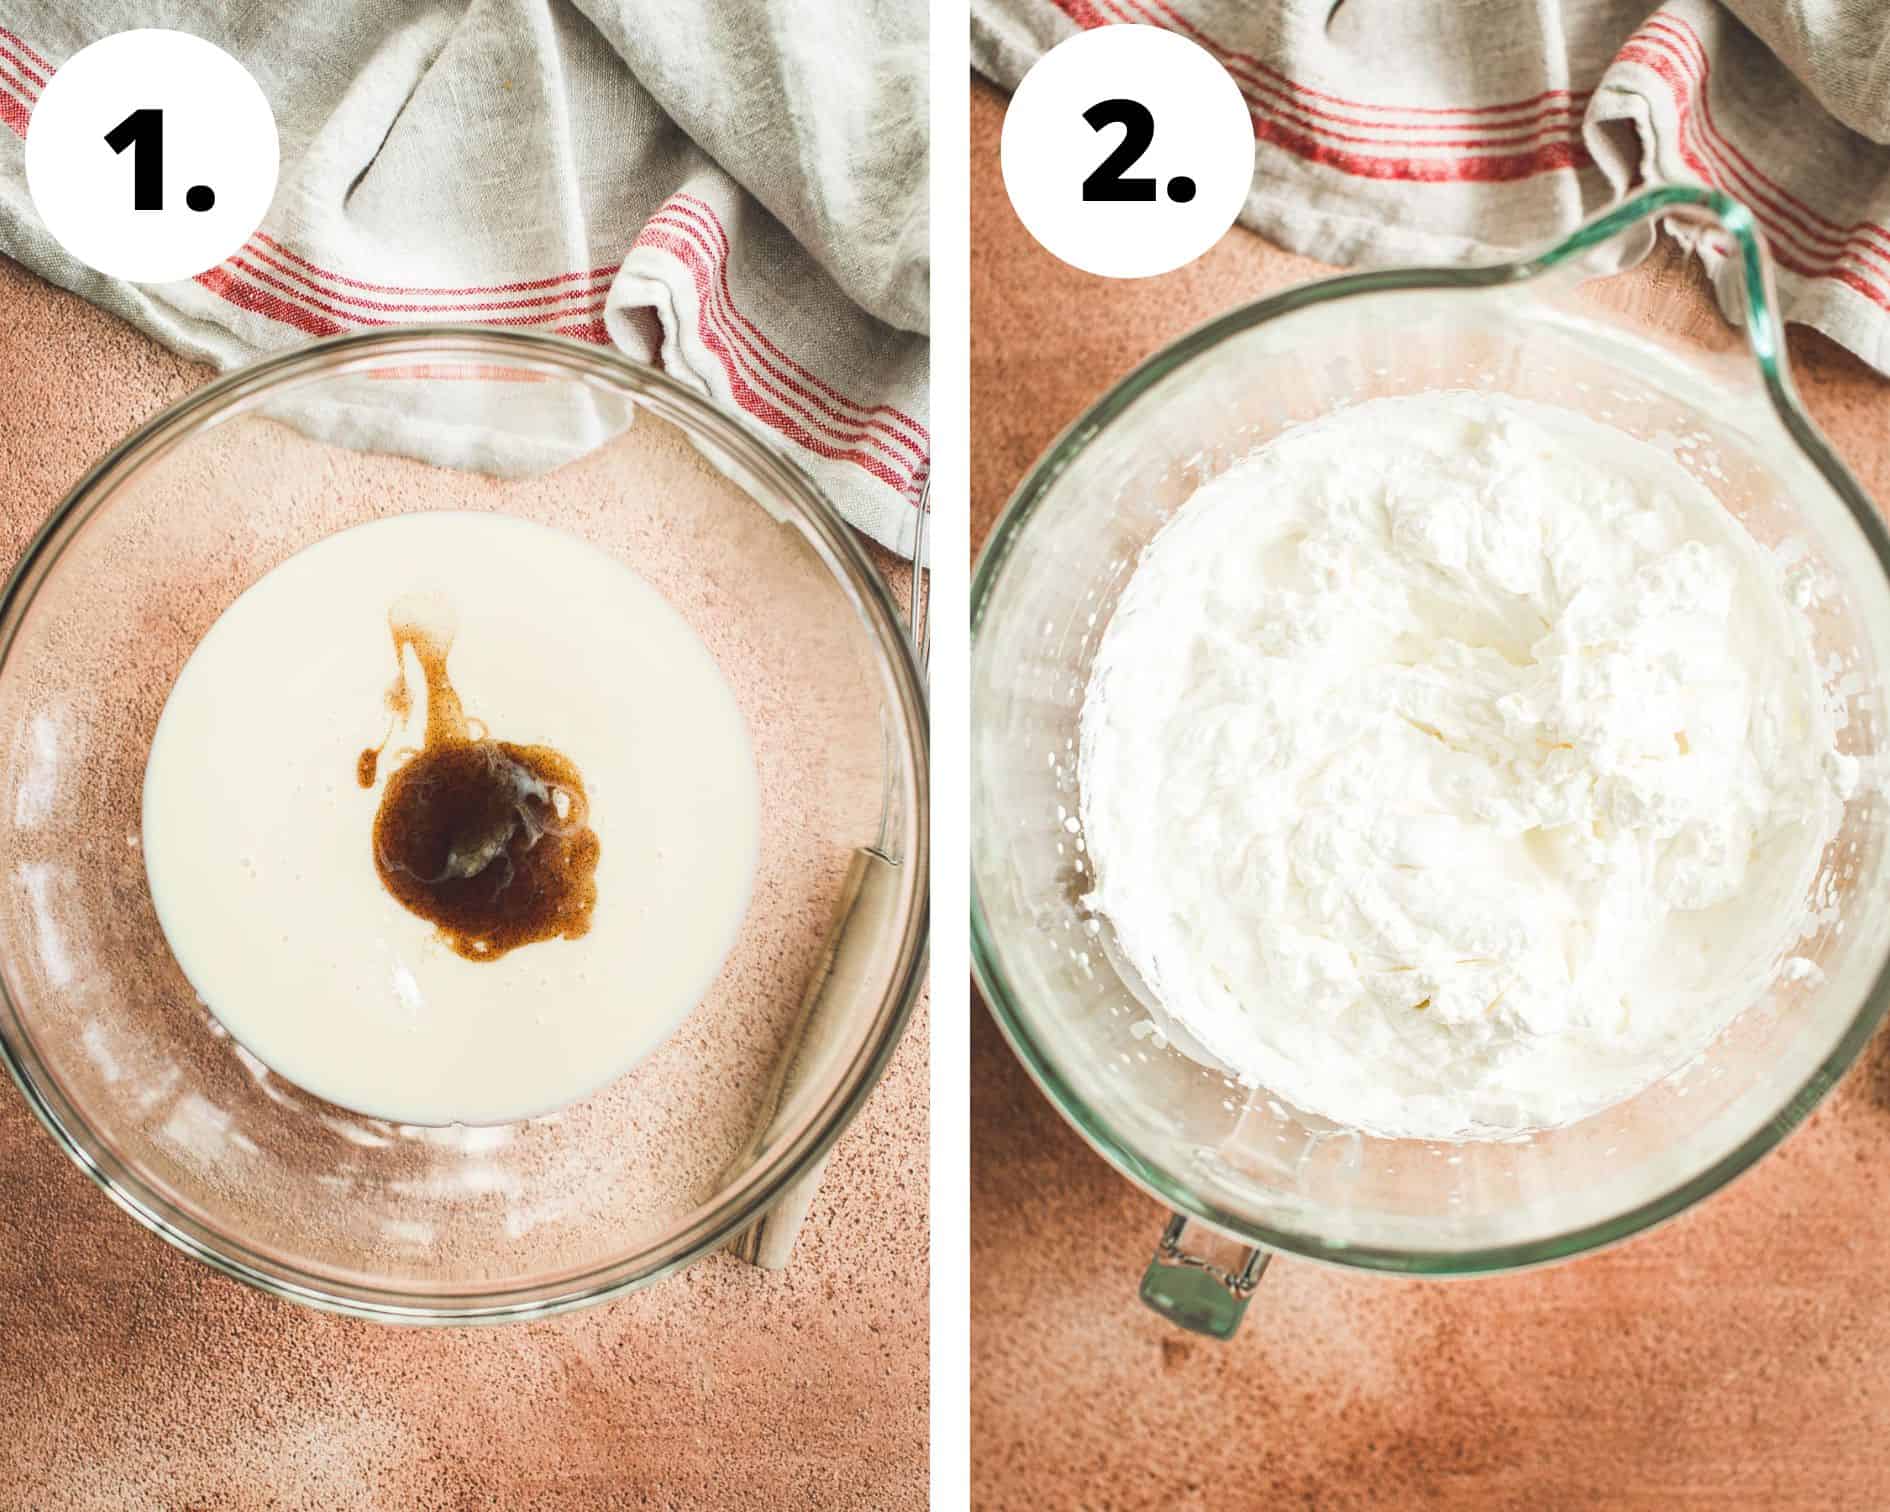
- Start mixing. Place the sweetened condensed milk, vanilla bean paste, vanilla bean seeds from the seed pod, and salt in a large mixing bowl and whisk together until well combined.
- Whip the cream. Add the heavy cream to the bowl of an electric mixer fitted with the whisk attachment and whip it until stiff peaks form, or about 2 minutes. You can also use a handheld mixer instead.
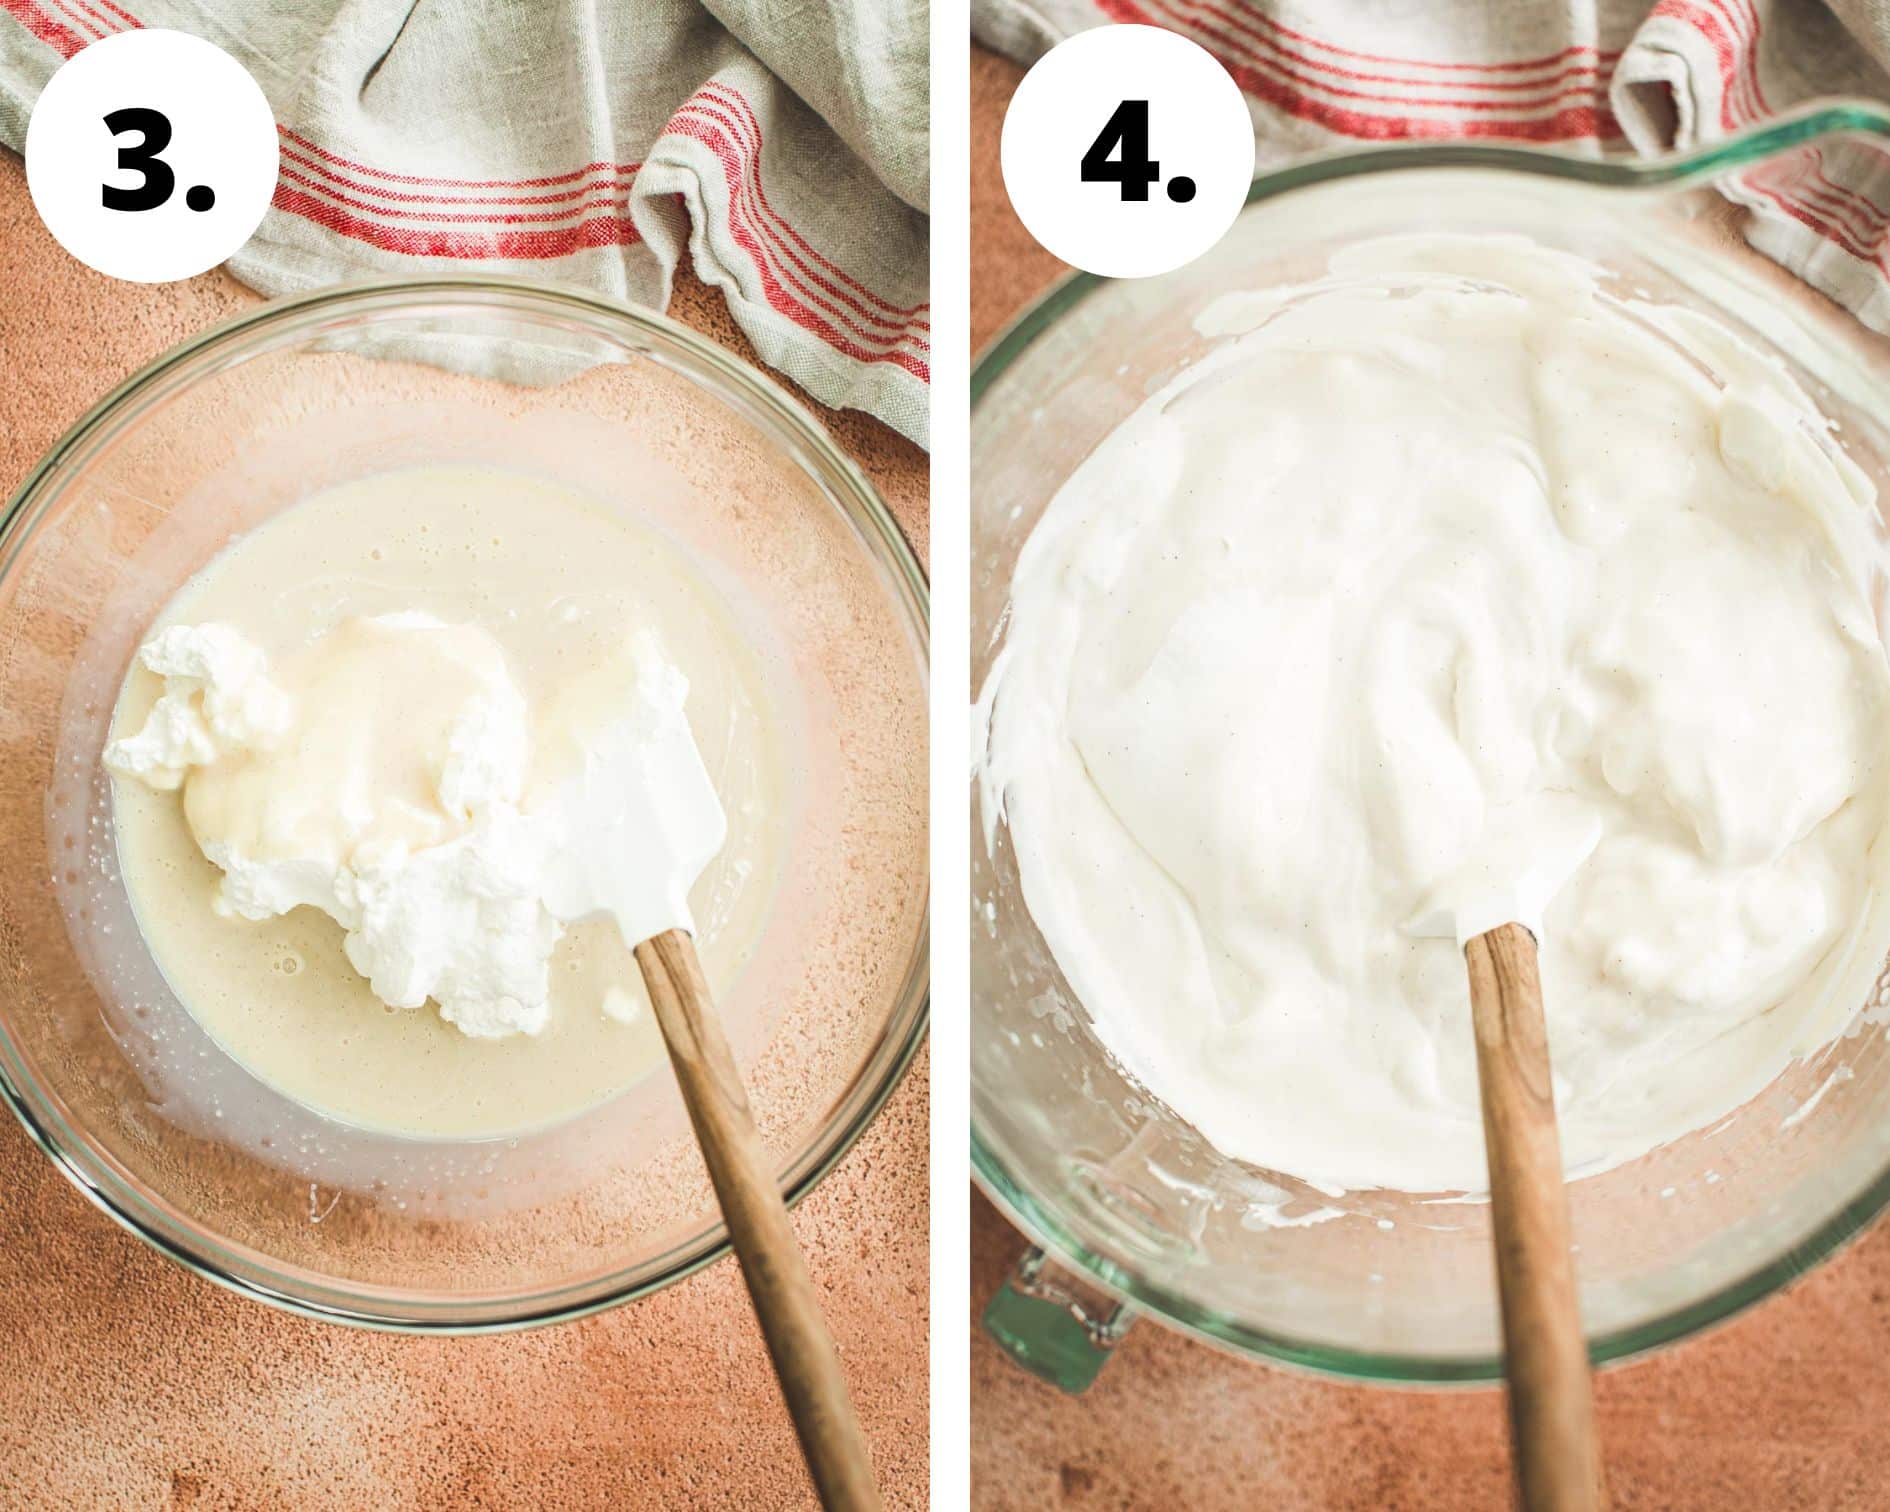
- Fold in some of the whipped cream. Slowly fold 1 cup of the whipped cream into the condensed milk mixture with a rubber spatula.
- Fold in the remaining whipped cream. Add the condensed milk mixture to the whipped cream and fold together until fully incorporated and the mixture is smooth.
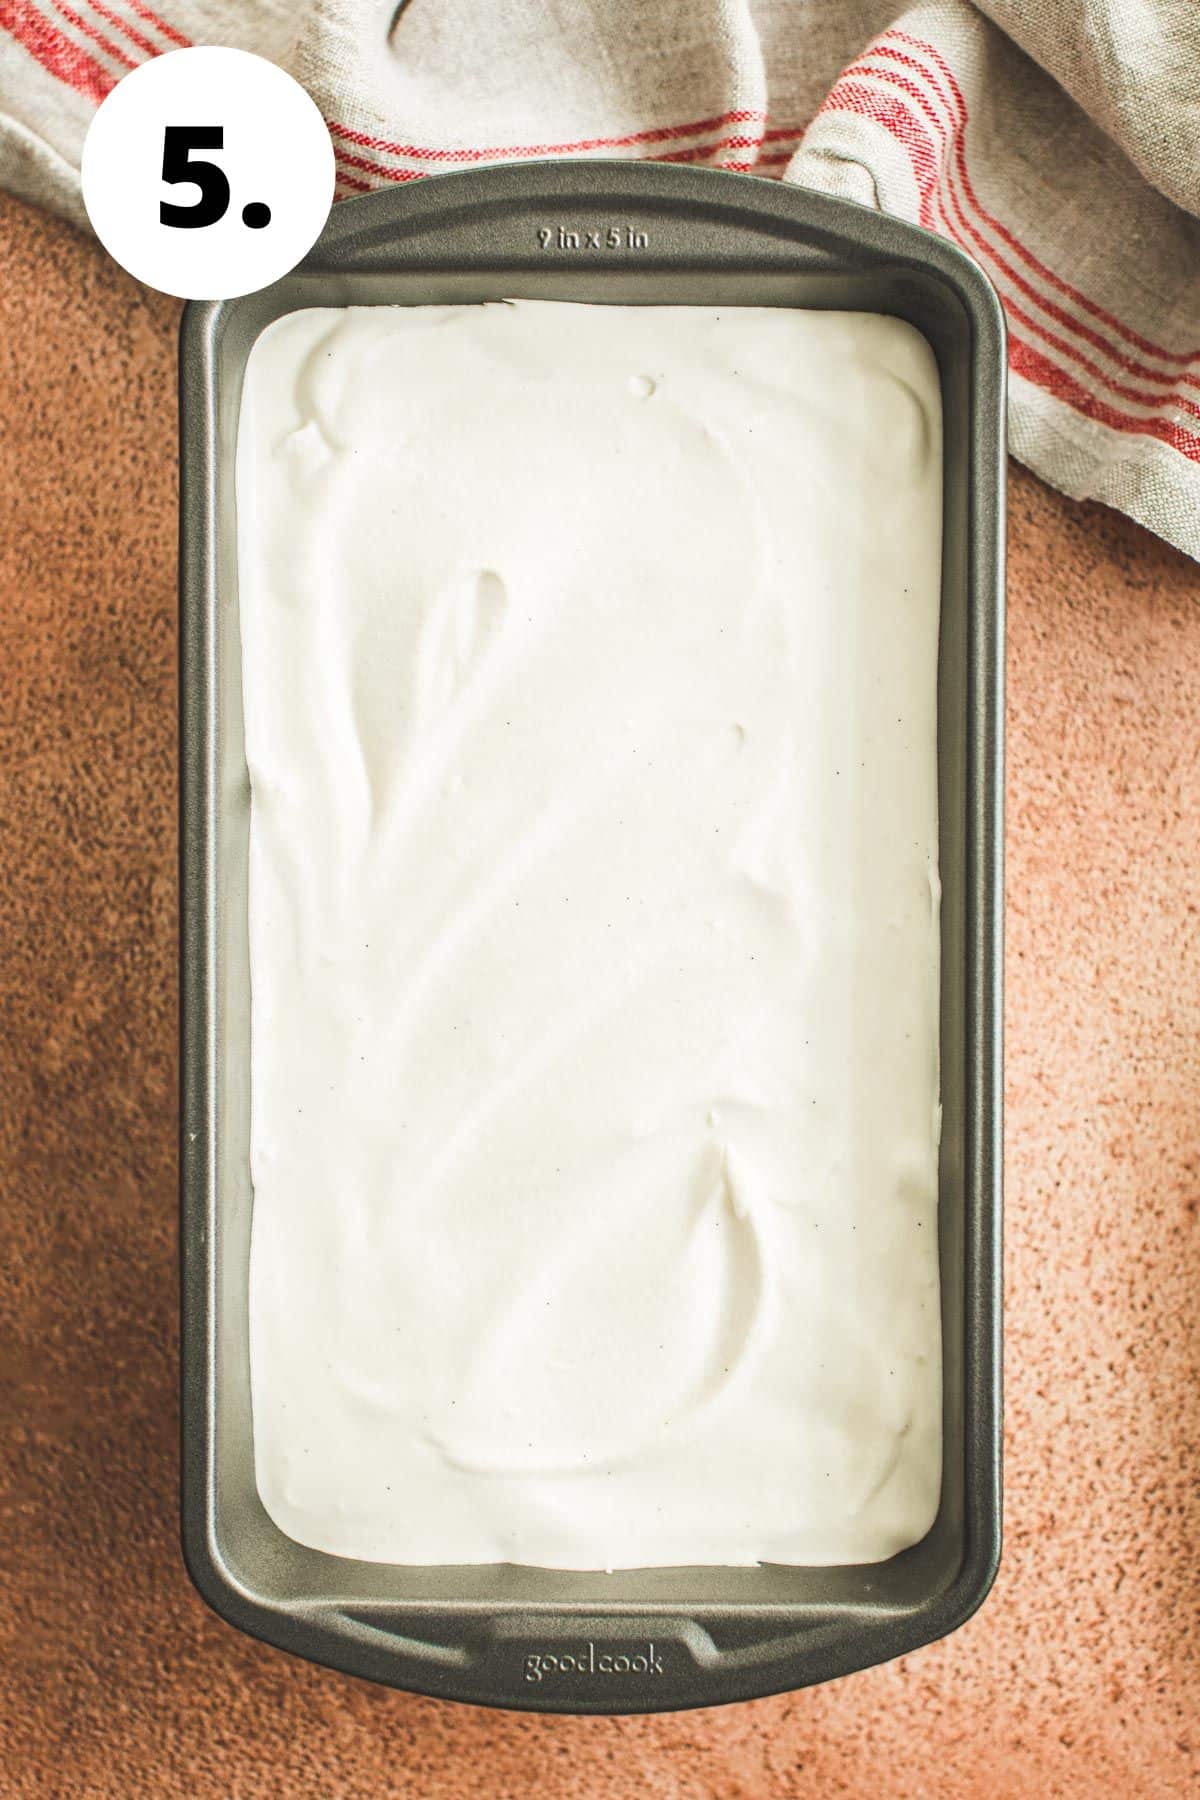
- Freeze. Pour the homemade vanilla bean ice cream mixture into an 8×4-inch metal loaf pan and freeze (covered) for about 5 hours. Serve & enjoy!
Storage and or Freezing Instructions
- Make-ahead instructions: You can feel free to make this recipe up to 2 weeks before you plan on serving it! The texture will become grainy if you leave it in the freezer any longer.
- Freezing instructions: Store your ice cream in an airtight container in your freezer. It must be covered in order to avoid freezer burn!
- Storage instructions: As mentioned, you can store this dessert in an airtight container in your freezer. You can also wrap the container in aluminum foil to ensure that it stays fresh.
Recipe Notes and Tips
- Be patient. You need to wait the full 5 hours for your ice cream to really chill and firm up. It’s even better if you can leave it in the freezer overnight before you dig in.
- Invest in quality ingredients. Your ice cream will only be as good as the ingredients you use to make it! Use the best quality vanilla bean paste, seeds, and heavy cream that you can find (and afford!).
- Get creative. Consider folding in chocolate chips, nuts, crushed-up peppermint, or even peanut butter swirls. That’s the beauty of this homemade ice cream recipe — it serves as a blank canvas so that you can add your favorite extras.
FAQS
The vanilla bean ice cream features plenty of vanilla beans — the small black specks that you’ll see once you start mixing your ingredients. Traditional vanilla ice cream typically doesn’t. And, French vanilla ice cream (so many types of vanilla ice cream, so little time!) uses an egg yolk base.
Use vanilla bean seeds to up the flavor of your homemade vanilla bean ice cream. Along with a hearty helping of vanilla bean paste, this dessert is packed with a sweet and warm flavor.
Absolutely! Follow the instructions above and on the recipe card below to discover just how. You won’t have to worry about churning it either — as long as you have an electric mixer fitted with a bowl. You can also use a handheld mixer!
Related Recipes

If you enjoyed this easy recipe, please leave a ⭐️⭐️⭐️⭐️⭐️ rating and a comment below. You can also share a photo and tag me on Instagram using @AimeeMarsLiving and #AimeeMars.

Vanilla Bean Ice Cream Recipe
Equipment
- 9×5 Loaf Pan
- Electric Mixer or handheld mixer
Ingredients
- 1 14 ounce can Sweetened Condensed Milk
- 2 teaspoons Vanilla Bean Paste
- 1/2 Vanilla Bean Pod seeds scraped from the inside only (optional)
- 1/8 teaspoon Sea Salt
- 2 cups Heavy Cream cold
Instructions
- Place the sweetened condensed milk, vanilla bean paste, vanilla bean seeds from the seed pod, and salt in a large mixing bowl and whisk together until well combined.
- Add the heavy cream to the bowl of an electric mixer fitted with the whisk attachment and whip it until stiff peaks form, or about 2 minutes. You can also use a handheld mixer instead.
- Slowly fold 1 cup of the whipped cream into the condensed milk mixture with a rubber spatula. Continue to fold the ingredients together until well combined.
- Add all of the condensed milk mixture to the whipped cream and fold together until fully incorporated and the mixture is smooth.
- Pour the homemade vanilla bean ice cream mixture into an 8×4-inch metal loaf pan and freeze (covered) for about 5 hours. Serve & enjoy!
Notes
- Be patient. You need to wait the full 5 hours for your ice cream to really chill and firm up. It’s even better if you can leave it in the freezer overnight before you dig in.
- Invest in quality ingredients. Your ice cream will only be as good as the ingredients you use to make it! Use the best quality vanilla bean paste, seeds, and heavy cream that you can find (and afford!).
- Get creative. Consider folding in chocolate chips, nuts, crushed-up peppermint, or even peanut butter swirls. That’s the beauty of this homemade ice cream recipe — it serves as a blank canvas so that you can add your favorite extras.
Storage and or Freezing Instructions
- Make-ahead instructions: You can feel free to make this recipe up to 2 weeks before you plan on serving it! The texture will become grainy if you leave it in the freezer any longer.
- Freezing instructions: Store your ice cream in an airtight container in your freezer. It must be covered in order to avoid freezer burn!
- Storage instructions: As mentioned, you can store this dessert in an airtight container in your freezer. You can also wrap the container in aluminum foil to ensure that it stays fresh.