All Recipes
 Beverages
 Breakfast
 Appetizers
 Dinner
 Sides
Sides
 Dessert
 Videos
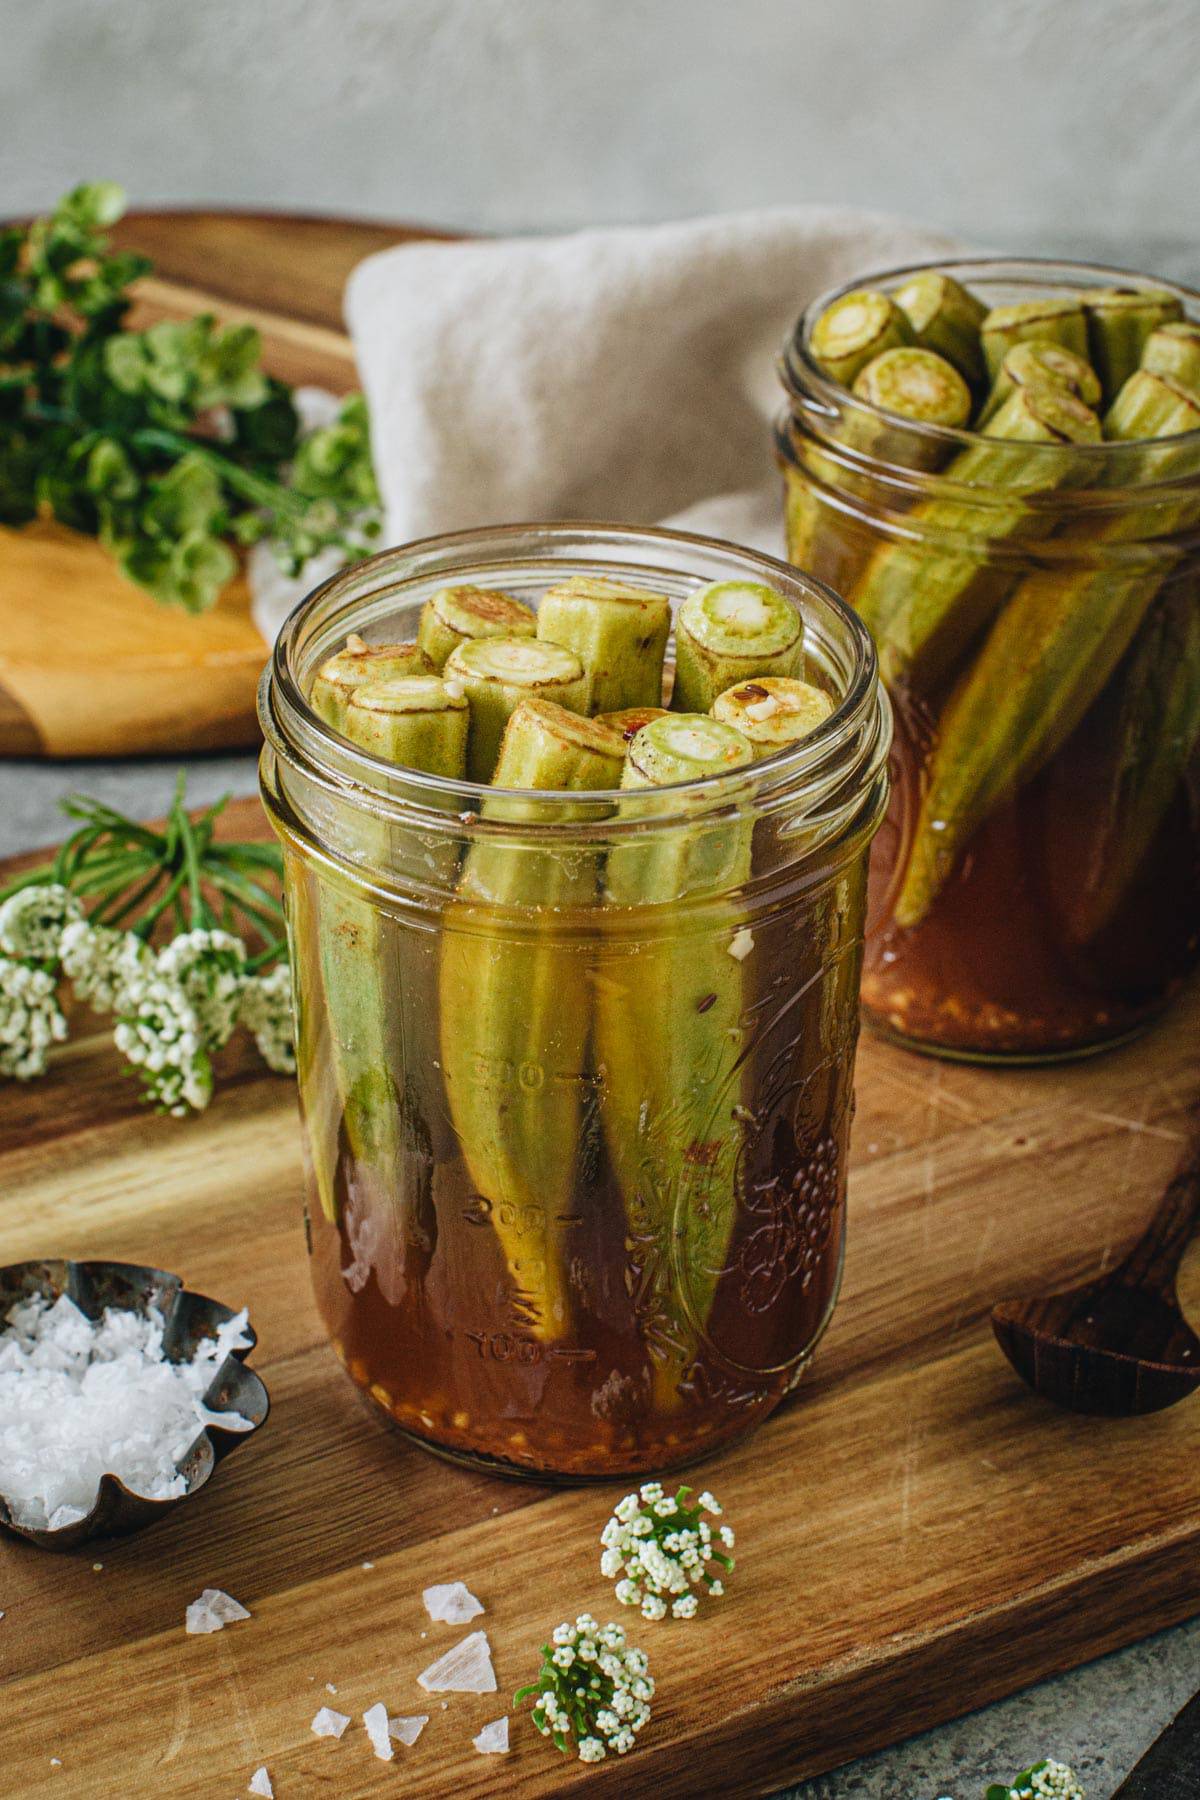
Crispy, crunchy, and tangy with a bit of spice this quick Pickled Okra is simple to make. With hints of paprika and crushed red peppers mixed in garlic and vinegar brine, you’ll want to find ways to use these with everything you eat. I’ve even included information for canning okra.
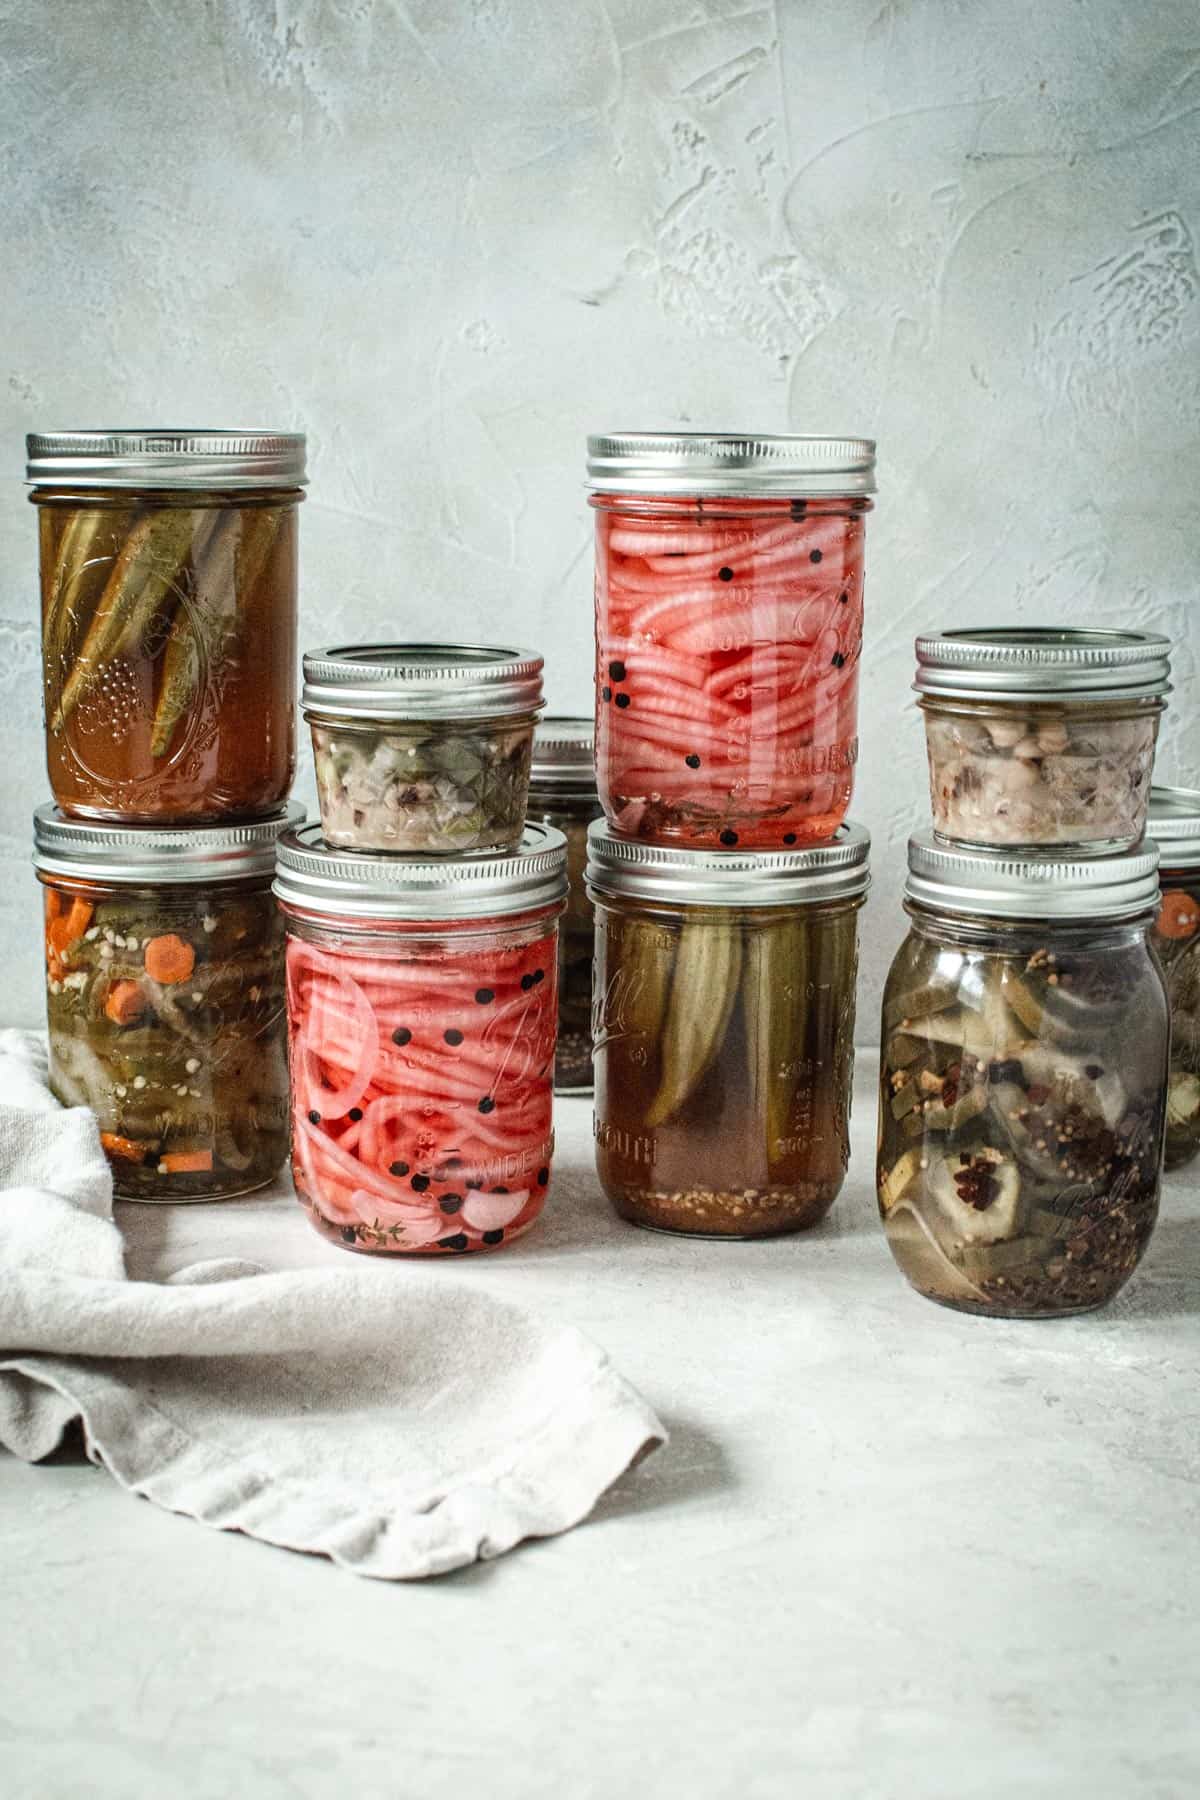
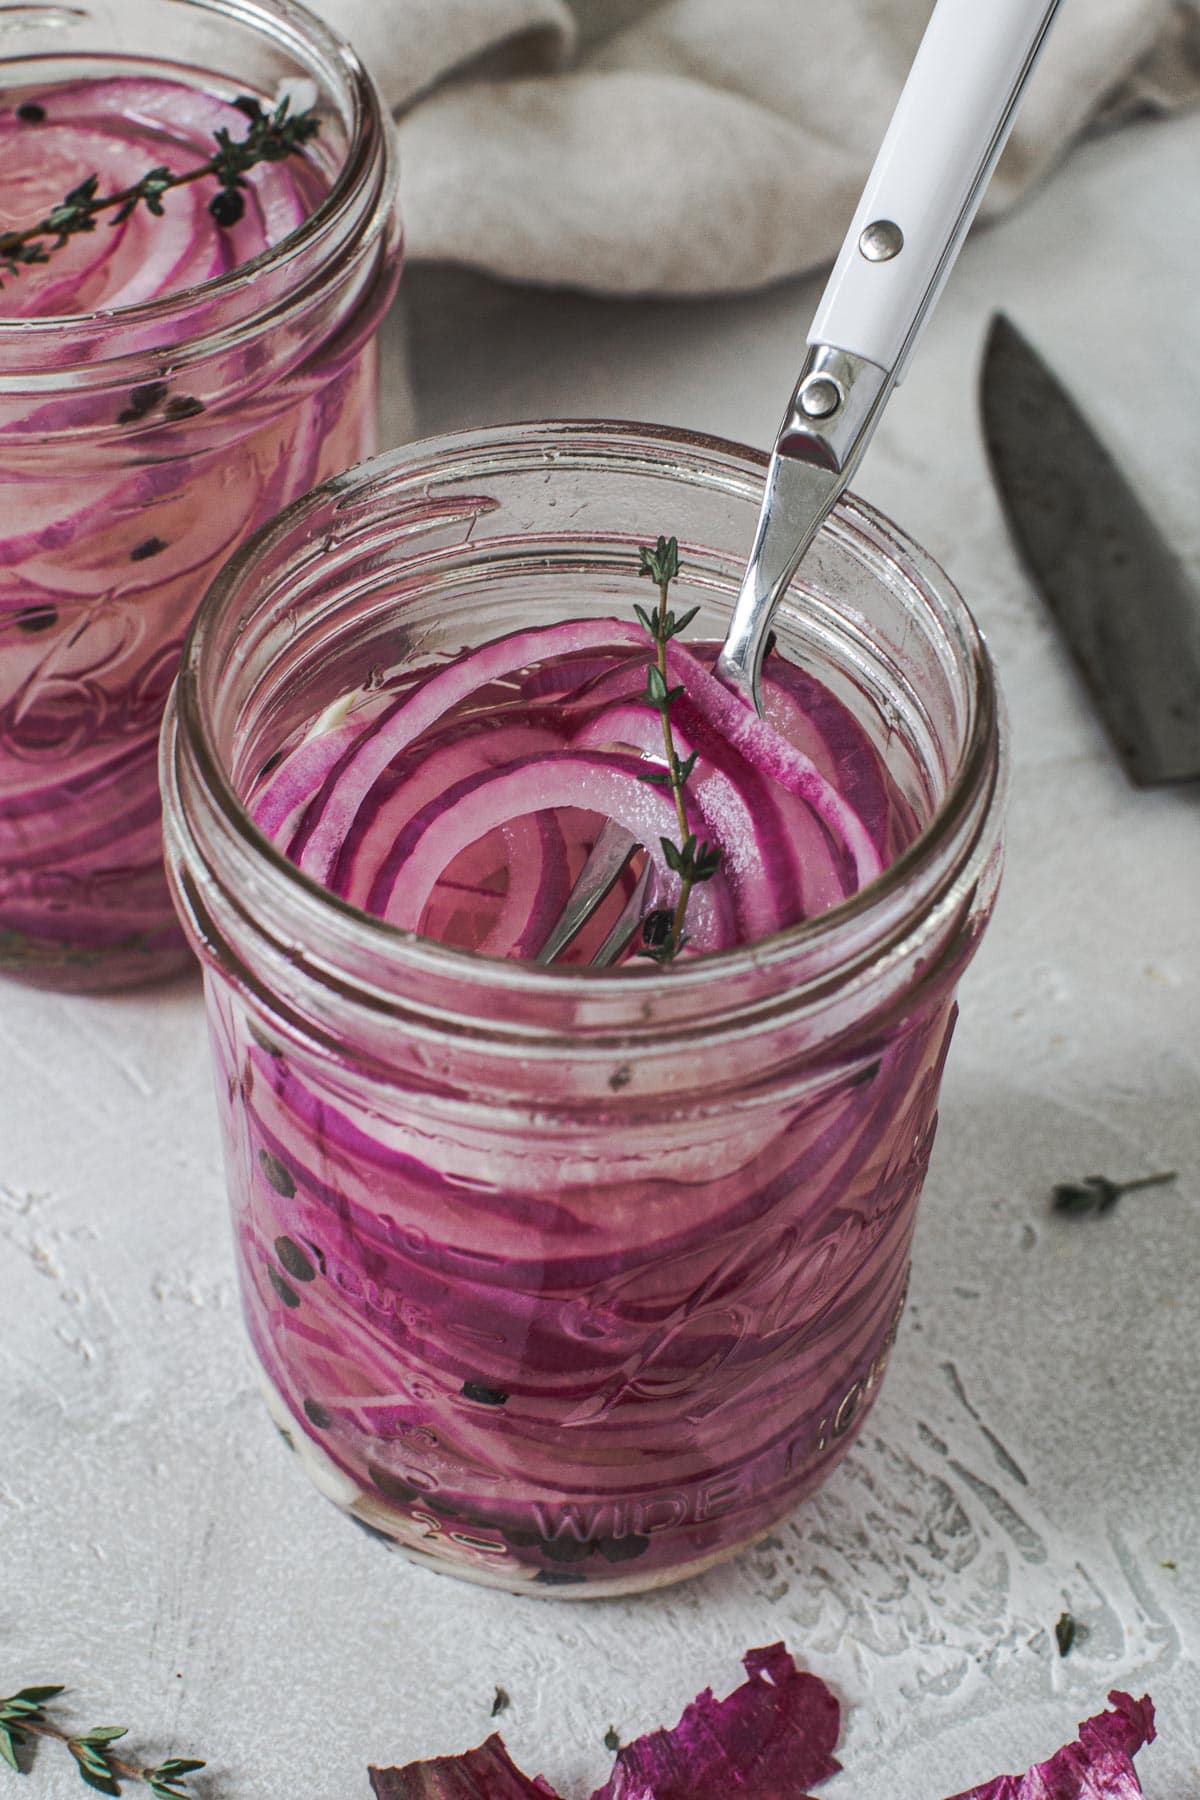
Pickled vegetables are some of my favorite condiments and snacks to always have on hand, which is why I also love to make these Pickled Jalapenos and Carrots and these Pickled Red Onions.
Why This Recipe Works
This is a quick pickling recipe, which means you can prepare it in a short amount of time and in much smaller batches than you would if using a canning method. That’s right, there’s no canning involved! This pickled okra recipe is easy and they go straight into your refrigerator.
Also known as “okra pickles,” these bring a unique flavor to any charcuterie board and add a perfectly crispy and crunchy taste to Bloody Mary’s.
This recipe has a slight spice to it but you can easily change the flavoring to be milder or even cup it up with your own using my guide for making quick-pickled vegetables.
Make as much as you like or as little, but this is a great side or condiment to bring to a gathering so share some with your friends.
Ingredients You’ll Need
This quick pickled okra recipe doesn’t require many ingredients and most of them are spices. The red pepper flakes are optional, but the dill seeds and paprika are important for bringing the best flavor. Carefully choose your okra too and try and get ones close in size, if possible.
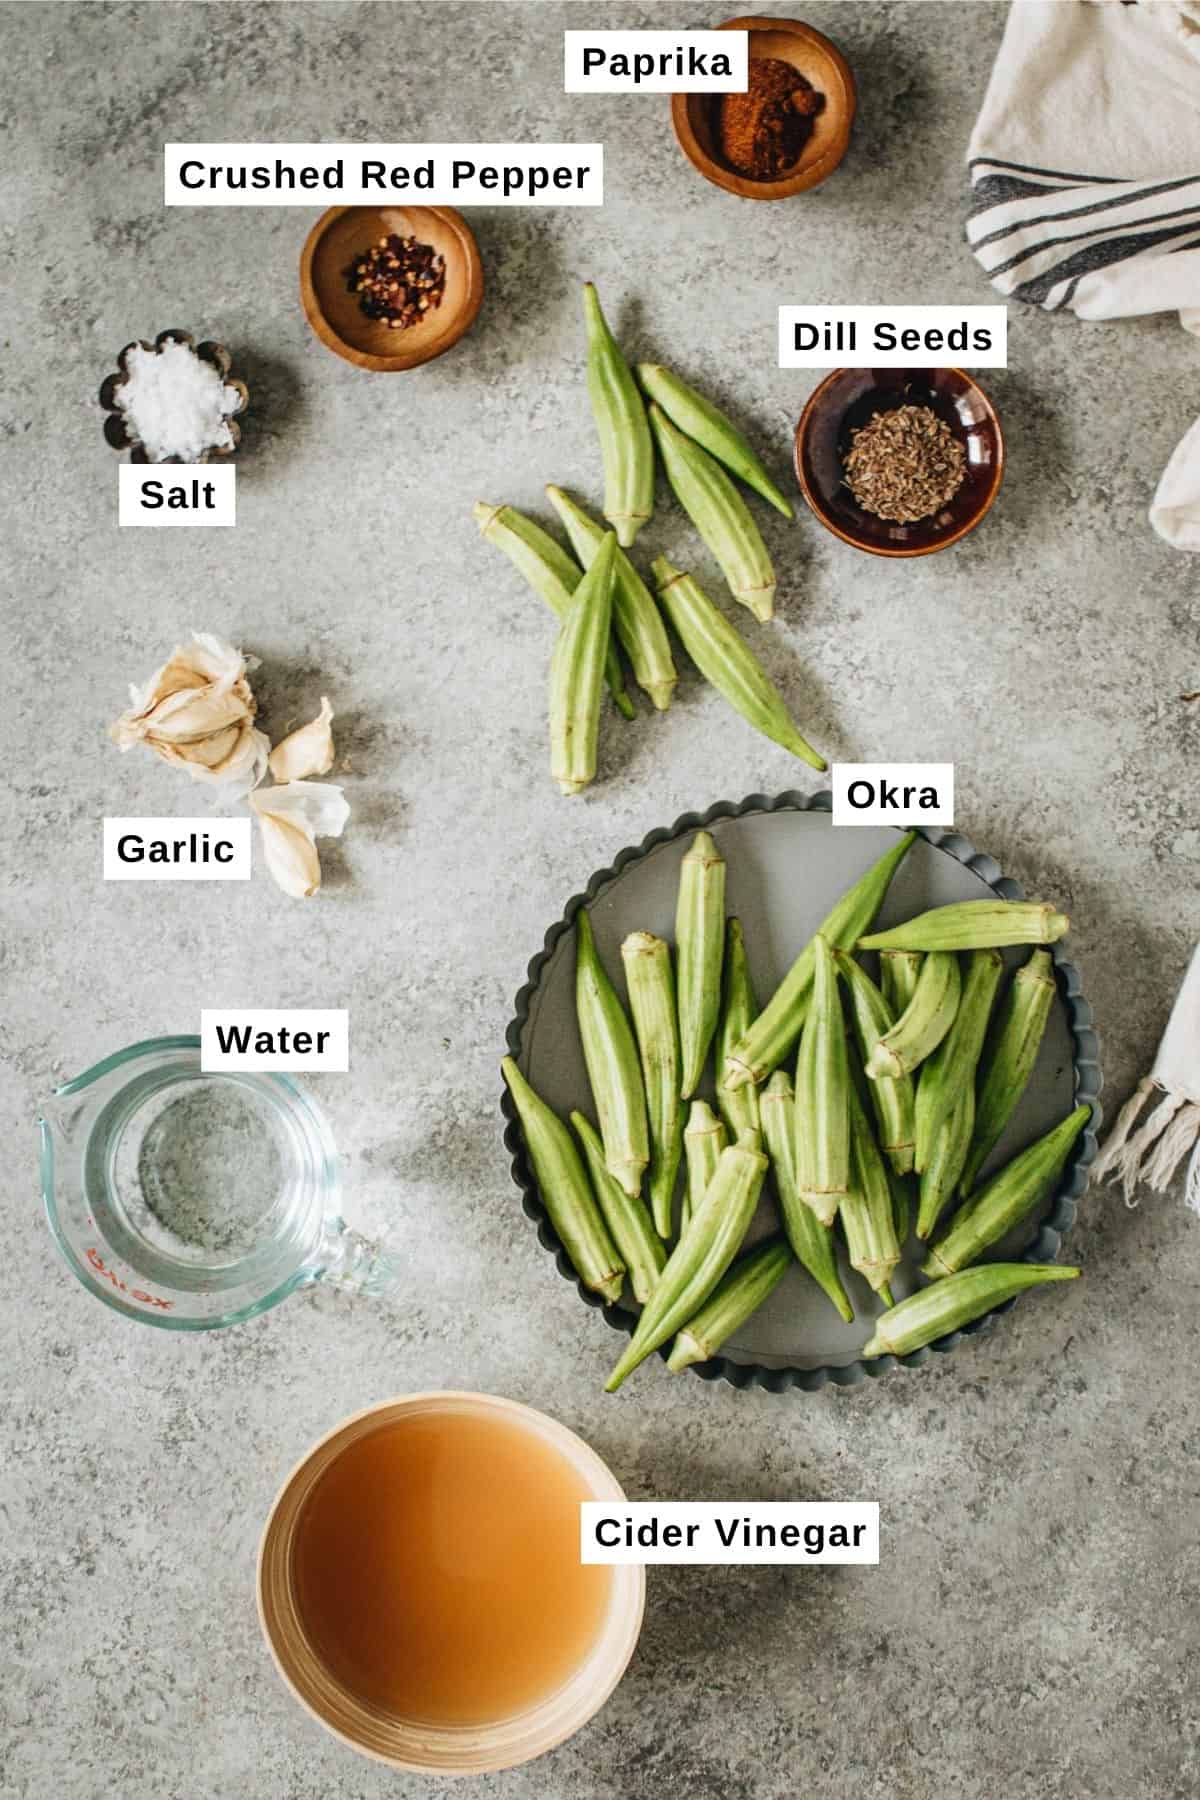
- Pickling Salt: the best kind of salt to use is pickling salt, which dissolved quickly and is free of any additives, which can sometimes cause cloudiness. If you can’t find it or would prefer a different salt then I recommend using sea salt which is also free of any additives.
- Crushed Red Pepper: for spicier okra add more of the crushed red pepper or for a mild flavor leave it out altogether.
- Okra: choose younger pieces of okra that are tender and only about 3 to 4 inches in length. Also, choose ones that have no blemishes on them. The okra must also be fresh you cannot use frozen okra for this recipe.
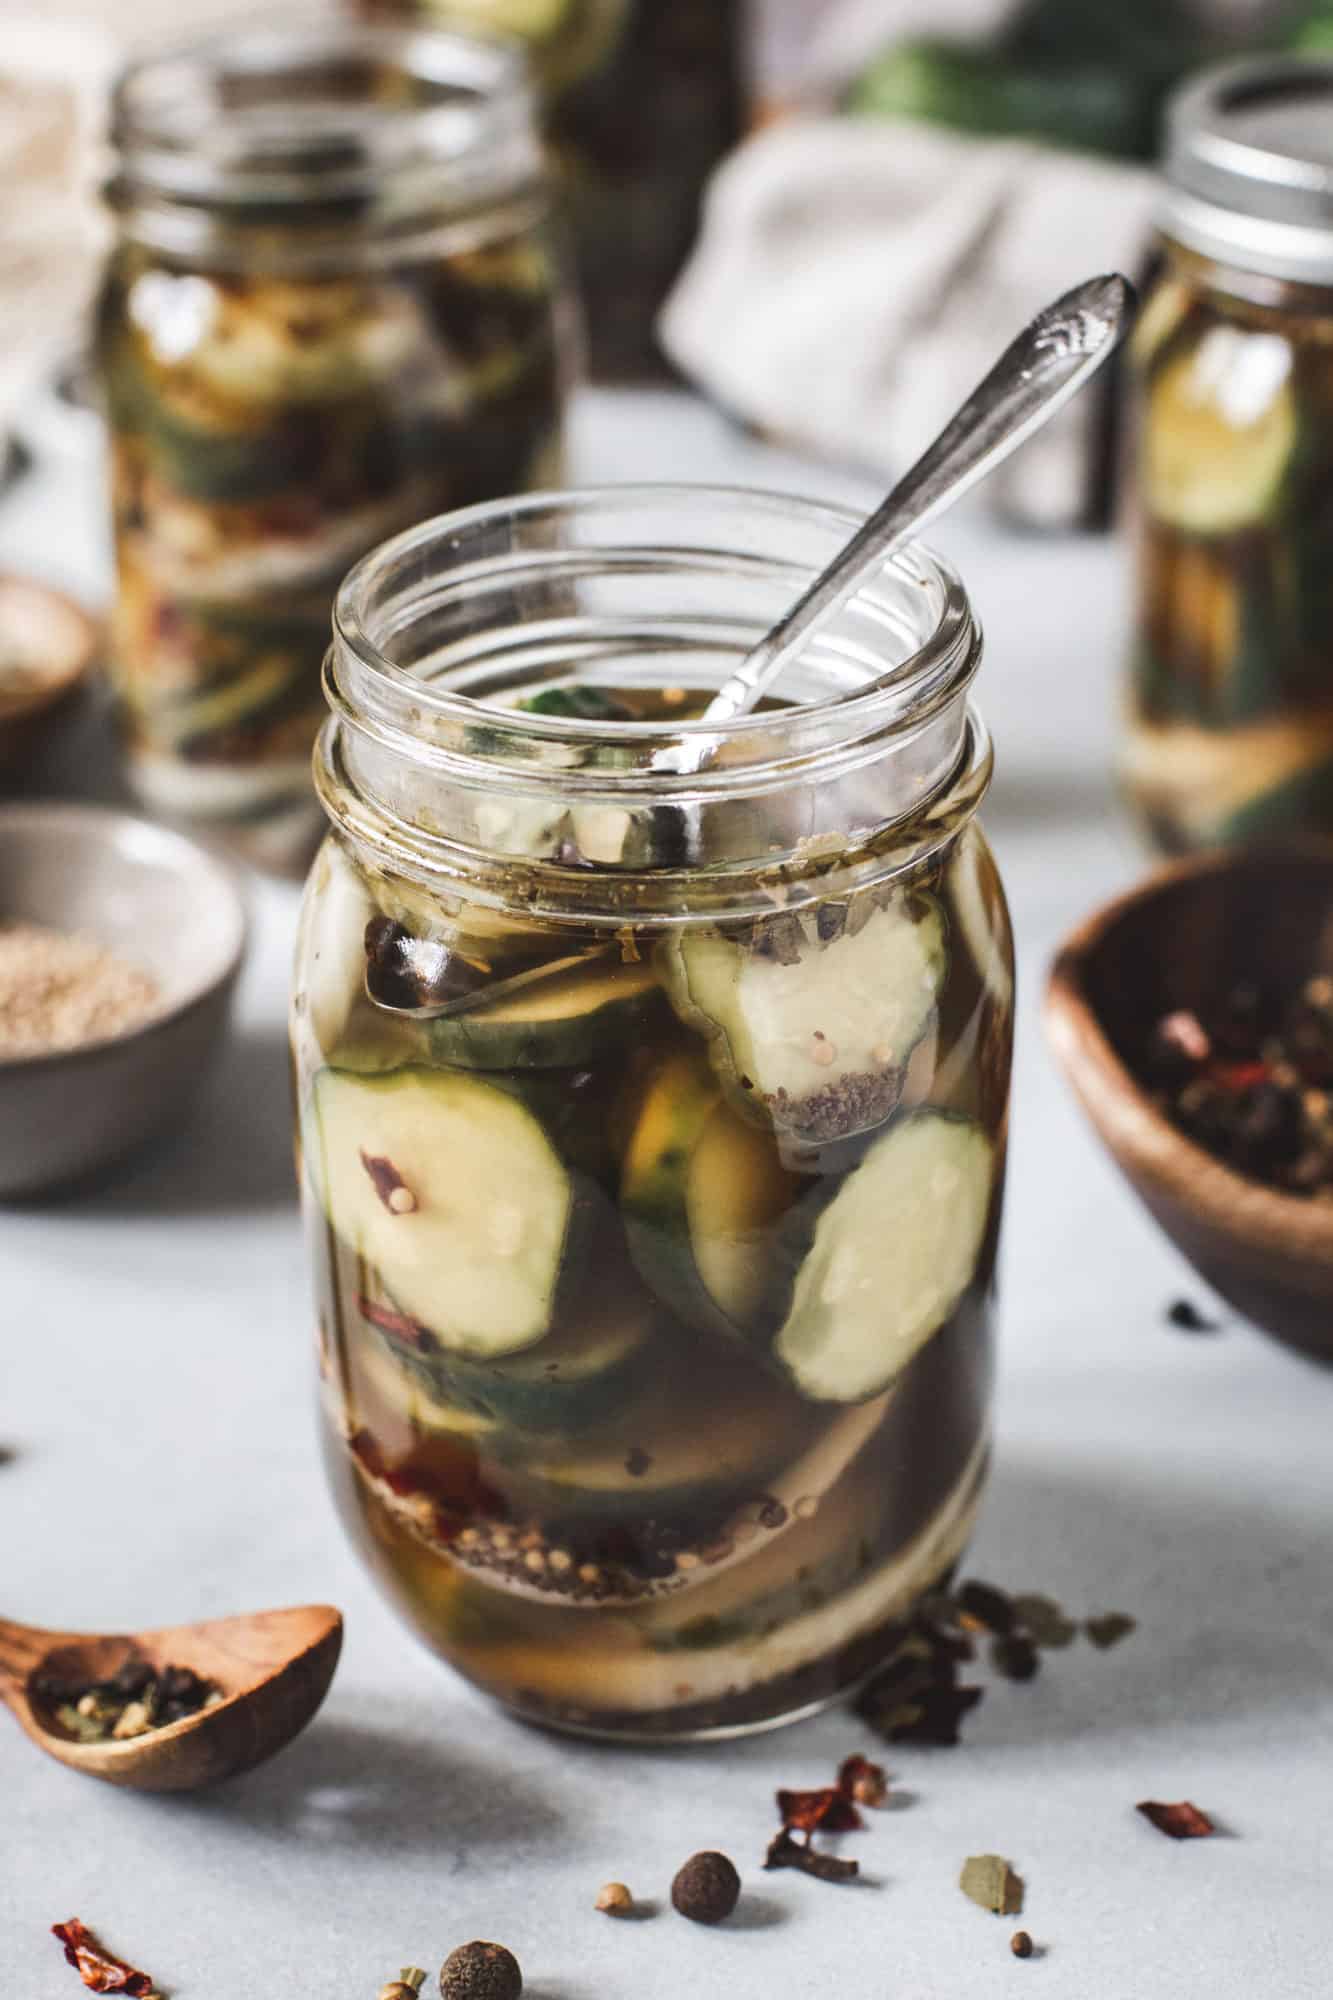
- Vinegar: for pickling, you need the vinegar to be 5% acidic so it’s safe, which is why you’ll want to use distilled white vinegar. Apple cider vinegar and others are usually only 2% to 3% acidity.
How to Pickle Okra
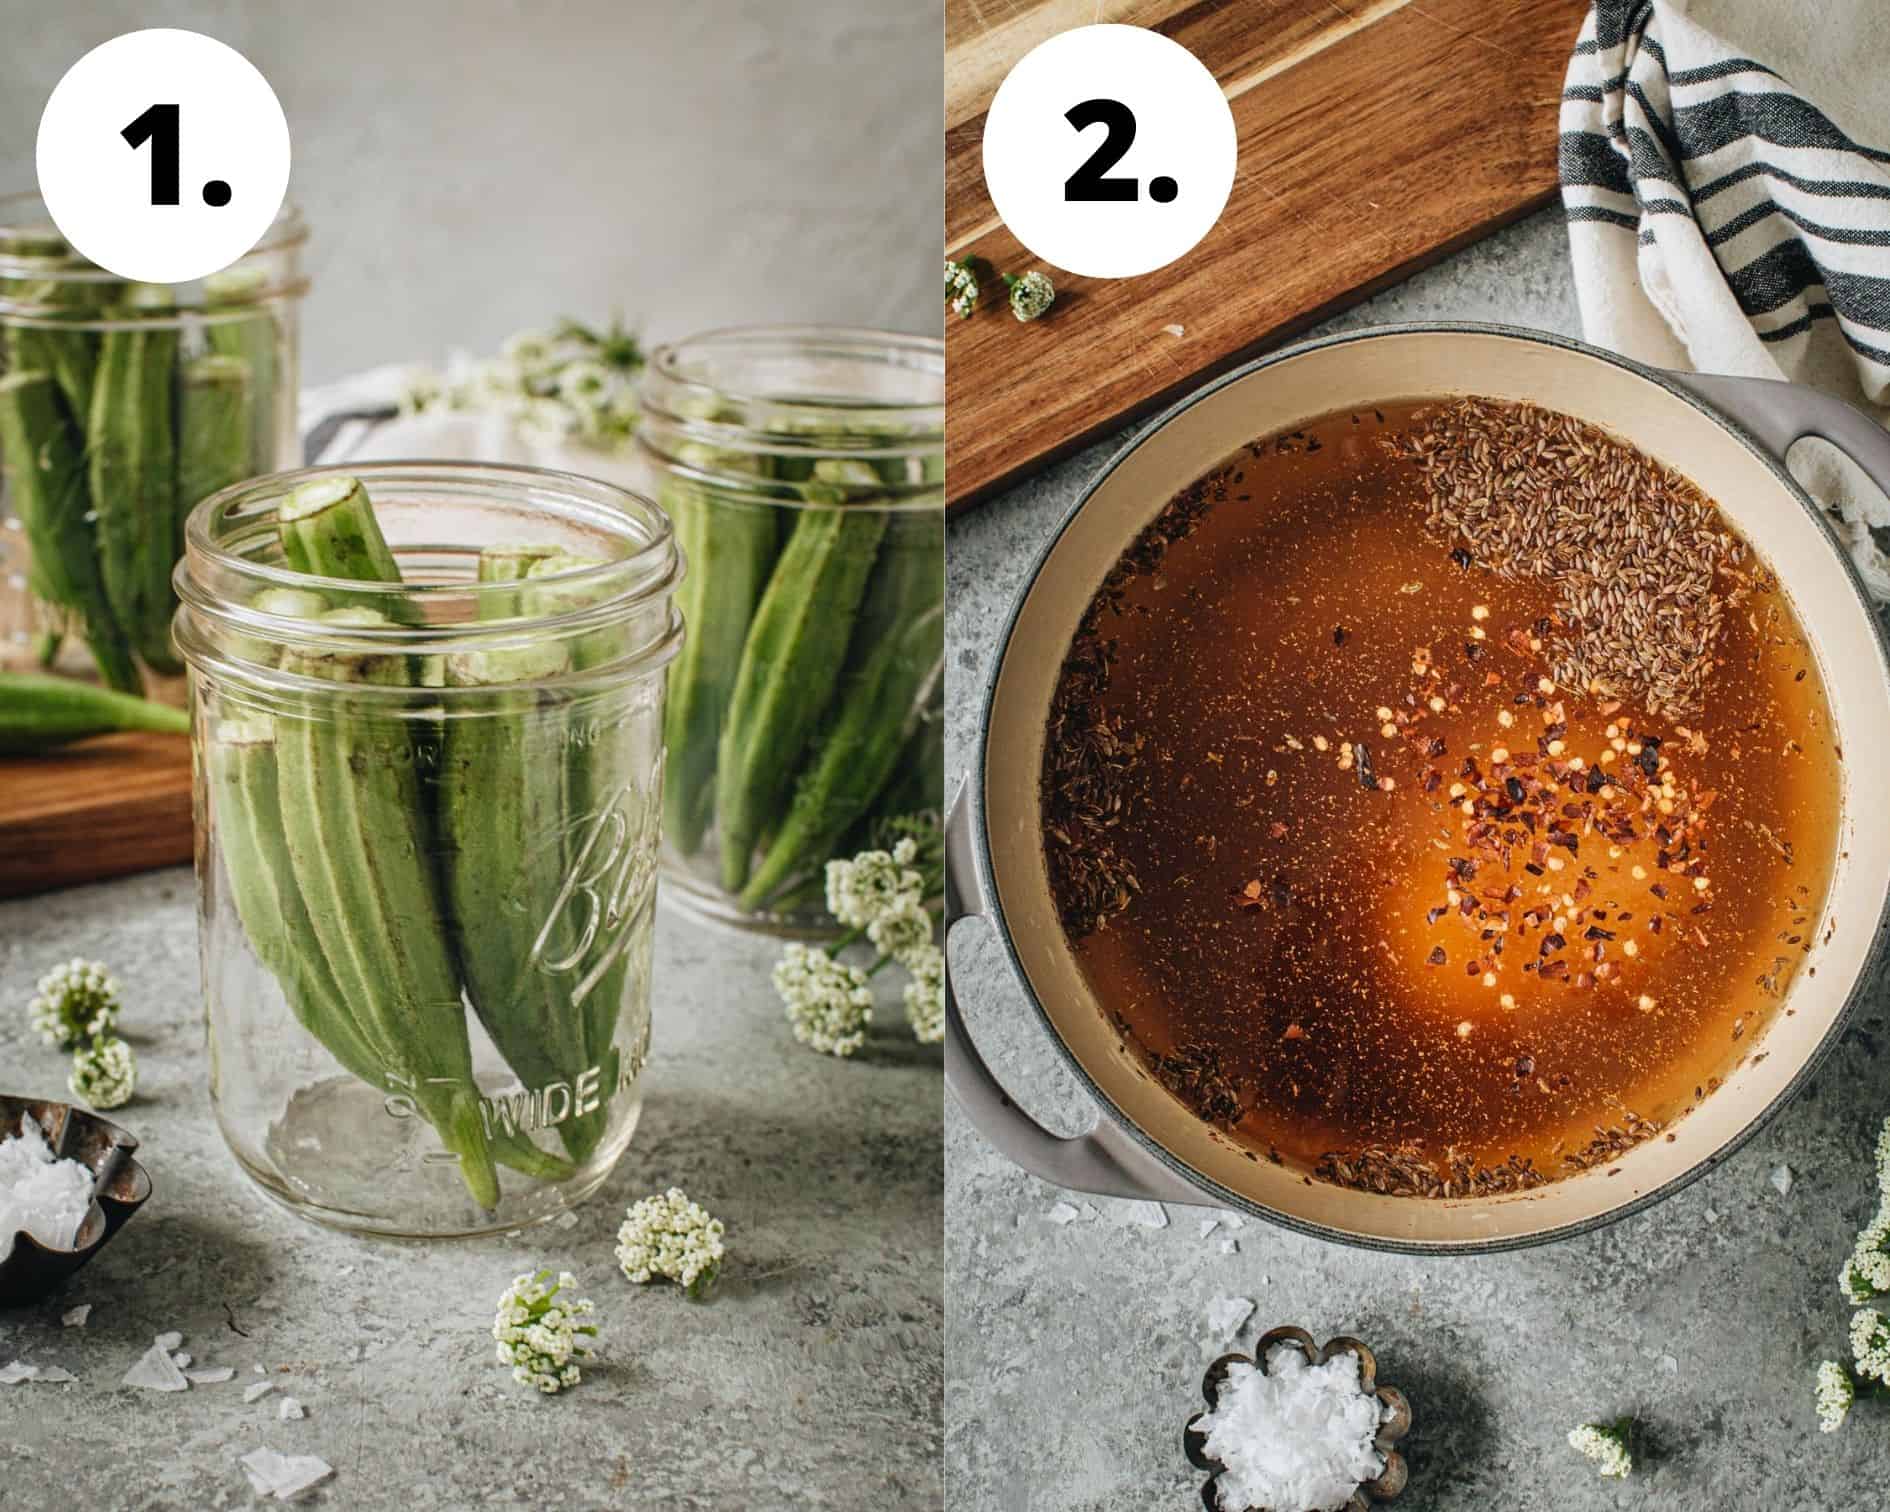
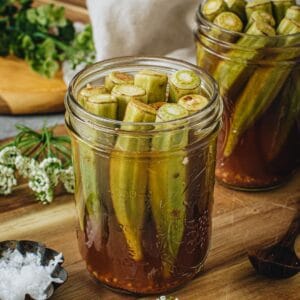
- Prep the okra. Remove just the tips of the okra and rinse before placing them into the pint jars. Fill the jars as much as possible placing the okra top-side down and then fill in the gaps with additional okra top-side up.
- Prepare the vinegar marinade. In a large saucepan over medium heat combine the vinegar, water, pickling salt, dill seeds, paprika, and crushed red pepper and bring to a soft boil. Continue to boil for 2 minutes, uncovered, until the salt is completely dissolved.

- Arrange the jars. Using a ladle and a canning funnel scoop the vinegar brine into each jar filling it almost to the top. Once you reach this step if you plan on canning the okra move to the canning instructions otherwise complete step 4.
- Seal and cool. Secure to jars with lids and rings. Store the okra in the fridge and allow it to marinate overnight in the brine for optimal flavor.
Serving Suggestions
What is pickled okra good for? There are so many ways to serve this southern-inspired side and just about anywhere you’d place a dill pickle or bread and butter pickles you can also use okra.
- Sandwiches: use them on the side as a crunchy side dish or use a toothpick to stick a piece directly on top of your sandwich. I highly recommend adding it to some pulled pork.
- Vegetables: spice up and side dish by mixing some into other cooked vegetables.
- Bloody Mary’s: weekend brunch demands this classic cocktail and adding in some pickled okra brings a delightful new flavor.
- Charcuterie Boards: this recipe for pickled okra is one of my favorites because of the many ways you can use it. My favorite way is to bring a unique flavor to meat and cheese trays by arranging some on the board.
- Summer Side dish: no summer is complete without okra and just like pickles these can be enjoyed as is on the side.
Equipment Needed
Since it’s not necessary to can this quick pickled okra recipe you won’t need much equipment. Some of the items below are ones I personally use and also help make the prep easier.
- Pint Jars with Lids
- Canning Funnel
- Non-Reactive Heavy Pot
- Ladle

Canning Okra
- Sterilized the jars. Wash and rinse your jars and lids with warm soapy water. Then fill a water bath canner with water and bring the water to a boil.
- Can the mixture. Use a ladle and a canning funnel to pour the mixture into 4 pint-sized canning jars, leaving 1/2-inch headspace. Remove the air bubbles using a small spatula.
- Clean the jars. Use a damp cloth to wipe the jar rims and place the lid in the middle. Screw the band on to fingertip tight.
- Process. Bring the water in the water bath canner to boiling and use tongs to add the jars to the water. Submerge into the water making sure the jars are covered by 2 inches. Process for 15 minutes. Remove to a wire rack to cool completely. Remove the ring for storage.
The canned okra will last for up to 1 year stored in a cool and mostly dark pantry. For additional information on canning, I always refer to the Ball Book of Canning and Preserving.
Expert Tips
- Carefully select each piece of okra by hand. You’ll need about 1 1/2 to 2 lbs in order to make 3 pints. Each piece should be no longer than the jar you’re using and tender to touch.
- When preparing the jars pack as much okra as possible into the jars. I prefer to place some facing up and some facing stem down.
- Add some more flavor. You can easily add some peeled garlic and sliced onion to the mixture as well for a prettier jar as well as more flavor.
- You don’t have to go through the canning process with this recipe, so you’ll need to store it in the refrigerator. If stored in an air-tight container it will last for up to 2 weeks.
- If you end up with too much okra then make some gumbo or something similar like this shrimp and lentil stew.
- Use a non-reactive heavy saucepan to prepare the brine. A non-reactive pot is heavy and made of material, such as stainless steel, enamel, or nonstick.
FAQs
Nope, not at all. If cut raw there is a slimy texture inside, however, you always pickle the entire piece of okra without cutting it. Then the vinegar will neutralize any slime.
This means the okra you choose was too mature. Look for young tender pieces that are about 3 inches in length.
This recipe takes less than an hour to prepare, but it’s best to let the okra marinate in the brine in the refrigerator overnight before enjoying it. If you plan on canning the okra I recommend waiting 2 to 3 weeks before opening a jar for the absolute best flavor.
This may seem like a funny question, but if your dog is like mine she is constantly picking up scraps from the kitchen floor. Rover.com says okra is safe for dogs to consume and contains vitamins and minerals that support their immune system, metabolism, nerves, muscles, and bones. Pickling okra is different though and should not be shared with your furry friends.
If you enjoyed this recipe, please leave a ⭐️⭐️⭐️⭐️⭐️ rating and a comment below. You can also share a photo and tag me on Instagram using @AimeeMarsLiving and #AimeeMars.
Pickled Okra
Equipment
- Chefs Knife
- Pint Jars with Lids
- Non-reactive Heavy Pot
- Canning Funnel
- Ladle
Ingredients
- 2 lbs Fresh Okra
- 6 Garlic Clove minced
- 3 cups Vinegar
- 3 cups Water
- 1/4 cup Pickling Salt or sea salt
- 1 tablespoon Dill Seeds
- 2 teaspoons Paprika
- 1 teaspoon Crushed Red Pepper
Instructions
- Trim the tops off the okra and rinse. Place the okra pods top down into the jars filling the jar as much as possible. Fill in any gaps with additional okra facing top side up.
- In a large saucepan over medium heat combine the vinegar, water, pickling salt, dill seeds, paprika, and crushed red pepper and bring to a soft boil. Continue to boil for 2 minutes, uncovered, until the salt is completely dissolved.
- Using a ladle and a canning funnel (optional) to scoop the vinegar brine into each jar.
- Secure to jars with lids and rings. Store the okra in the fridge and allow it to marinate overnight in the brine for optimal flavor.
Notes
- Carefully select each piece of okra by hand. You’ll need about 1 1/2 to 2 lbs in order to make 3 pints. Each piece should be no longer than the jar you’re using and tender to touch.
- When preparing the jars pack as much okra as possible into the jars. I prefer to place some facing up and some facing stem down.
- You don’t have to go through the canning process with this recipe, so you’ll need to store it in the refrigerator. If stored in an air-tight container it will last for up to 2 weeks.
- If you end up with too much okra then make some gumbo or something similar like this shrimp and lentil stew.
- Use a non-reactive heavy saucepan to prepare the brine. A non-reactive pot is heavy and made of a material such as stainless steel, enamel, or nonstick.
Canning Okra
- Sterilized the jars. Wash and rinse your jars and lids with warm soapy water. Then fill a water bath canner with water and bring the water to a boil.
- Can the mixture. Use a ladle and a canning funnel to pour the mixture into 4 pint-sized canning jars, leaving 1/2-inch headspace. Remove the air bubbles using a small spatula.
- Clean the jars. Use a damp cloth to wipe the jar rims and place the lid in the middle. Screw the band on to fingertip tight.
- Process. Bring the water in the water bath canner to boiling and use tongs to add the jars to the water. Submerge into the water making sure the jars are covered by 2 inches. Process for 15 minutes. Remove to a wire rack to cool completely. Remove the ring for storage.