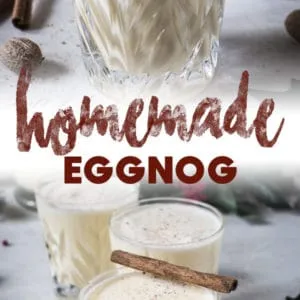
Prepare to be amazed by the incredible simplicity and exquisite flavor of Homemade Eggnog. This easy recipe results in a velvety, luxurious texture and a subtle nutmeg flavor. Once you’ve experienced it, you’ll never buy store-bought eggnog again!
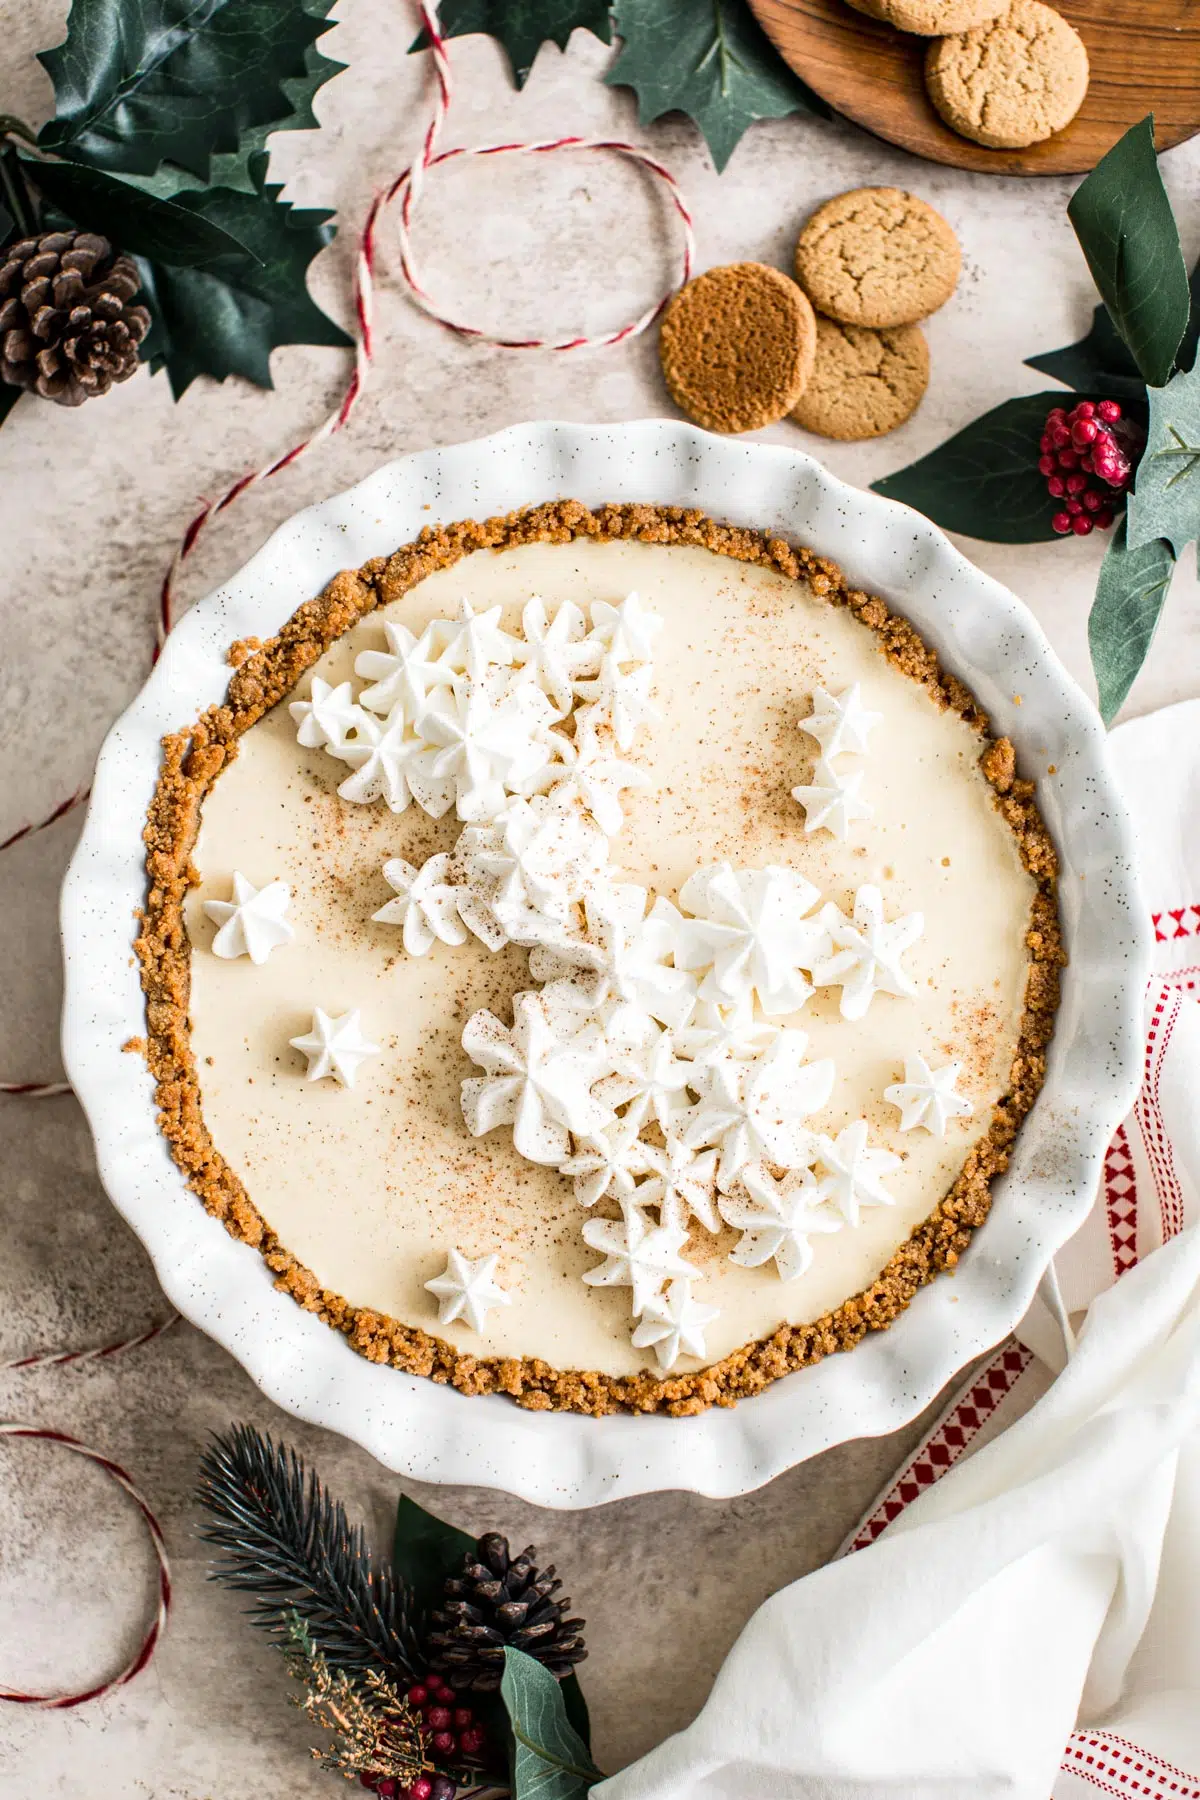
Not only is this rich and decadent eggnog recipe delicious as is, but it also makes the perfect base for an Eggnog Milkshake, Eggnog Latte, or can be used in Eggnog Pie. For those looking to toast the holidays, you can use it to make an Eggnog Martini.
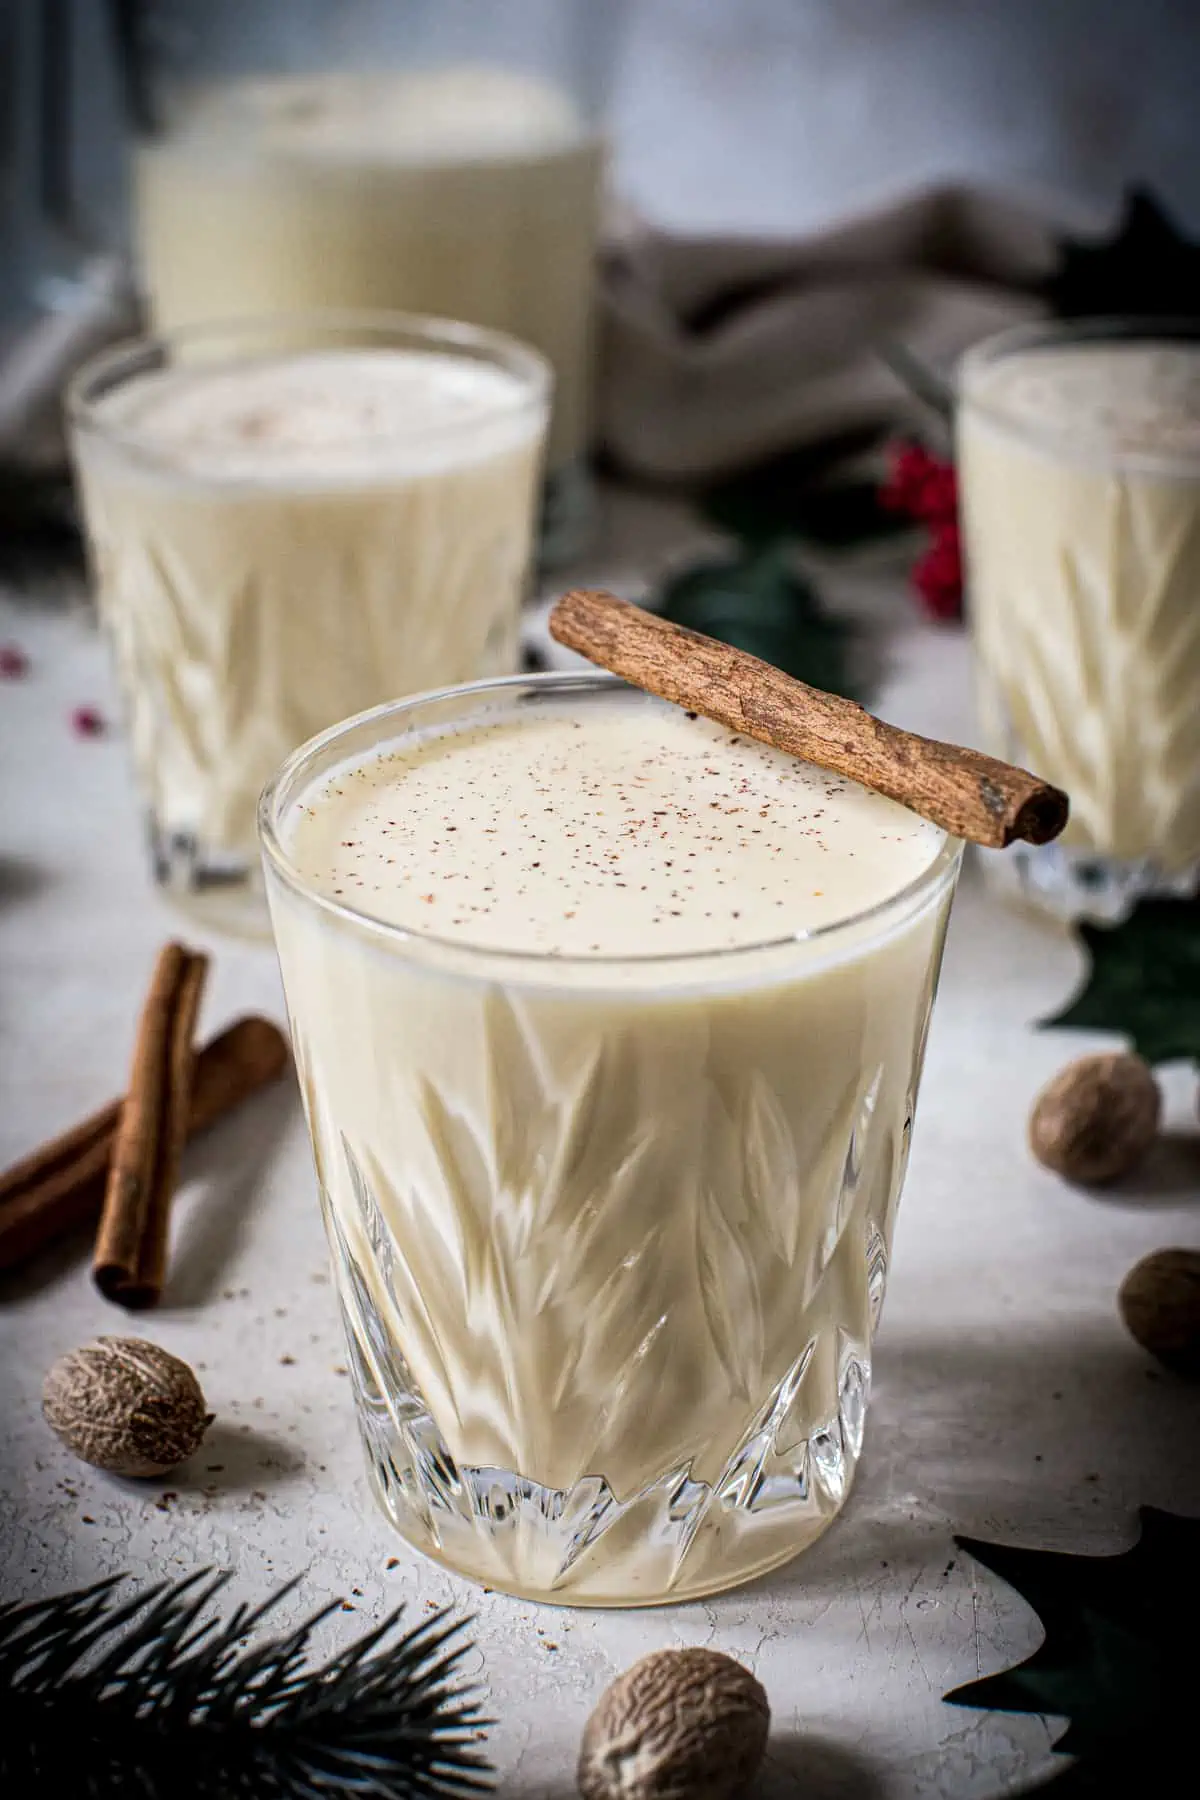
What I Love About This Recipe
- Rich, Creamy, and Delicious: This traditional eggnog recipe is luxuriously creamy, making it a decadent sweet treat.
- Family Favorite: Making eggnog from scratch can become a cherished family favorite and tradition that’s passed down through generations.
- Quick: You can whip up a batch in under 20 minutes. The mixture does need 2 hours to chill in the fridge before serving, but it can be prepared quickly.
- Makes a Great Gift: You can bottle your homemade Eggnog and give it as a thoughtful, personalized gift.
How to Make Eggnog


- Heat. In a large saucepan heat the milk, cream, salt, and nutmeg over medium heat, stirring frequently, until just warmed.
- Whisk. While the milk and cream are heating whisk the sugar and egg yolks together in a small mixing bowl until fully combined.
- Temper the egg mixture. Using a ladle take 2 to 3 scoops of the warmed milk mixture and pour it into the mixing bowl with the egg yolk mixture. Stir constantly as you pour it in and continue until well mixed.


- Combine and heat to 160º F. Pour the warmed egg yolk mixture into the saucepan with the remaining milk and cream mixture. Bring the eggnog to a slow boil, whisking the ingredients continuously. Warm until the mixture reaches 160℉ (you can clip a candy thermometer to the pot).
- Add the flavoring. Remove from the pot from the heat and stir in the vanilla extract (and alcohol if using).
- Strain and chill. Pour the mixture through a fine mesh sieve into a pitcher and cover with plastic wrap. Place the pitcher in the refrigerator to chill and thicken the eggnog for about 2 hours.

Make-Ahead and Storage Instructions:
- Make-Ahead Instructions: Prepare this homemade Eggnog up to 2 days before serving and enjoy it within 4-5 days of preparation. Simply follow the recipe, store it in an airtight container, and give it a good stir before serving.
- Storage Instructions: This traditional eggnog stays fresh for up to 5 days when stored in an airtight container or covered securely in a pitcher in the fridge.
What type of alcohol goes in eggnog?
Eggnog is often spiked with a variety of distilled spirits to add depth and complexity to its flavor. Commonly, spiced rum, brandy, bourbon, or whiskey are used to give it a spirited kick.

Homemade Eggnog Recipe
Equipment
- Large Saucepan
- Candy Thermometer
- Fine Mesh Sieve
Ingredients
- 2 cups Whole Milk
- 1 cup Heavy Whipping Cream
- 1 teaspoon Ground Nutmeg
- 1/8 teaspoon Salt
- 1 cup Sugar
- 6 large Egg Yolks
- 2 teaspoons Vanilla Extract
Instructions
- Heat. In a large saucepan heat the milk, cream, salt, and nutmeg over medium heat, stirring frequently, until just warmed.
- Whisk. While the milk and cream are heating whisk the sugar and egg yolks together in a small mixing bowl until fully combined.
- Temper the egg mixture. Using a ladle take 2 to 3 scoops of the warmed milk mixture and pour it into the mixing bowl with the egg yolk mixture. Stir constantly as you pour it in and continue until well mixed.
- Combine and heat to 160º F. Pour the warmed egg yolk mixture into the saucepan with the remaining milk and cream mixture. Bring the eggnog to a slow boil, whisking the ingredients continuously. Warm until the mixture reaches 160℉ (you can clip a candy thermometer to the pot).
- Add the flavoring. Remove from the pot from the heat and stir in the vanilla extract (and alcohol if using).
- Strain and chill. Pour the mixture through a fine mesh sieve into a pitcher and cover with plastic wrap. Place the pitcher in the refrigerator to chill and thicken the eggnog for about 2 hours.
Notes
-
- Make-Ahead Instructions: Prepare this homemade Eggnog up to 2 days before serving and enjoy it within 4-5 days of preparation. Simply follow the recipe, store it in an airtight container, and give it a good stir before serving.
-
- Storage Instructions: This traditional eggnog stays fresh for up to 5 days when stored in an airtight container or covered securely in a pitcher in the fridge.
- Best Alcohol to Use: Eggnog is often spiked with a variety of distilled spirits to add depth and complexity to its flavor. Commonly, spiced rum, brandy, bourbon, or whiskey are used to give it a spirited kick.
Nutrition
Originally published November 14th, 2019, updated 11/05/21, and again in October 2023.










My son loved this recipe & it was much easier to make than I had thought. Thanks.
I’m so glad you and your son loved this recipe, Stacey!
It’s so much better when you make it yourself! Thanks for the cozy recipe 🙂
I absolutely agree, Karlie!
Such a great recipe for the festive season, can’t wait to make it. I would definitely rate 5 stars.
Thank you, Julie!
Your eggnog look so delicious. I cannot wait to make it.
Let me know how it turns out, Mimi!
I make eggnog all season long, so I’m always on the lookout for a new recipe to try to keep things interesting. Yours looks so good!
Thank you, Beth! You’ll have to let me know how it turns out.
Eggnog has always been a beloved tradition in my family during the holiday season. The flavor of this eggnog was an absolute yummy! Thank you for sharing!
Same, Yu! This is actually my family recipe so I’m excited to share it.
This is so much better than the store bough stuff! I know everyone will enjoy this this holiday season!
This recipe has got me feeling so festive! I really should make my own eggnog, will give your recipe a try!
This looks absolutely indulgent! How yummy! I’ll take a glass or two 🙂
Your eggnog looks so good, Aimee. I’ve always been nervous making my own eggnog and always simply buy from stores. I think I’ll try making my own this year. 🙂
I totally understand because I was the same way, but it’s surprisingly SO easy to make.